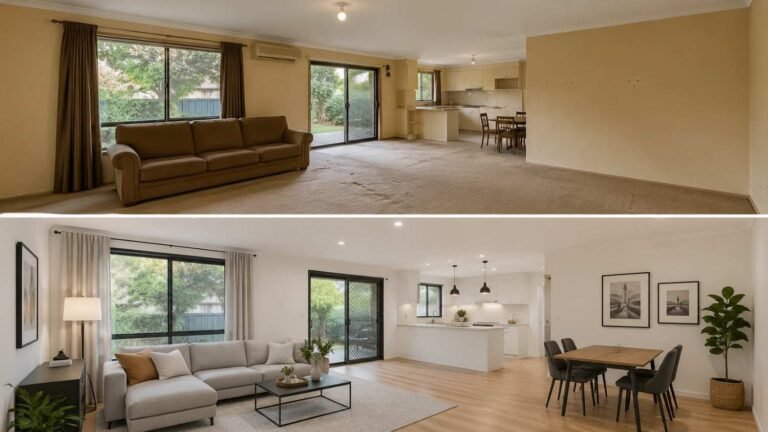
Home Remodeling on a Budget Fixer-Upper: 30 Room-by-Room Ideas to Transform Your House
You got the keys. The house has good bones, a wild yard, and a kitchen stuck in another decade. Now the big question lands: where does the money go first? A smart Home Remodeling on a Budget Fixer-Upper answers that before the first hammer swings. The 30 ideas below follow the way seasoned renovators think. Protect the house first. Then upgrade what you see and use every day. Each idea is practical, affordable, and easy to act on.
Picture two owners who buy the same worn-out ranch house. One spends the entire budget on a dream kitchen, then discovers a leaking roof. The other fixes the roof, paints every wall, refinishes the floors, and updates the kitchen in stages. A year later, the second home looks better, feels better, and costs less to run. Order matters as much as money.
How to Plan Home Remodeling on a Budget Fixer Upper Projects
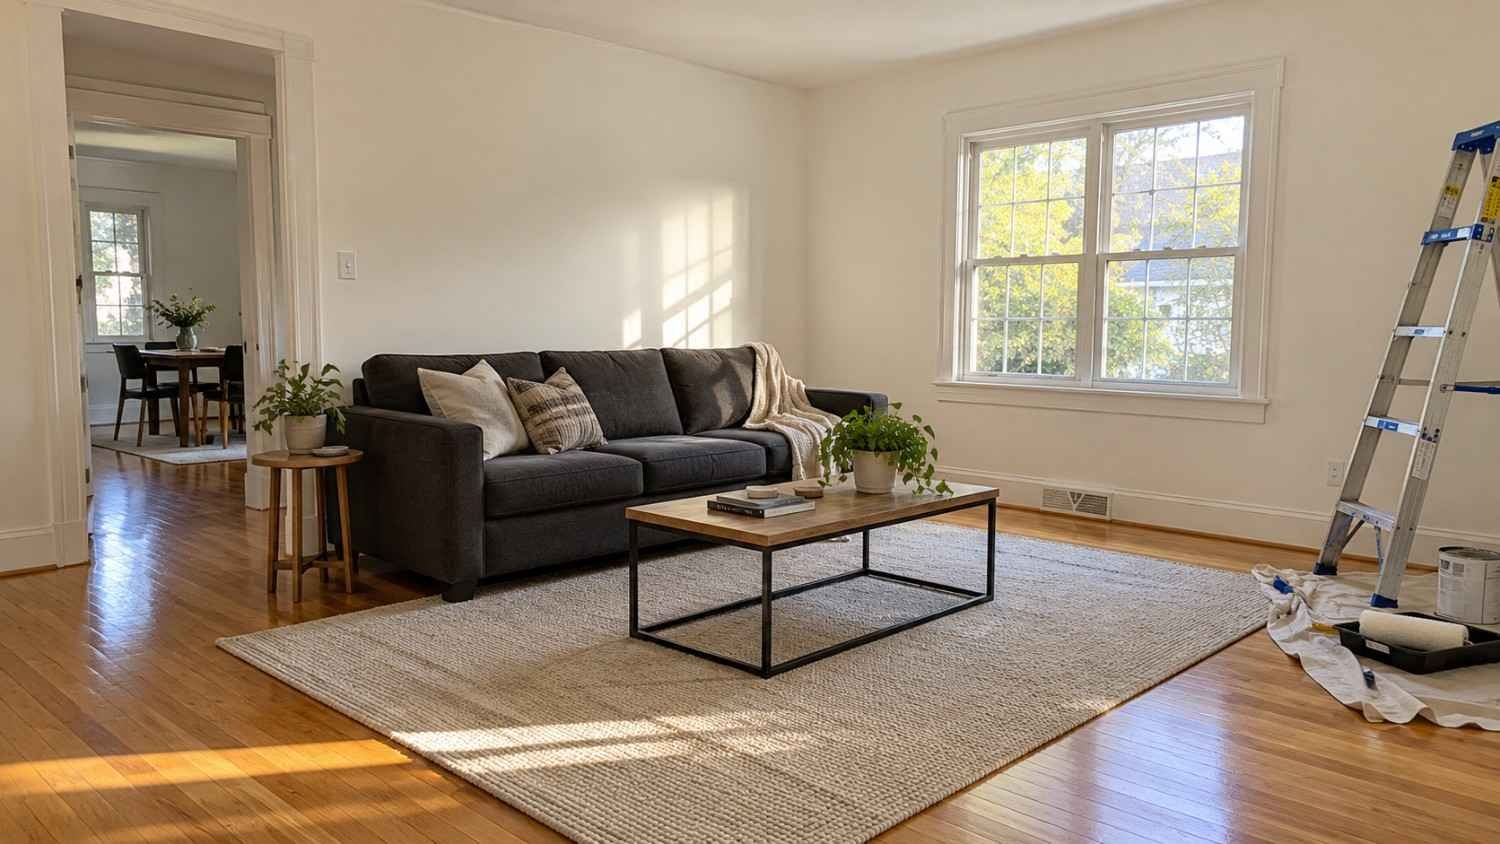
Good planning is the cheapest tool you will ever own. Most budget blowouts start with skipped steps, not bad luck. Before you buy paint or tile, walk through the home with a notebook. Sort every problem into three groups: safety and structure, function, and style. Spend on the first group, then the second. Style comes last, and it is often the cheapest to fix. The next four ideas set that foundation.
1. Build a Room-by-Room Punch List
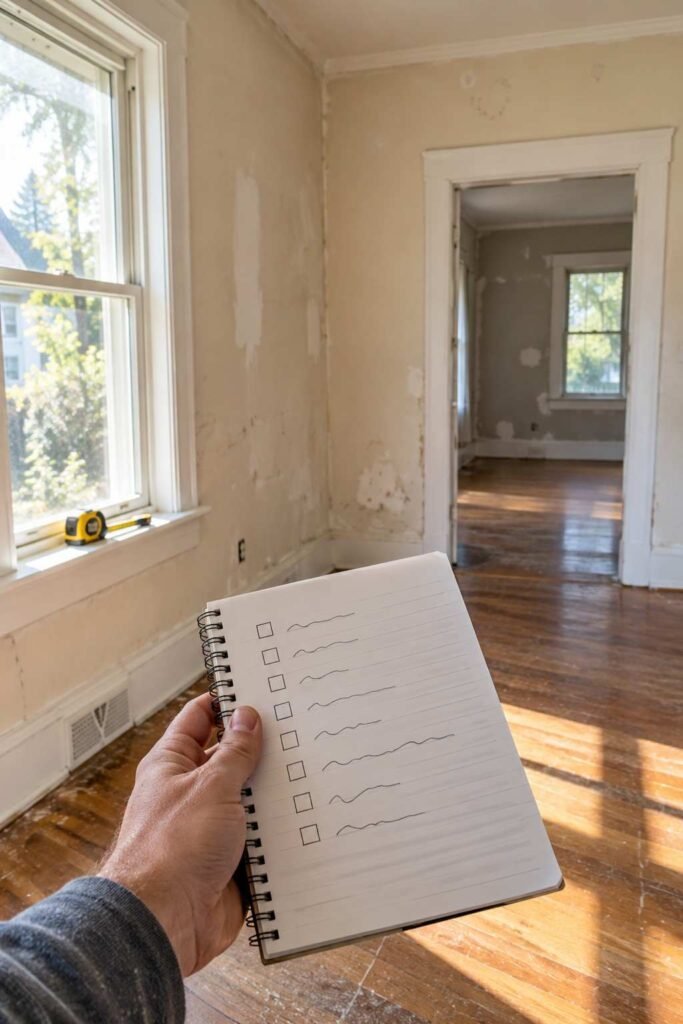
Walk each room and write down every flaw, from a cracked outlet cover to a sagging gutter. Next to each item, add a rough cost and label it DIY or hire. A written list stops impulse spending and shows which fixes give the biggest visual change for the least money. Once the inside is finished, plan a Modern Grill Backyard Patio Ideas for Outdoor Entertaining setup to make the yard as inviting as the house.
2. Inspect the Big Systems First

Pay for a licensed home inspector if you did not already. Roof, foundation, plumbing, electrical, and HVAC problems cost far more than any cosmetic upgrade. Fixing a leak early protects every dollar you spend later on drywall, paint, and flooring.
3. Set Aside a 10–20% Contingency
Older houses hide surprises behind walls. Most contractors and lenders suggest keeping 10% to 20% of your budget in reserve. If the money goes unused, you can spend it on a bonus upgrade. If it gets used, you stay calm instead of stalling the project.
4. Split the Work Between DIY and Pros
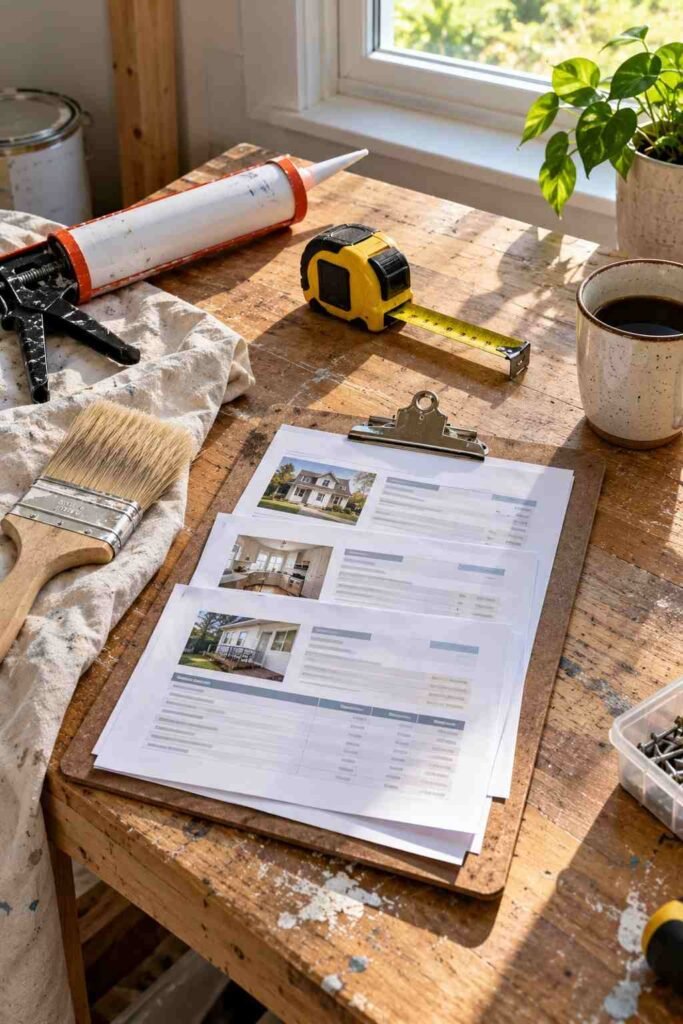
Painting, demolition of non-structural items, caulking, and simple hardware swaps suit most beginners. Electrical panels, gas lines, structural changes, and major plumbing belong to licensed pros. Get at least three written quotes for those jobs, and confirm that permits are included.
Exterior Upgrades for a Home Remodeling on a Budget Fixer Upper
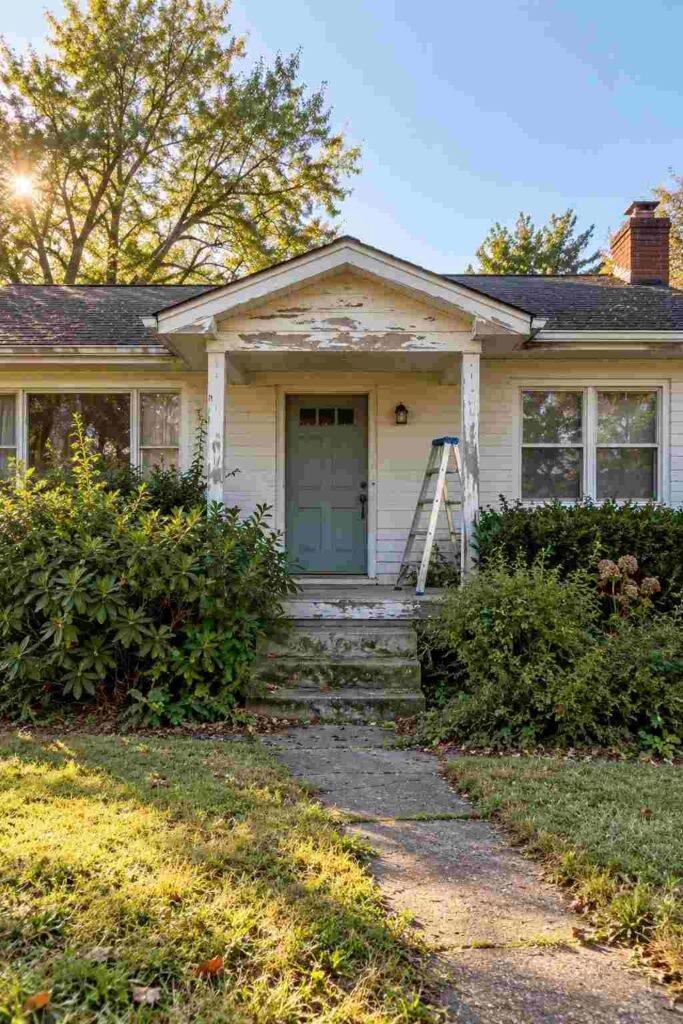
Buyers, guests, and neighbors form an opinion in seconds. Curb appeal also tells you how the house is aging, since peeling paint and clogged gutters often point to moisture issues. The good news is that the outside responds quickly to small, low-cost effort. These five ideas deliver a clear before-and-after without a large bill.
5. Pressure Wash Everything
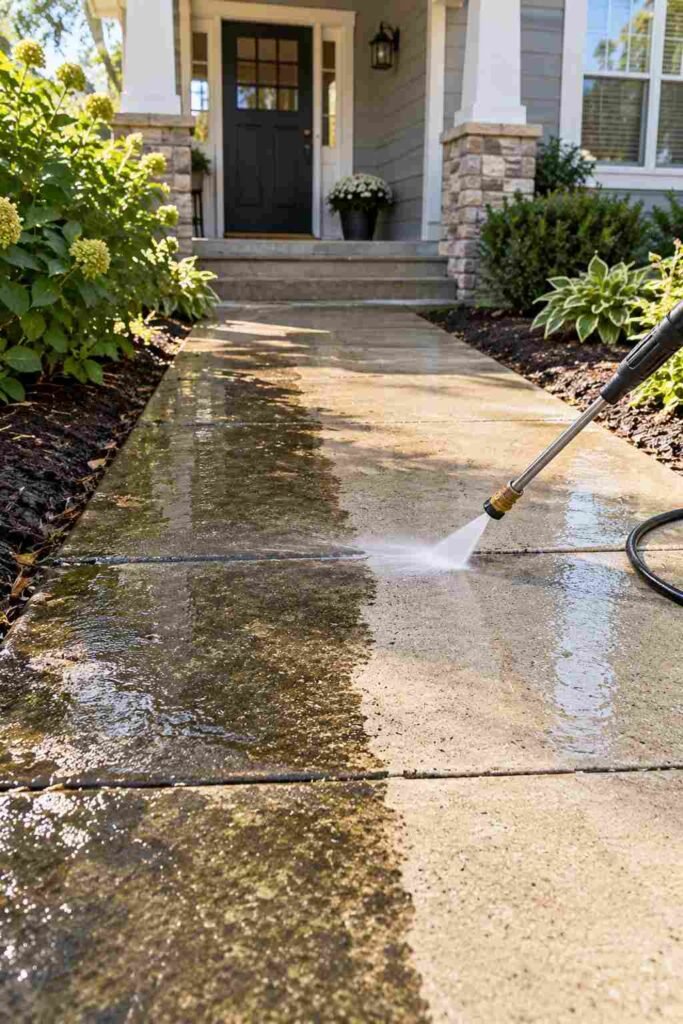
Siding, walkways, the driveway, and the deck collect years of grime. A rented pressure washer costs a fraction of repainting, and clean surfaces make the whole home look newer. Use a lower setting on wood and old siding to avoid damage.
6. Paint the Front Door
A bold front door is one of the cheapest focal points you can create. Choose a durable exterior paint in a color that suits the siding, such as deep green, navy, or warm black. One quart is often enough, and the job takes an afternoon.
7. Replace Fixtures, Numbers, and the Mailbox
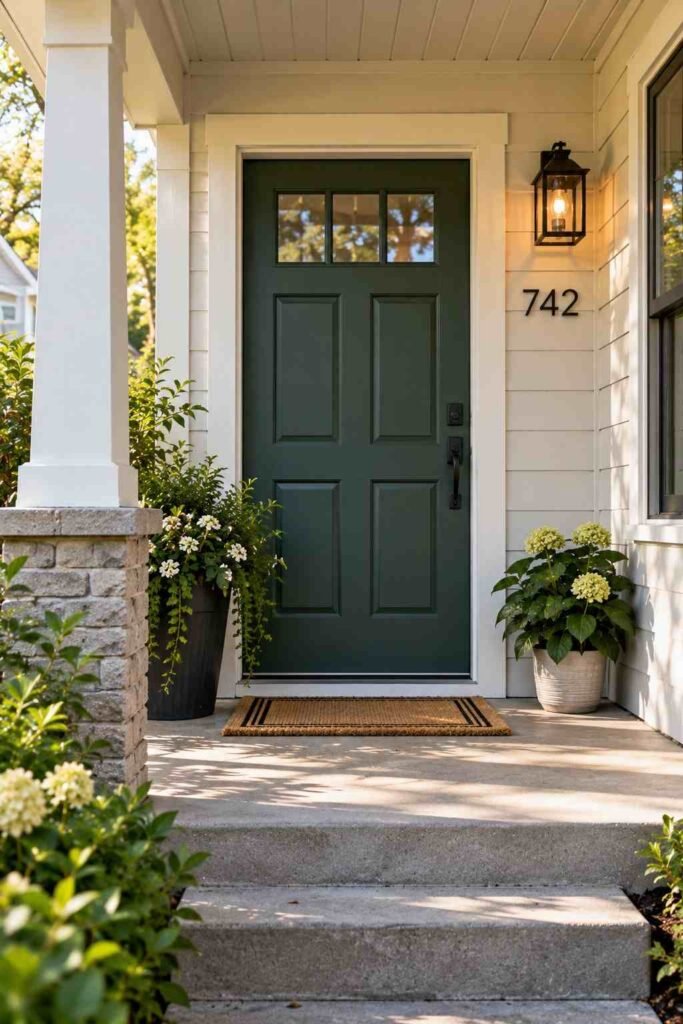
Dated porch lights, tarnished house numbers, and a rusty mailbox drag down an otherwise tidy entry. New matching pieces in one finish look intentional. Shop sales, and pick fixtures rated for wet locations.
8. Trim, Edge, and Mulch the Landscape
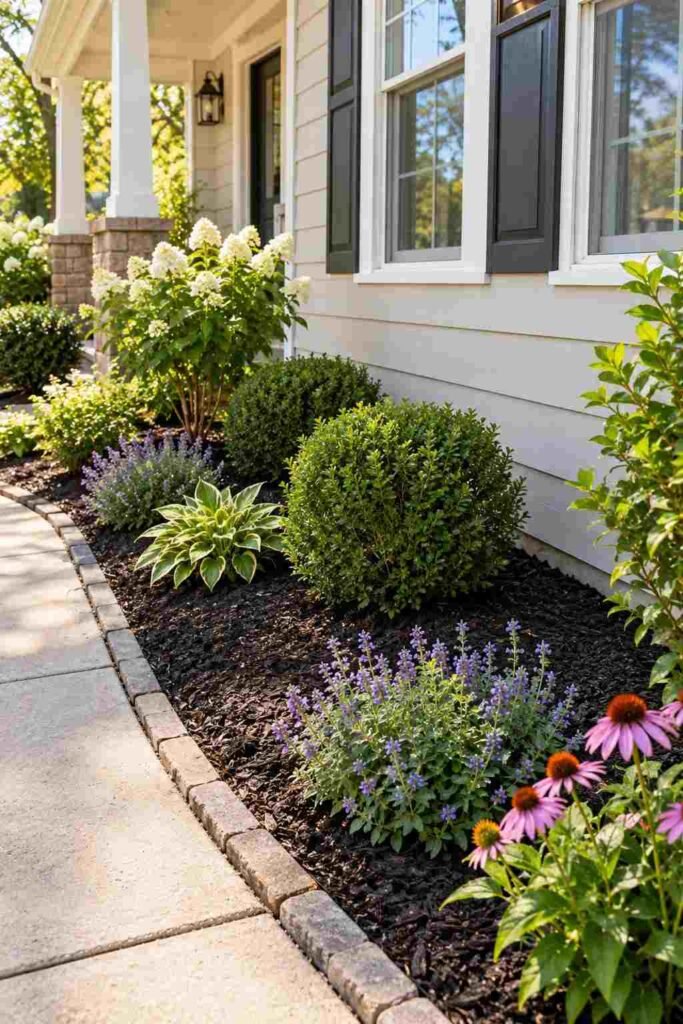
Overgrown shrubs hide windows and trap moisture against walls. Cut them back, define bed edges, and add fresh mulch. Keep plants a few inches away from siding. Native plants usually need less water, which lowers upkeep costs.
9. Repair and Repaint Trim and Shutters
Scrape loose paint, fill rotted spots with exterior wood filler, and repaint. If the house was built before 1978, treat old paint as possibly lead-based and follow the EPA lead-safe work rules, or hire a certified renovator.
Budget Kitchen Ideas for a Fixer Upper
A full kitchen remodel is often the largest expense in any renovation. You do not have to start there. If the layout works and the cabinet boxes are solid, a cosmetic refresh can change the room completely. Keeping plumbing and appliance locations in place is the single biggest saving. Here are six ways to update the heart of the home without gutting it.
10. Paint the Existing Cabinets
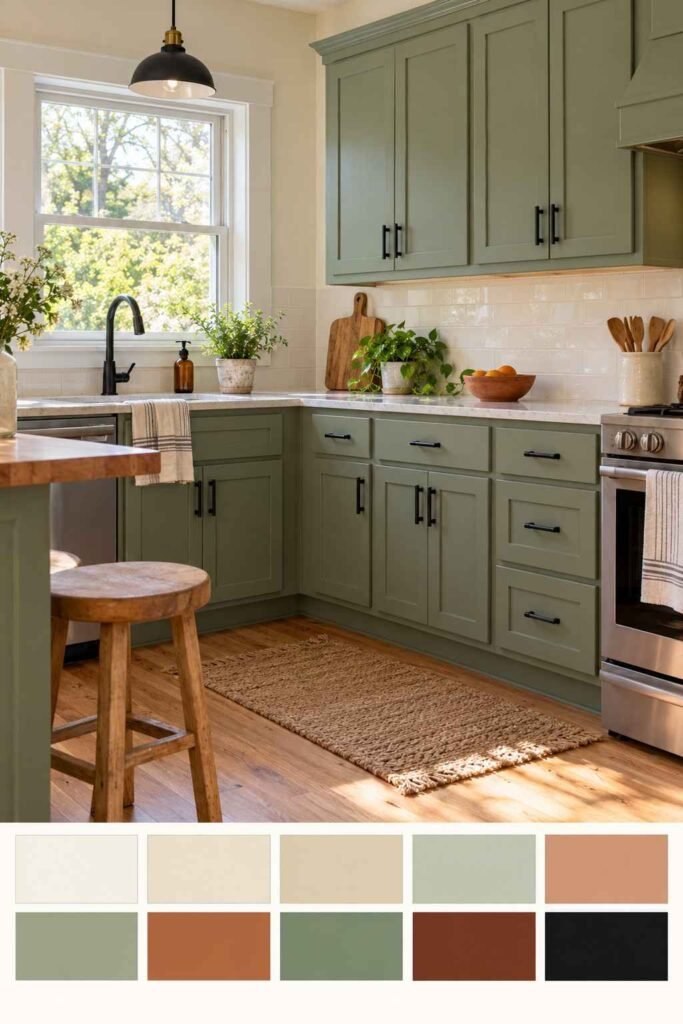
Clean, sand lightly, prime with a bonding primer, and finish with a cabinet-grade enamel. Take your time, because prep decides how long the finish lasts. Painted cabinets can make a dark, dated kitchen feel fresh for a small share of replacement cost.
11. Swap the Hardware
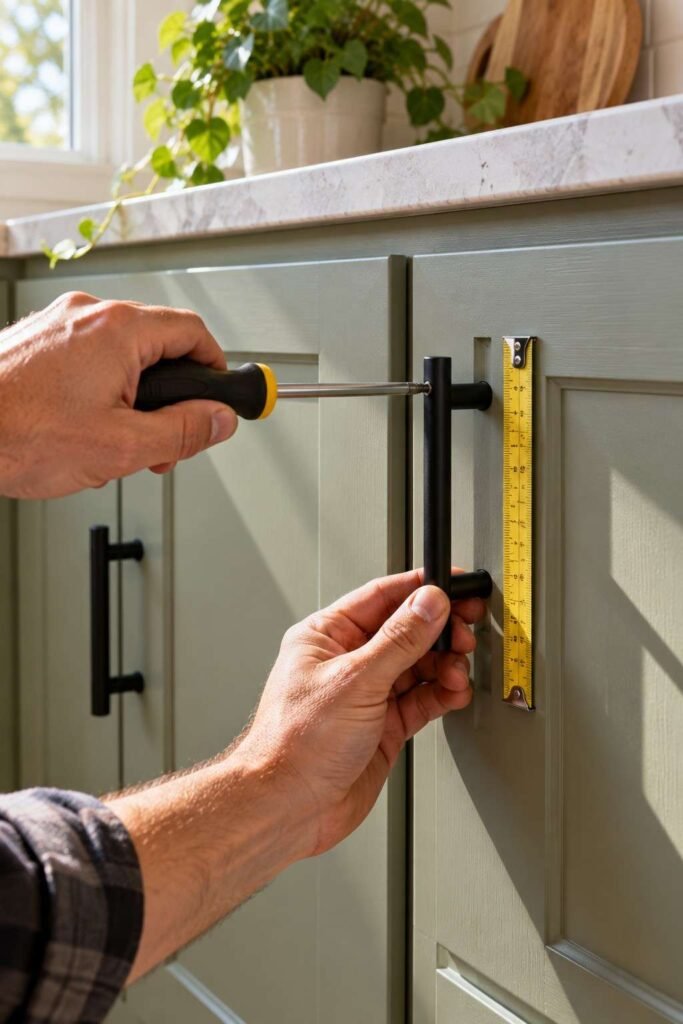
New pulls and knobs take an hour and change the whole look. Measure the hole spacing first so the new pieces fit. Matte black, brushed brass, and simple nickel all work with painted cabinets.
12. Reface Instead of Replace
If the doors are damaged beyond paint, replace only the doors and drawer fronts while keeping the boxes. This costs far less than new cabinets and still gives a clean, uniform face to the room.
13. Remove a Few Upper Cabinets for Open Shelves
Taking down two or three uppers brightens the room and exposes wall space. Patch the wall, paint it, and hang sturdy wood shelves. Make sure the wall is not hiding wiring or plumbing before you cut.
14. Add a Simple Backsplash
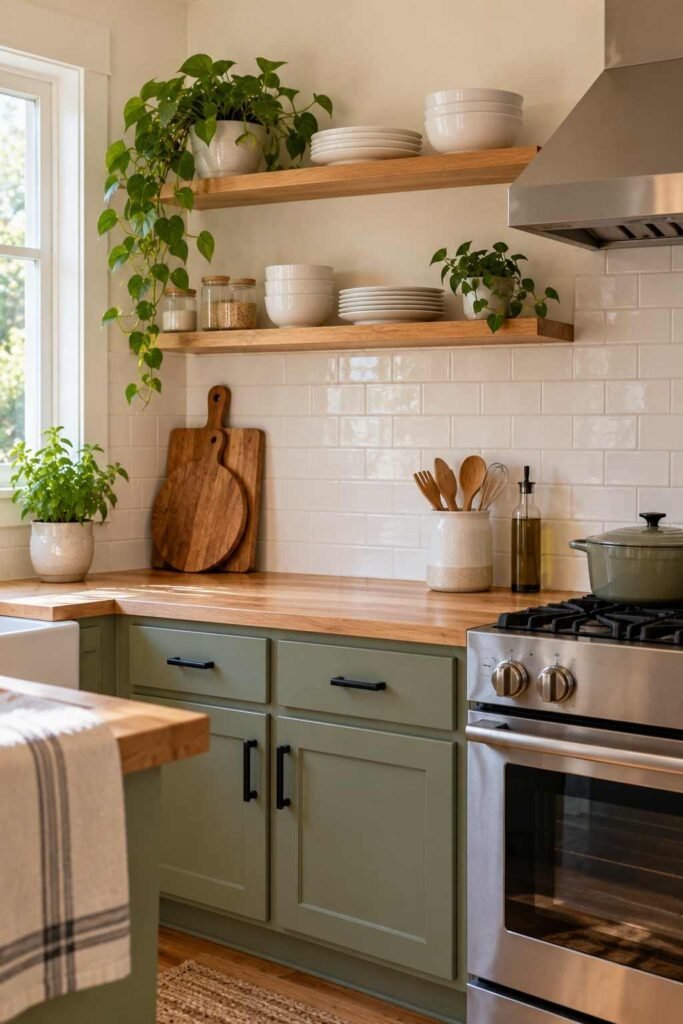
Peel-and-stick tile works well for renters and tight budgets. For a longer-lasting result, set basic ceramic subway tile yourself. A small area behind the stove and sink gives a strong effect for very little material.
15. Choose Affordable Countertops
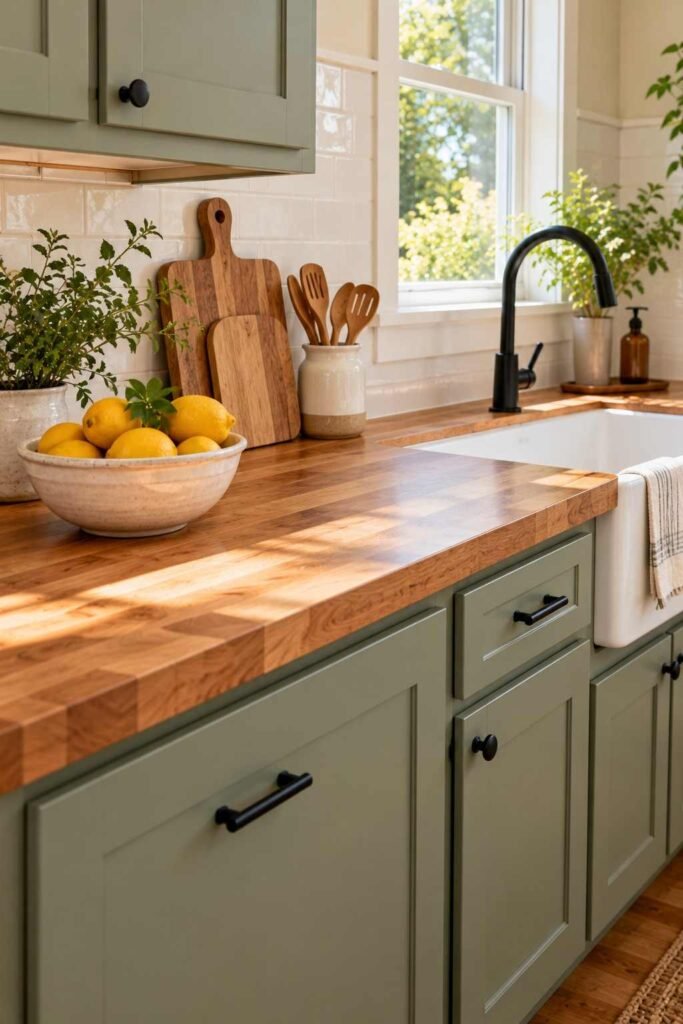
Butcher block, laminate, and remnant pieces of stone cost much less than full slab installations. Ask local fabricators about leftover cuts, which are often ideal for small kitchens and islands.
Bathroom Ideas for Home Remodeling on a Budget Fixer Upper Projects
Bathrooms are small, so a little money goes a long way. They are also moisture-heavy rooms, which means the first job is checking for soft floors, stained ceilings, or musty smells. Repair water damage before you decorate. Once the room is sound, these four upgrades bring it back to life without a full gut renovation.
16. Reglaze the Tub and Tile
Professional reglazing can cost much less than tearing out a tub and surround. It suits tubs that are structurally sound but stained or dull. Ask about ventilation and cure time, and avoid using the tub for the period the installer recommends.
17. Regrout and Recaulk
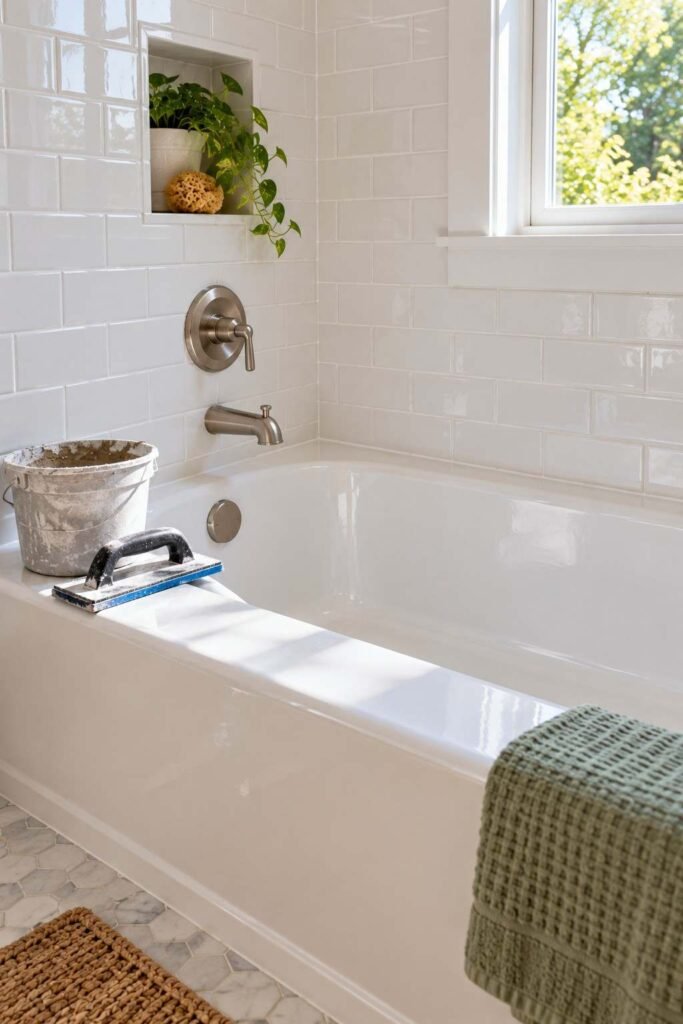
Moldy grout and cracked caulk make a clean bathroom look neglected. Remove the old material, apply fresh grout and a mildew-resistant silicone caulk, and the room looks cleaner at once. It also keeps water out of the walls.
18. Update the Faucet, Light, and Mirror
Three small swaps can modernize a vanity wall in one afternoon. Choose a faucet with a simple finish, a bright fixture rated for damp areas, and a framed mirror. Matching metals keep the look calm and consistent.
19. Refresh the Vanity
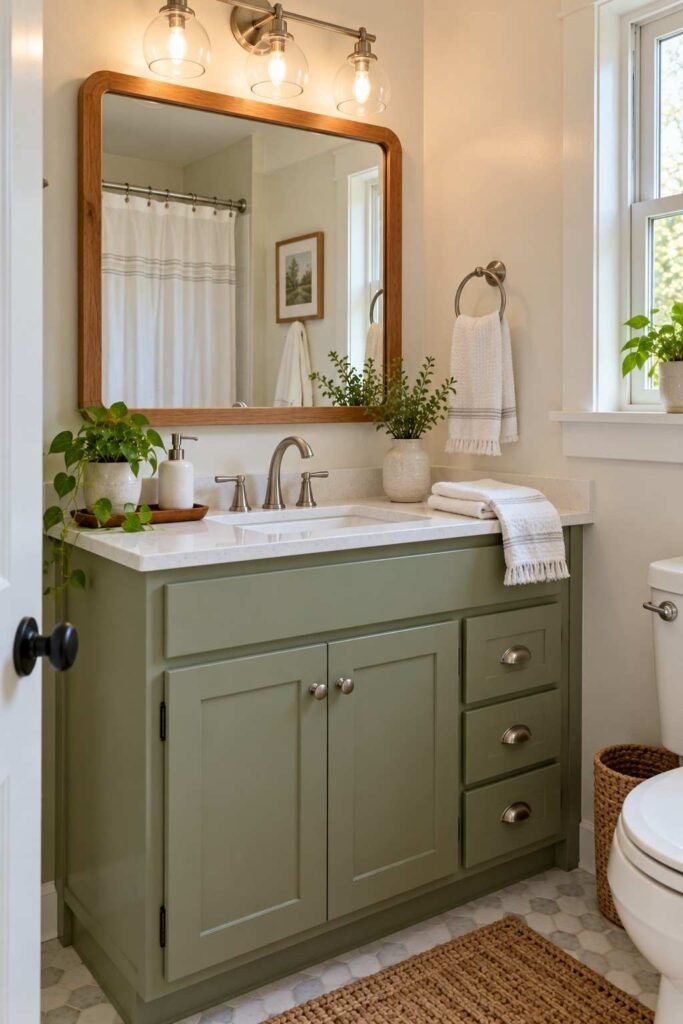
Paint a solid-wood vanity, add new hardware, and swap the top if needed. A prefabricated vanity top is often a budget-friendly alternative to custom stone. Use moisture-resistant paint in a satin or semi-gloss sheen.
Floors and Walls: Where the Biggest Visual Change Happens
Floors and walls cover the most surface in any house, so they shape how it feels. In a home remodeling on a budget fixer-upper, these surfaces often give the best return per dollar. Fresh color and sound floors make every other upgrade look better. Start with the cheapest options and escalate only when needed.
20. Check for Hardwood Under the Carpet
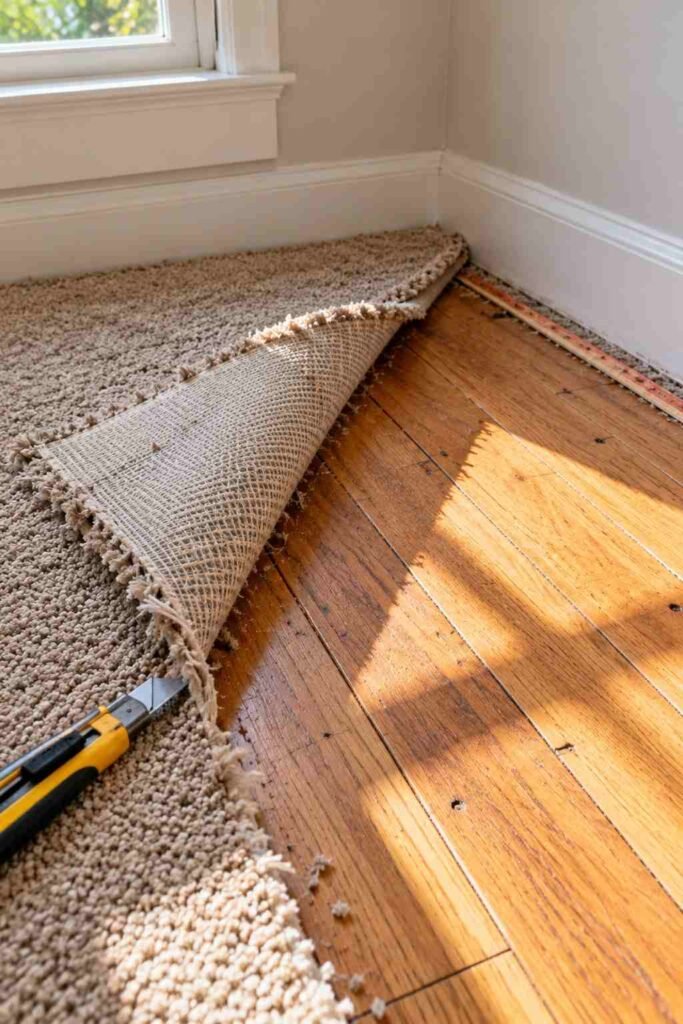
Many older homes have original hardwood hidden beneath worn carpet. Lift a corner in a closet to look. Refinishing existing boards often costs less than new flooring and adds character that new materials struggle to match.
21. Install Luxury Vinyl Plank
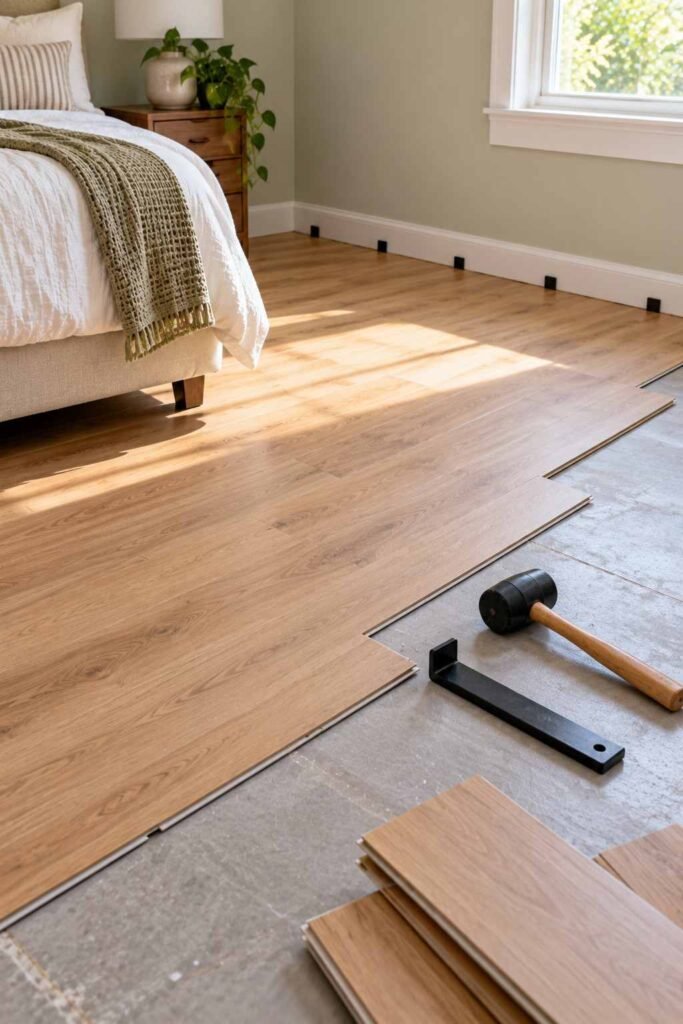
When the subfloor is sound, but the surface is beyond saving, luxury vinyl plank is a practical choice. It resists water, handles heavy use, and many click-lock styles suit a confident DIYer. Check the product’s warranty and subfloor requirements before buying.
22. Paint in a Warm Neutral Palette
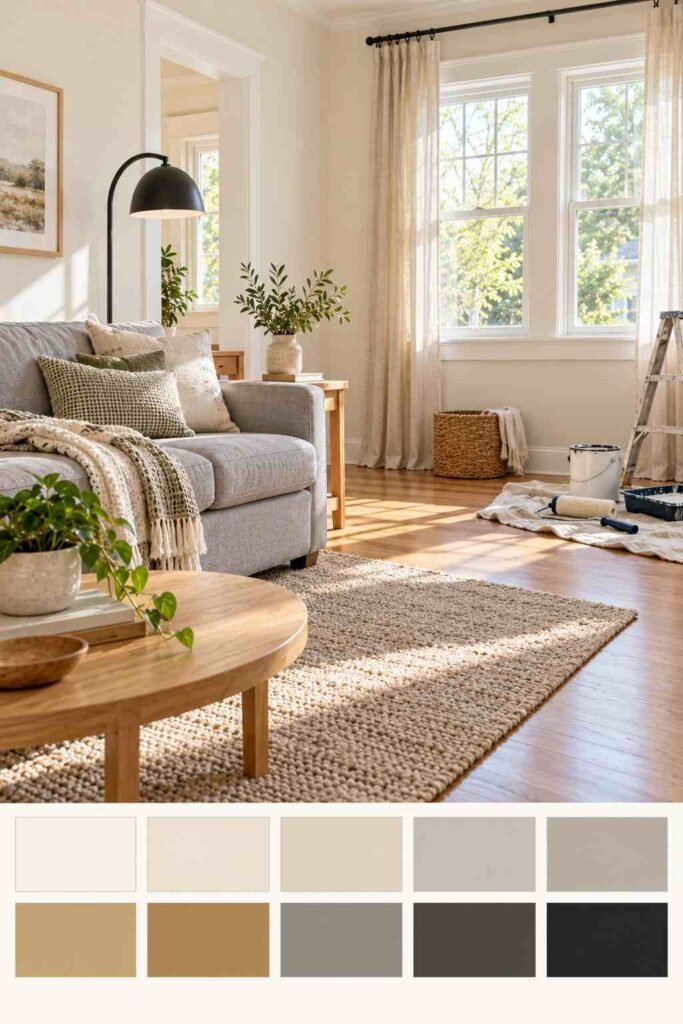
Paint is the most cost-effective upgrade in any remodel. Warm whites, soft greiges, and gentle beiges make rooms feel larger and unify the home. Always use primer on stains and test sample colors in both morning and evening light.
23. Patch and Skim Damaged Walls
Hairline cracks, nail pops, and old patches show under fresh paint. Fill them with joint compound, sand smooth, and prime. A little patience here separates a professional-looking finish from a rushed one.
24. Add Board and Batten to One Wall
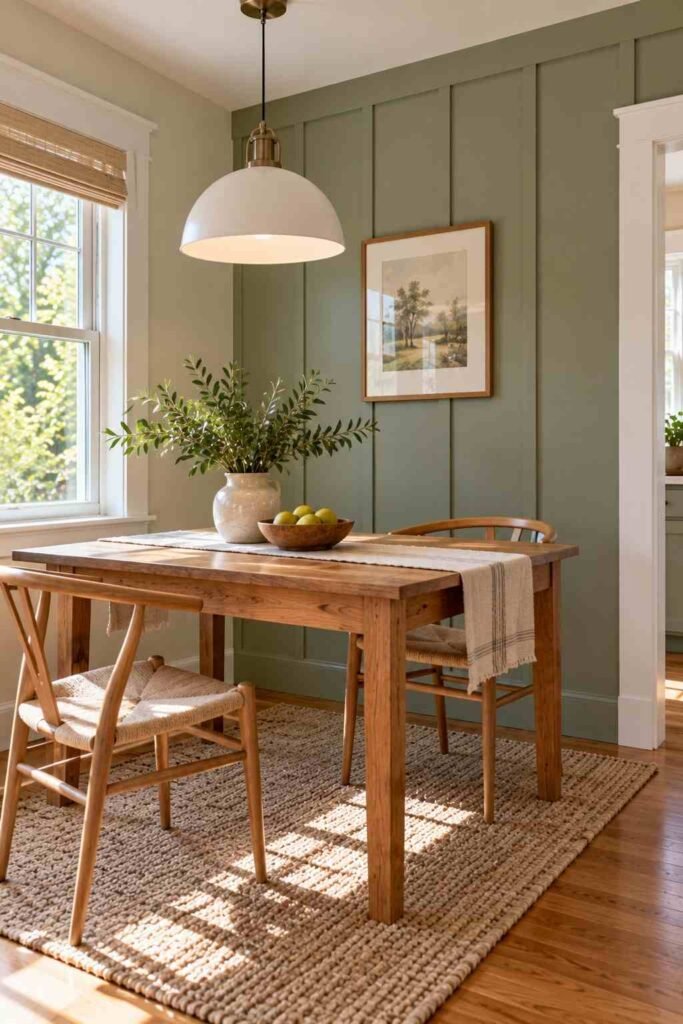
A simple board-and-batten or picture-frame molding treatment adds depth using inexpensive MDF or pine strips. Pick one wall, such as an entry or dining area, so the cost stays small and the effect stays elegant.
Living Spaces, Lighting, and Hidden Upgrades
Once the surfaces are fixed, the next layer is comfort. Lighting, doors, storage, and efficiency make a house feel finished and cheaper to live in. These upgrades are less glamorous than a new kitchen, but they affect daily life more than most people expect. Many are also quick enough to finish over a few weekends.
25. Replace Outdated Light Fixtures
Brass boob lights and builder-grade flush mounts age a room fast. Swap them for simple modern fixtures, and use LED bulbs in a consistent warm tone. Turn off the breaker first, or hire an electrician if wiring looks old.
26. Paint Interior Doors and Change the Knobs
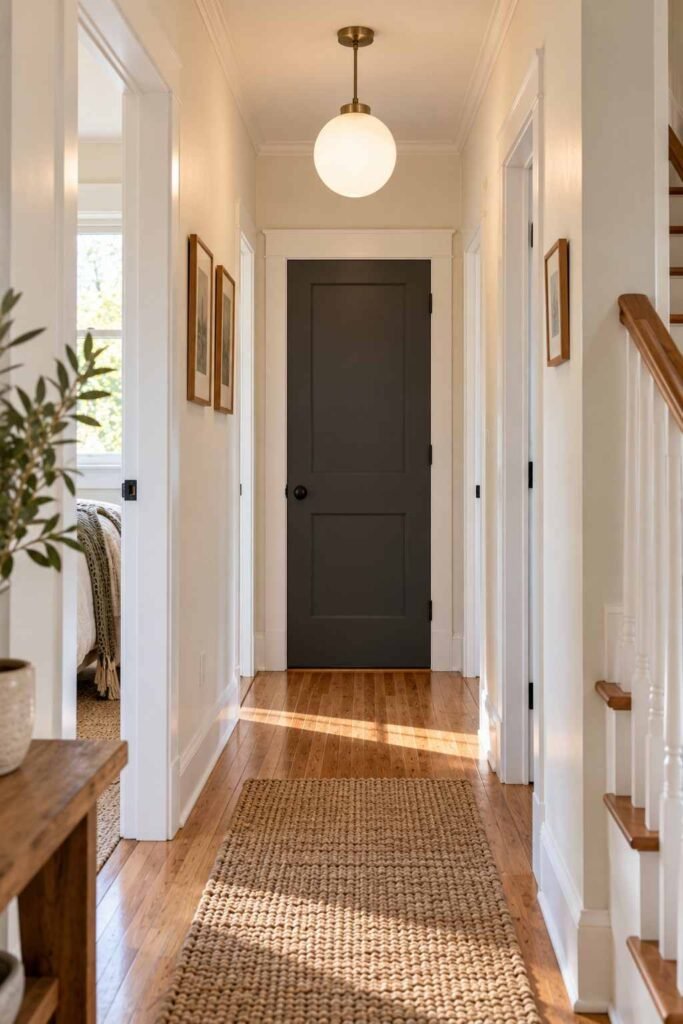
Tired hollow-core doors can look sleek with a coat of satin paint and fresh hinges and handles. Painting every door the same color creates a smooth, designed look throughout the house.
27. Build Storage With Stock Cabinets
Stock cabinets from a home center can become a mudroom bench, a pantry wall, or a built-in around a fireplace. Add trim and paint, and they look custom. This costs far less than hiring a carpenter for fully bespoke work.
28. Remove Popcorn Ceilings Safely
Textured ceilings installed before the 1980s may contain asbestos. Have a sample tested by an accredited lab before scraping. If the test is clean, the job is doable with plastic sheeting, a sprayer, and patience. If not, hire a licensed abatement professional. Homes with tall ceilings can feel cold or empty, so browse dark living room ideas for high ceilings for moody, cozy inspiration.
29. Seal Air Leaks and Add Insulation
Weatherstripping, caulking around windows, and attic insulation lower heating and cooling bills. The U.S. Department of Energy’s Energy Saver guides explain how to find drafts. These upgrades are invisible, yet you notice them every month on the utility bill.
Smart Ways to Save During Home Remodeling on a Budget Fixer Upper Work
Saving money is as much about where you buy as what you buy. Material costs and labor rates vary widely by region, so check local prices before locking in a plan. Below is one final idea that stretches every dollar across the whole project. If you are hosting a celebration in your renovated space, explore mirror table decor wedding ideas for an elegant look.
30. Shop Salvage, Surplus, and Secondhand
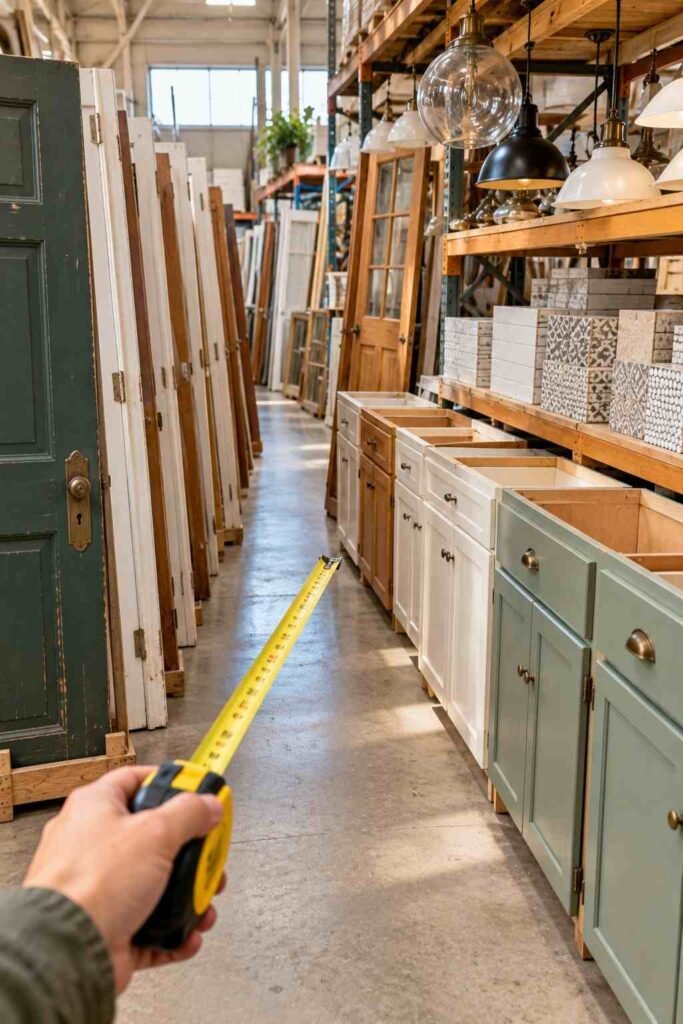
Habitat for Humanity ReStore locations sell donated doors, cabinets, tile, lighting, and fixtures at reduced prices. Architectural salvage yards, online marketplaces, and contractor overstock sales also help. Inspect items in person, measure twice, and confirm plumbing and electrical parts meet current code. For a simple finishing touch on a new dining table, try Chic Mirror Table Decor with Fresh Flowers to add light and softness.
Common Mistakes to Avoid
The most frequent error is starting with finishes before fixing problems behind the walls. Close behind is skipping permits. Many cities require permits for electrical, plumbing, structural, and roofing work, and unpermitted work can create trouble at resale or with insurance. Another mistake is buying materials before the plan is final, which leads to returns and waste. Finally, do not underestimate your own time. A slower, well-planned weekend project beats a rushed one every time.
Conclusion
A fixer-upper rewards patience. By inspecting first, protecting your contingency, and focusing on paint, floors, lighting, and small kitchen and bath upgrades, you can transform a tired house without draining your savings. Use these 30 ideas as a menu, not a checklist. Choose the ones that match your home’s needs and your skills, finish them in order, and enjoy each stage. A well-run home remodeling on a budget fixer-upper project is built one smart decision at a time. For more room-by-room design inspiration and styling guidance, visit outinteriors.