Pallet Photo Display: Rustic DIY Ideas, Safe Wood Tips, and Styling Guide
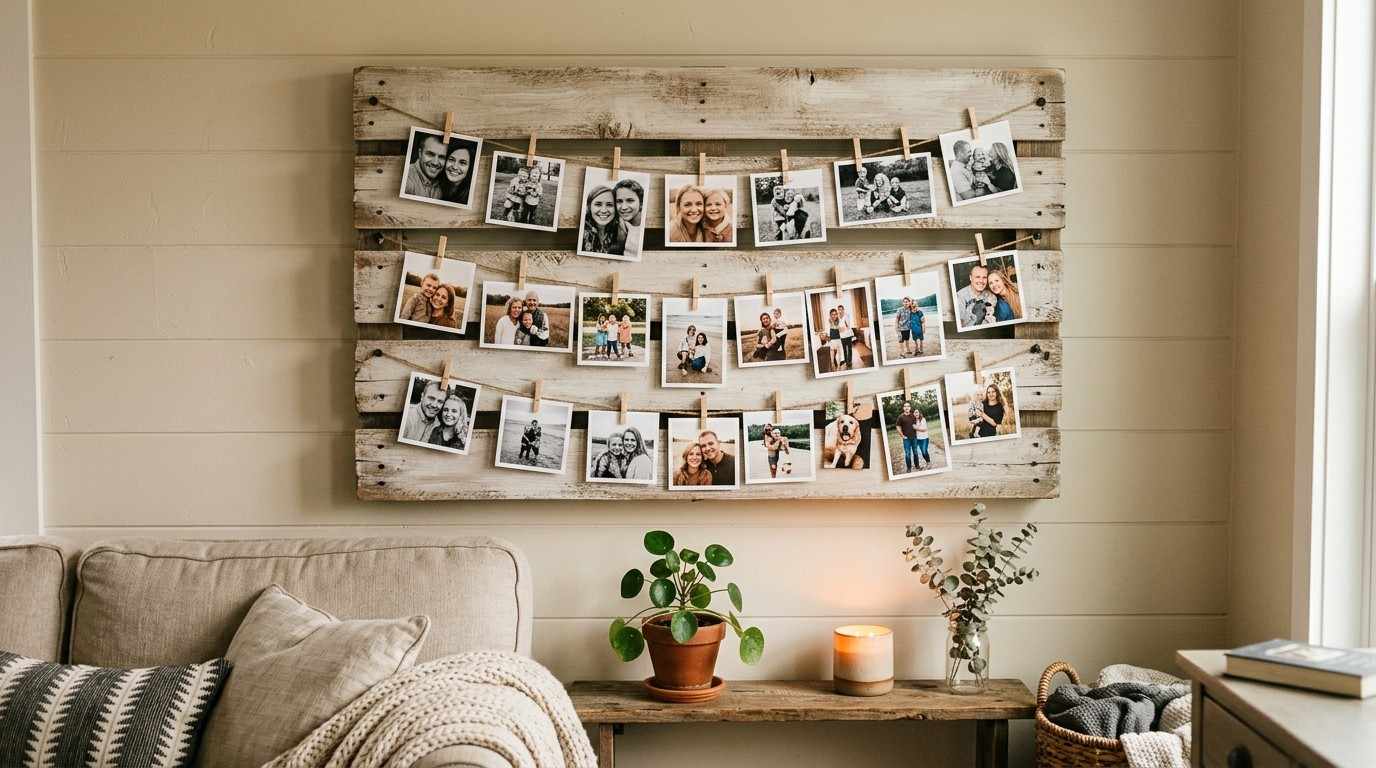
A pallet photo display is one of those simple decor ideas that can make a room, party, or memory table feel warm in minutes. It has the charm of reclaimed wood, the flexibility of a clip-style picture board, and the personal touch of printed photos you can change anytime. Unlike a fixed gallery wall, it does not need matching frames or perfect spacing to look good. It works because it feels collected, relaxed, and real.
This guide walks you through the full process, from choosing safe wood to arranging photos in a way that tells a clear story. You will also find styling ideas for homes, weddings, graduations, baby showers, dorm rooms, and seasonal displays. The goal is simple: help you create a display that looks beautiful, stays secure, protects your pictures, and fits your space.
What Is a Pallet Photo Display?
A pallet photo display is a photo board made from a wooden shipping pallet or pallet-style planks. Most designs use twine, ribbon, wire, clips, mini clothespins, hooks, or small frames to hold printed pictures. Some are mounted on a wall, while others lean against a table, fence, mantel, or event backdrop. The rough wood gives the display a rustic, farmhouse, vintage, or handmade look.
The best part is flexibility. You can use one small board for a few family pictures or a large pallet wall for dozens of memories. You can keep the wood natural, whitewash it, stain it, paint it, or decorate it with lights and greenery. A pallet photo display can be simple enough for a weekend project but still meaningful enough to become the emotional center of a celebration.
Why This Photo Display Style Works So Well
A wooden photo board works because it gives personal memories a clear place to live. Printed photos can easily get buried in drawers, albums, or phone galleries. When they are clipped to wood, they become part of your daily environment. You see a child’s first birthday, a wedding moment, a graduation smile, or a family vacation every time you pass by.
The texture also matters. Smooth modern frames can feel formal, but pallet wood feels familiar and relaxed. It adds warmth to white walls, rental spaces, party tables, and outdoor setups. A pallet photo display also works well for people who like changing decor often. You can swap photos for new seasons, new milestones, or updated family pictures without rebuilding the whole piece.
Choose Safe Pallet Wood Before You Start
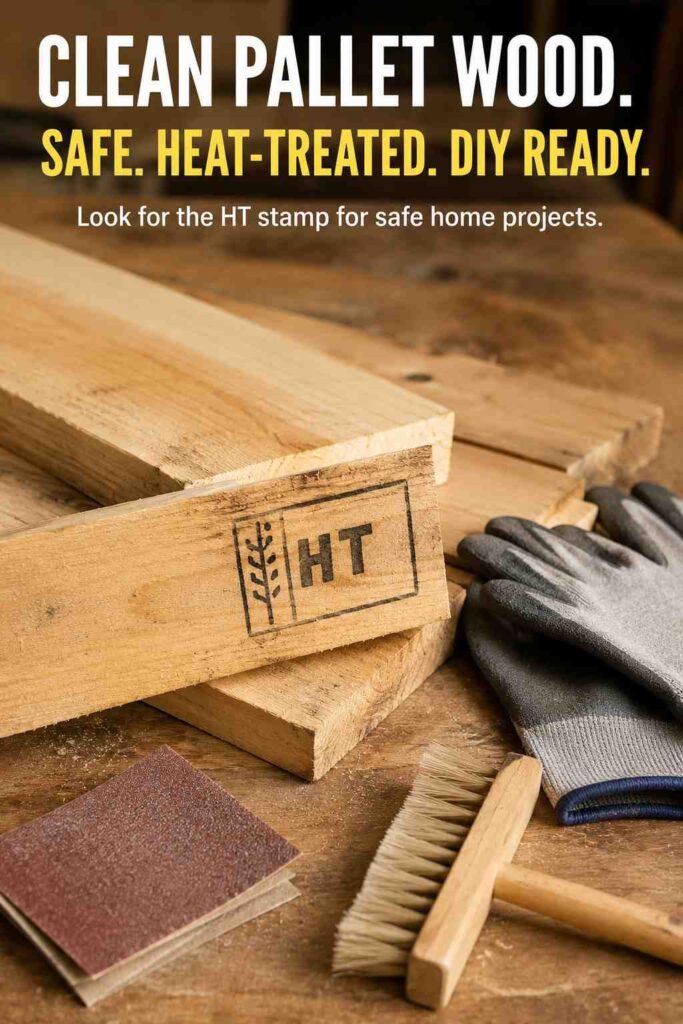
Before making a pallet photo display, start with the wood itself. A pallet may look rustic and clean on the outside, but it may have been used around spills, chemicals, pests, or rough warehouse conditions. Do not choose a pallet only because it looks weathered. Choose it because it is safe, dry, solid, and suitable for indoor or event use.
Look for a visible treatment stamp. HT means heat-treated and is generally the safer choice for DIY decor. KD means kiln-dried, and DB means debarked. Avoid pallets marked MB, which means methyl bromide fumigation. Also avoid pallets with unknown stains, strong smells, oil marks, mold, or broken boards. If there is no stamp and you do not know where the pallet came from, use new craft boards or reclaimed boards from a trusted source instead.
Quick Safety Checklist
|
What to Check |
Safe Choice |
Avoid |
|---|---|---|
|
Treatment mark |
HT, KD, or clean craft wood |
MB stamp |
|
Surface |
Dry, solid, no strong odor |
Mold, oil, sticky stains |
|
Nails |
Removed or hammered flat |
Rusty nails sticking out |
|
Wood condition |
Firm boards with light wear |
Soft, rotten, cracked boards |
|
Indoor use |
Sanded and sealed |
Raw splintery wood |
A display that holds family memories should not bring unsafe materials into your home. This step takes only a few minutes, but it protects your space and makes the final project easier to clean, sand, and finish.
Tools and Materials You Will Need
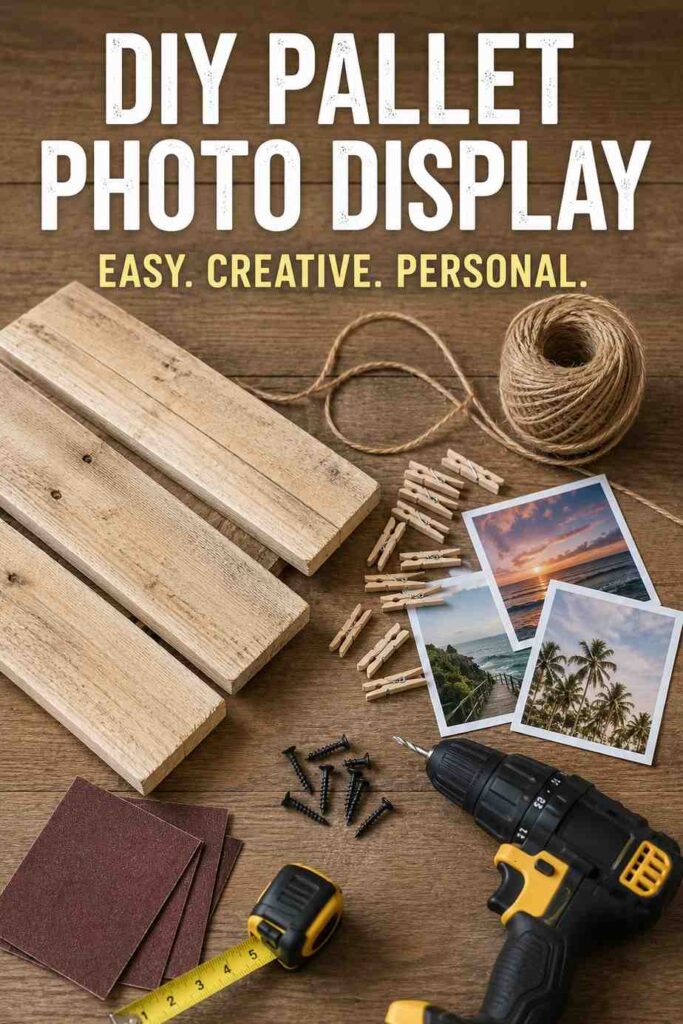
You do not need a full woodworking shop to make a pallet photo display. Most versions use basic craft and home tools. The final material list depends on whether you want a wall-mounted board, a leaning event display, or a freestanding backdrop.
You may need a clean pallet or pallet-style wood boards, sandpaper, a small pry bar, hammer, drill, screws, picture-hanging hardware, twine, jute rope, ribbon, small clips, mini clothespins, cup hooks, stain, paint, clear sealer, and a measuring tape. For styling, you can add fairy lights, greenery, dried flowers, name cards, small signs, or printed captions. If the board will be used outdoors, choose weather-friendly clips and avoid paper decorations that can bend in humidity.
How to Make a Simple Pallet Photo Display
A simple pallet photo display starts with a clean board, a planned layout, and secure hanging lines. You can finish a small version in one afternoon, especially if your pallet is already in good shape. Take your time with cleaning and sanding because those steps decide whether the display feels finished or rough.
Start by brushing away dirt and wiping the wood with a slightly damp cloth. Let it dry fully. Remove loose nails or staples. Sand the front, sides, and any area people may touch. The surface does not need to be perfectly smooth, but it should not catch skin, clothing, ribbon, or photo corners. If you want a cleaner look, apply a light stain, whitewash, or matte sealer before adding the hanging lines.
Step 1: Plan the Photo Layout
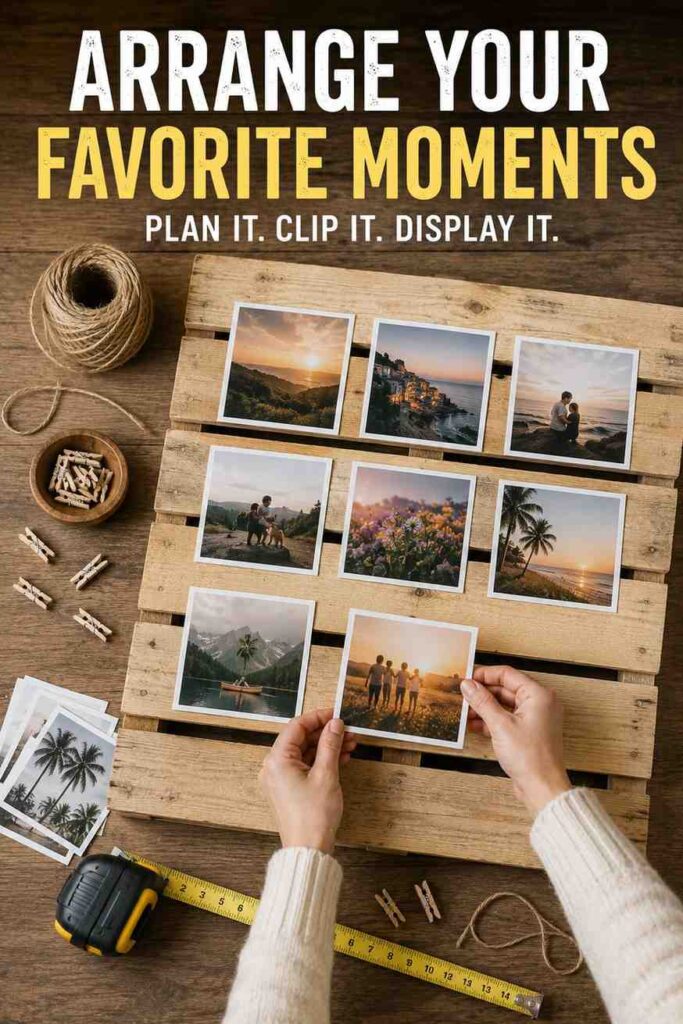
Lay your pallet flat and place the photos on top before attaching anything. Try a timeline layout, a grid, a scattered collage, or rows by theme. For example, a graduation board can start with baby pictures at the top and end with senior photos at the bottom. A wedding board can group childhood photos on one side and couple memories on the other.
Leave space between photos so the wood still shows. If every inch is covered, the pallet loses its texture and becomes visually busy. A small pallet photo display may look best with 6 to 12 pictures, while a full-size board can hold 20 to 40 depending on size and spacing.
Step 2: Add Twine, Ribbon, or Wire
Twine gives a rustic look, ribbon feels softer, and thin wire creates a cleaner modern style. Measure each row before cutting. Pull the line tight enough so it does not sag under photo weight, but not so tight that it bends clips or pulls loose. Staple the ends to the back of the pallet or wrap them around small screws or hooks.
For a cleaner finish, place the attachment points on the back or sides. For an event display, you can let the twine show slightly because it adds to the handmade look. A pallet photo display with three to five rows usually gives enough room for different photo sizes without looking crowded.
Step 3: Clip and Balance the Photos
Use mini clothespins, metal clips, binder clips, or small decorative pegs. If the photos are valuable originals, print copies instead. Clips can leave pressure marks, and sunlight can fade paper over time. For a family memory board, printed copies are easier to replace and safer to handle.
Balance color, size, and orientation. Mix close-up portraits with wider group shots. Place darker photos near lighter ones, so one side does not feel heavy. If you use black-and-white prints, the whole piece will look more polished and calm. If you use colorful party photos, keep the clips and ribbon simple to avoid a cluttered finish. To keep a digital accent wall from feeling separate, pair your wood tones with a soft moving wallpaper that uses similar colors.
Best Photo Sizes for a Pallet Board
Photo size affects the final look more than most people expect. Standard 4×6 prints are easy to arrange and affordable. 5×7 prints work well for important moments, such as a wedding portrait, graduation picture, or family centerpiece. Small square prints can give the board a social-photo style, while Polaroid-style prints add a casual vintage feel.
|
Photo Size |
Best Use |
Layout Tip |
|---|---|---|
|
3×3 square |
Dorms, travel, casual memories |
Use in rows or clusters |
|
4×6 |
Family walls, events, timelines |
Best all-purpose size |
|
5×7 |
Feature photos and milestones |
Place near the center |
|
8×10 |
Main portrait or hero image |
Use one or two only |
|
Polaroid-style |
Parties and memory tables |
Leave space for captions |
A pallet photo display looks strongest when one or two photos act as focal points. The rest should support the story. Think of it like a small wall exhibit: one main memory catches the eye, and the surrounding pictures add depth.
Pallet Photo Display Ideas for Home Decor
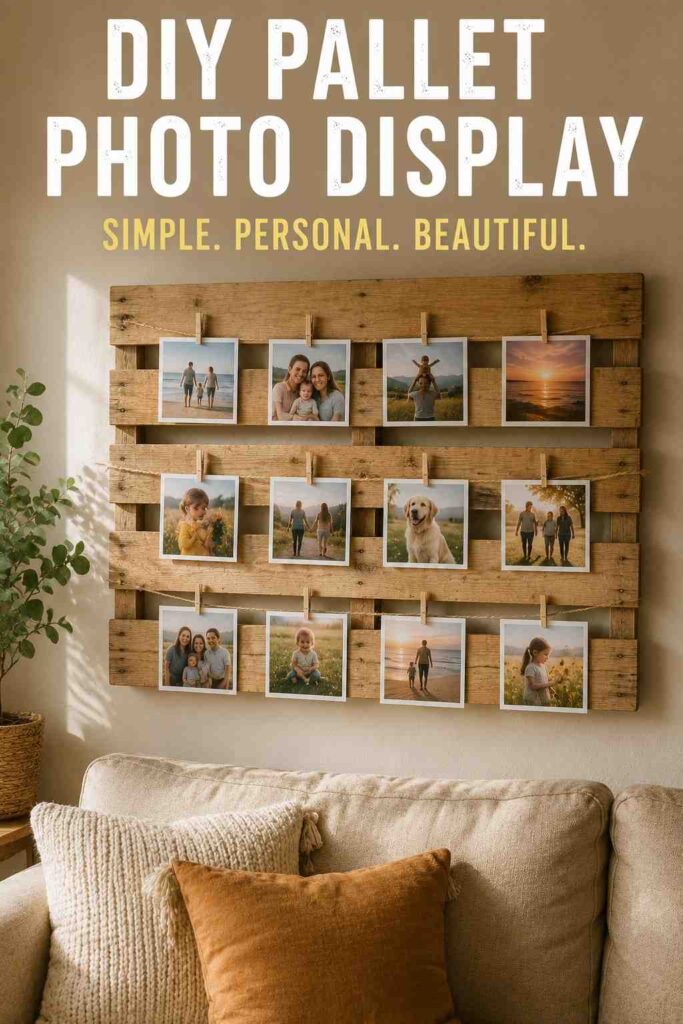
A pallet photo display can work in many rooms if you match it to the mood of the space. In a living room, use neutral ribbon and family portraits for a warm focal wall. In a hallway, make a narrow timeline with photos from different years. In a bedroom, use softer colors, vacation pictures, or black-and-white prints for a calmer mood. For broader room inspiration, outinteriors can sit naturally beside rustic wall decor and handmade photo accents.
A small pallet board also works well near an entryway. Add family photos, postcards, small notes, or reminders. In a kitchen or breakfast nook, use food memories, holiday pictures, or kids’ artwork. The key is to keep the display connected to the room, not just placed on the wall.
Pallet Photo Display Ideas for Weddings
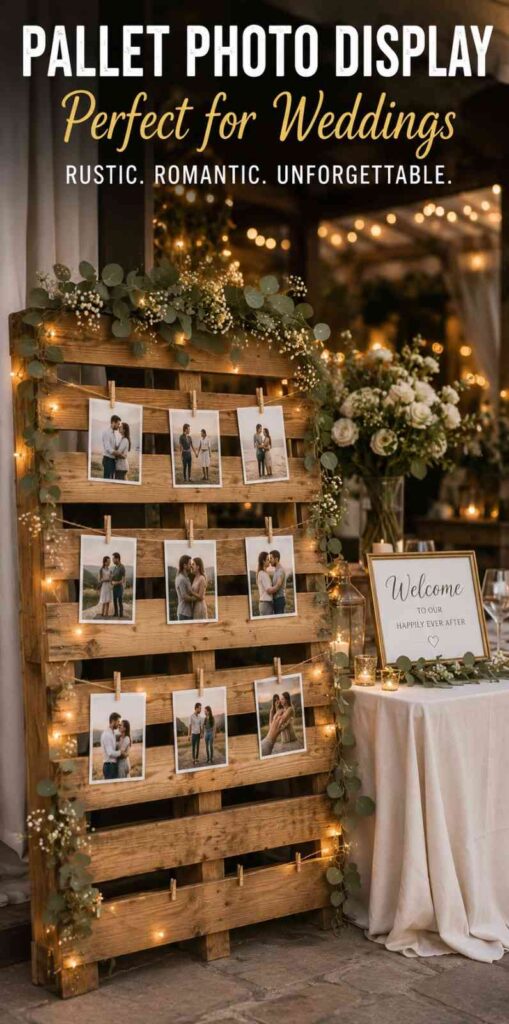
For weddings, the pallet photo display often becomes part of the memory table, guest book area, ceremony entrance, or reception backdrop. It can show childhood pictures, engagement photos, family memories, or loved ones who cannot be present. This type of display adds emotion without needing expensive decor.
Use soft ribbon, white clips, greenery, eucalyptus, dried flowers, or warm string lights. Keep the palette simple so the photos remain the focus. For outdoor weddings, secure the board properly and avoid placing it where wind can pull photos loose. If the display will stand near candles, keep lights battery-operated and decorations away from open flames.
A wedding board should feel personal, not crowded. Choose photos that tell a story: early family moments, first trips, proposal pictures, and memories with parents, siblings, and close friends. If you want a lighter bedroom or dorm setup, collect a few cute wallpaper ideas before choosing ribbon, clips, or paint.
Graduation and Senior Party Display Ideas
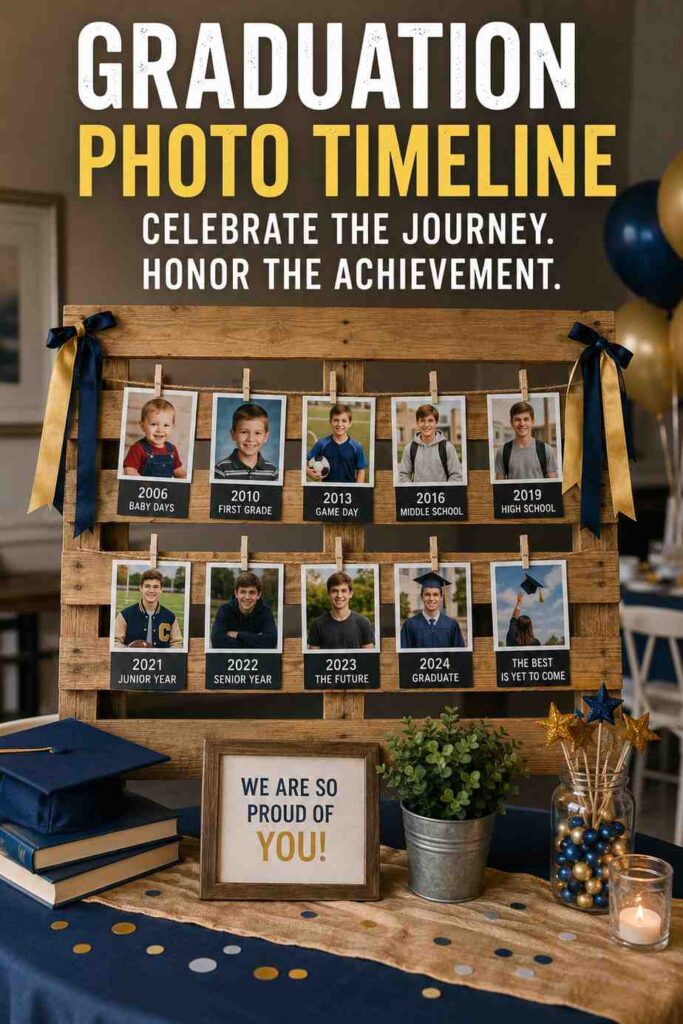
A pallet photo display is especially useful for graduation parties because it turns years of memories into one visual timeline. Start with baby or preschool photos at the top, move through school years in the middle, and end with cap-and-gown or senior portraits at the bottom. This layout helps guests walk through the graduate’s story in a natural way.
Add school colors through ribbon, mini banners, or small paper accents. You can also clip award cards, sports pictures, theater programs, or handwritten notes from family. If you are setting it on a dessert table, keep food and drinks away from the wood to prevent stains. For a backyard party, choose heavier clips so the photos stay in place.
Baby Shower, Birthday, and Anniversary Uses
A wooden picture display is not only for weddings and graduations. For a baby shower, it can show parent childhood photos, ultrasound images, or family generations. For birthdays, it can show one photo from each year. For anniversaries, it can show the couple’s journey from early dating days to the present.
For a child’s birthday, add bright ribbon, small balloons, or themed cutouts. For an anniversary, use black-and-white prints, gold clips, or soft lights. A pallet photo display gives these moments a handmade touch that feels more personal than a store-bought poster board. It also becomes a conversation piece because guests naturally stop to look, smile, and ask about the memories.
How to Style the Wood Finish
The finish changes the whole personality of the display. Natural wood feels rustic and casual. Whitewashed wood feels soft and farmhouse-inspired. Dark stain looks richer and works well with black-and-white photos. Painted wood can match a party theme, nursery, dorm room, or seasonal setup.
Before painting or staining, test a small area first. Pallet wood can absorb color unevenly because the boards may come from different wood types. That unevenness can look beautiful, but it is better to know before covering the whole piece. For indoor use, a matte clear sealer helps reduce dust and makes the surface easier to wipe. Avoid glossy finishes if you want a more natural look.
Hanging, Leaning, or Freestanding: Which Is Best?
A wall-mounted board works well for long-term home decor. It saves floor space and makes the display feel intentional. Use proper wall anchors based on the board’s weight and your wall type. Pallets can be heavier than they look, especially if the wood is thick or damp.
A leaning board is better for temporary events. Place it on a sturdy table, against a wall, or on an easel-style stand. Add weight or support behind it if guests may bump the table. A freestanding display works best for weddings, photo booths, and large parties, but it needs a strong base. A great pallet photo display should look relaxed, but it should never feel unstable.
Protecting Printed Photos
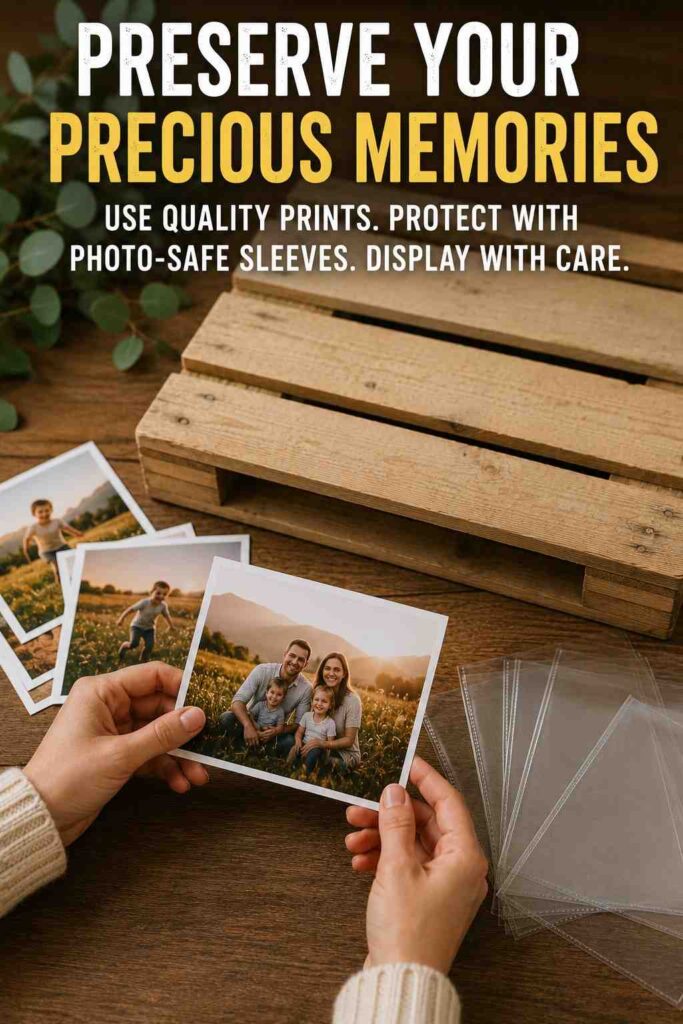
Printed photos can fade, bend, or collect dust if they are exposed for long periods. For everyday home decor, use copies instead of originals. Keep the display away from direct sunlight, steamy bathrooms, damp basements, and heat vents. If you want to show old family photos, scan them first and print duplicates.
Choose matte prints if the board will be near windows or lights because glossy prints can reflect glare. If the photos are important, store the originals in photo-safe sleeves or boxes. When your pallet photo display holds seasonal or event photos, rotate them every few months. This keeps the board fresh and reduces long exposure to light.
Common Pallet Photo Display Mistakes to Avoid
The first mistake is using unsafe or dirty wood. Rustic does not mean stained, moldy, or sharp. Always clean, inspect, and sand the board before decorating. The second mistake is using too many photos. A crowded board makes it hard to see individual memories. Leave breathing room so each picture can stand out.
Another mistake is weak attachment. Loose twine, light clips, and poor hanging hardware can cause photos to fall. Plan for the display’s location. A board used outdoors needs stronger clips than one used in a bedroom. Also avoid placing the board too high. Photos are meant to be seen up close, so keep the center near normal viewing height when possible.
Budget-Friendly Ways to Make It Look Better
You do not need expensive supplies to make the project feel polished. Use consistent photo finishes, such as all matte or all black-and-white prints. Choose one clip style instead of mixing too many materials. Add one small sign, not five. Use greenery only where it supports the layout.
If the pallet wood looks too rough, paint it with a thin whitewash. If it looks too plain, stain it slightly darker. If the photos feel scattered, arrange them by date, color, or theme. A pallet photo display becomes more attractive when every detail has a reason. Simple choices often look better than adding more decorations.
Creative Variations to Try
For a farmhouse look, use jute twine, natural clips, and warm family photos. For a modern rustic look, use black wire, black-and-white prints, and a dark stain. For a boho style, add dried flowers, neutral ribbon, and soft fabric pieces. For a holiday board, change the photos and add small seasonal accents.
You can also make a mini version from a few pallet planks instead of a full pallet. This works well for desks, shelves, dorm rooms, and small apartments. Another idea is to create a rotating memory board where each month has a different theme: vacations, birthdays, school memories, pets, holidays, or family recipes.
Maintenance and Long-Term Care
Dust the wood gently with a dry microfiber cloth. Do not spray cleaner directly on the photos or clips. If the display is near a kitchen, entryway, or outdoor door, check it more often for dust and humidity. Replace bent clips, loose twine, or curling photos as needed.
If the display is used for one event, store it in a dry place after removing decorations. Do not leave it outside after the party. Rain and humidity can warp wood, stain photos, and loosen adhesives. A well-made pallet photo display can be reused for many occasions if it is cleaned, stored, and updated carefully.
Conclusion:
A pallet photo display is more than a rustic craft. It is a simple way to turn printed memories into a warm, visible part of your home or celebration. With safe wood, careful sanding, balanced photo spacing, and secure clips, you can create a piece that feels personal without looking messy.
The best results come from planning the story first. Decide whether your board is about family, love, school years, travel, or a special event. Then choose wood, colors, photo sizes, and decorations that support that story. A pallet photo display works because it is flexible, affordable, and deeply personal. It lets your favorite moments become part of the room instead of staying hidden on a phone.
Frequently Asked Questions:
What is the best wood for a pallet photo display?
The best choice is clean, dry, heat-treated pallet wood marked HT or new pallet-style craft boards from a trusted source. Avoid wood with mold, oil stains, strong odors, or an MB stamp. If you are unsure about a pallet’s history, do not use it indoors.
How many photos should I put on a pallet board?
It depends on the board size. A small board may look best with 6 to 12 photos, while a full-size pallet can hold 20 to 40. Leave space between pictures so the wood texture stays visible and the display does not feel crowded.
Can I use real old family photos?
It is better to use printed copies. Old originals can fade, bend, or get clip marks. Scan important photos first, print duplicates, and store the originals in photo-safe sleeves or boxes away from light, dust, and moisture.
How do I make a pallet photo display stand up at an event?
For temporary events, lean it against a stable wall, place it on a strong table, or use a secure easel-style stand. If it will be outdoors, add back support and use heavier clips so wind does not move the photos.
Should I paint or stain the pallet?
Both can work. Paint gives a cleaner or themed look, while stain keeps the natural wood grain visible. Whitewash is a good middle option because it softens rough wood while keeping the rustic texture.
What can I use instead of twine?
You can use ribbon, thin wire, leather cord, jute rope, small hooks, clip rails, or even tiny frames attached to the wood. Choose a material that matches the style of the room or event.
Is a pallet photo display good for renters?
Yes, especially if you make a leaning version instead of a wall-mounted one. A small board can sit on a console table, shelf, desk, or event table without making holes in the wall.