
Creepy 25 Spooky Window Painting Ideas to Make Your Home Hauntingly Fun
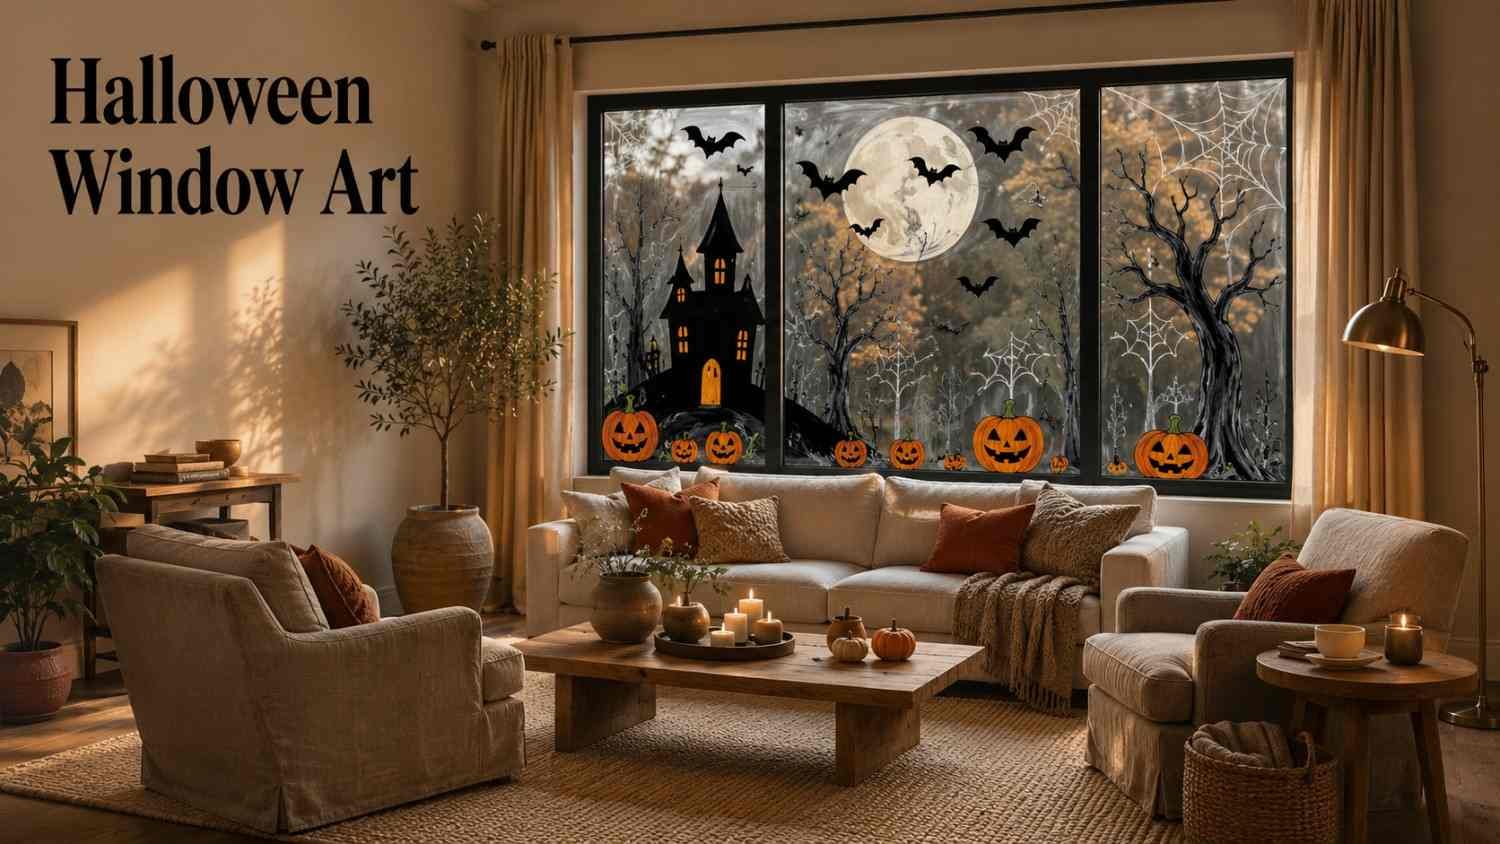
When Halloween arrives, windows offer a blank canvas that can transform an ordinary home into a playful haunted scene. Unlike decorations that sit on a porch or lawn, painted glass can be enjoyed from both inside and outside. A softly lit room behind the artwork can make ghosts appear to float, bats seem to fly across the night sky, and a haunted house silhouette look surprisingly dramatic after dark.
The best part is that you do not need advanced artistic skills. Simple shapes, bold outlines, limited colors, and clever placement can create impressive results. Washable tempera paint and washable window markers are commonly recommended for temporary seasonal projects, particularly when easy cleanup is important.
Whether you want something cute for children, eerie for older kids, or atmospheric enough to impress trick-or-treaters, these 25 spooky window painting ideas offer plenty of inspiration. There are options for small panes, large picture windows, bay windows, and even displays that connect several windows into one scene.
25 Spooky Window Painting Ideas for Halloween
1. Haunted House Under a Full Moon
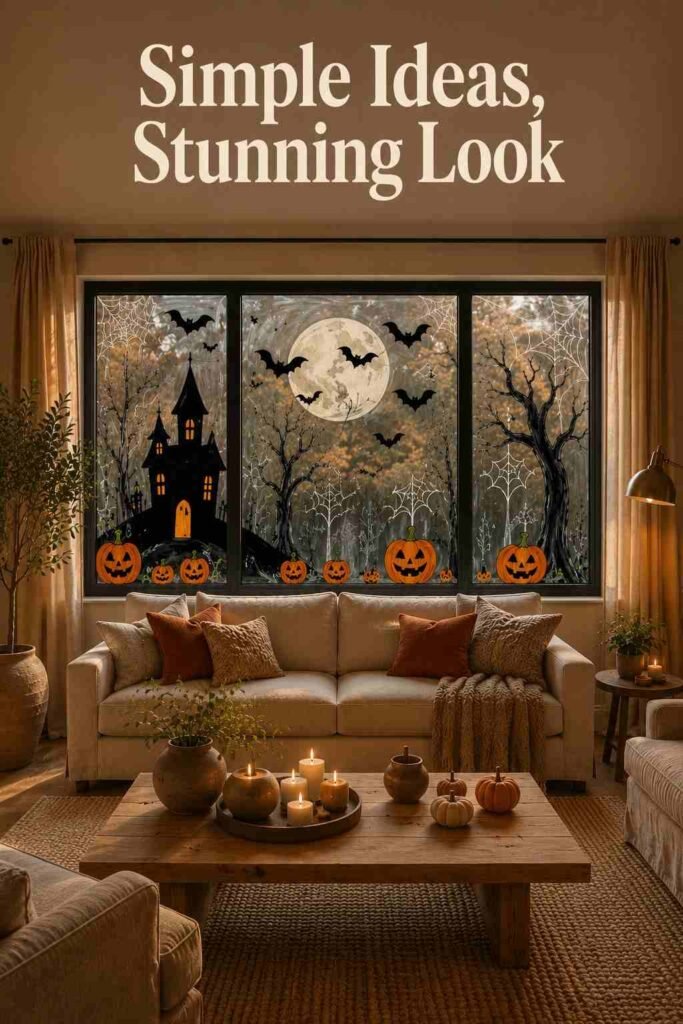
Turn a large window into a miniature haunted landscape with a crooked house, pointed roof, bare trees, and a giant moon. Use mostly black paint for the silhouette and leave small sections of the house unpainted or fill them with yellow-orange details. The contrast becomes especially effective when the room behind the window is dimly lit. Add a winding path leading toward the front door and a few bats crossing the moon. This design works particularly well on a wide picture window because the horizontal space gives you room to create a complete nighttime story.
2. Floating Ghost Family
Create several friendly ghosts at different heights, so they appear to drift across the glass. Keep their bodies simple with rounded white shapes and flowing bottoms, then add expressive black eyes. You can make one ghost large and several smaller ones to create visual depth. A few tiny stars or crescent moons can fill empty areas without making the window feel crowded. This is one of the easiest spooky window-painting ideas for families because the shapes are forgiving, and the finished result can be charming rather than frightening.
3. Swirling Bat Swarm
Instead of painting individual bats randomly, arrange them along a curved path that travels from one side of the window toward the other. Begin with larger silhouettes near one corner and gradually make them smaller as they move across the glass. This creates the illusion of distance and movement. Black paint is enough for the bats, although a dark purple or deep gray background can add atmosphere. Leave some open glass around the swarm so the composition feels intentional. A single crescent moon behind the group can become the focal point.
4. Creepy Spider Web Corner
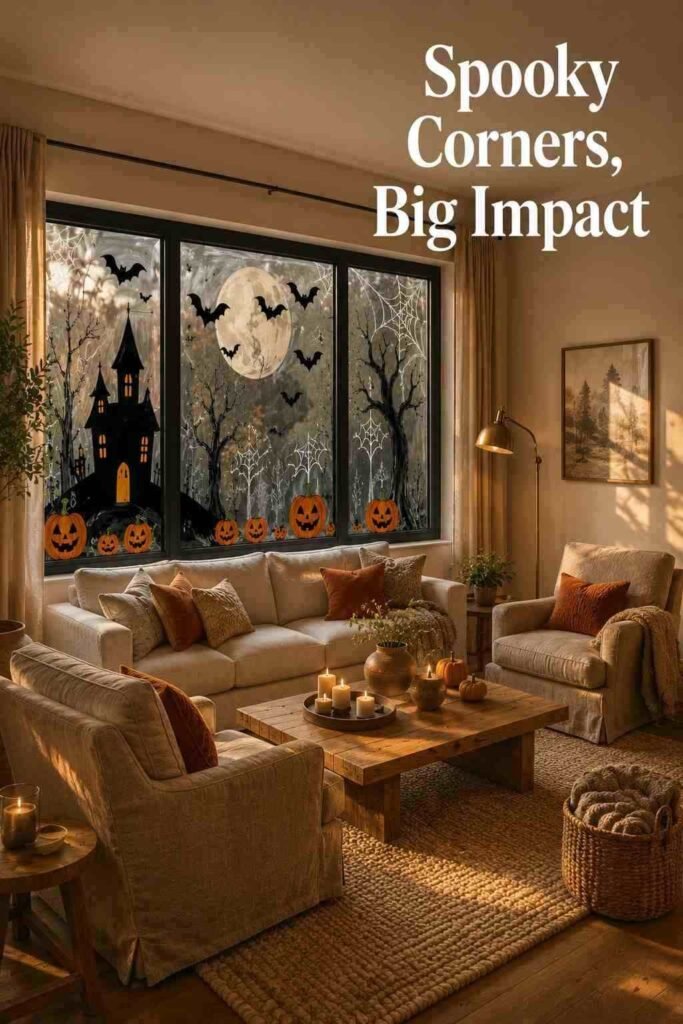
A spider web is ideal when you want decoration without covering the entire window. Paint thin white or pale-gray lines radiating from one corner, then connect them with curved strands. Add a black spider hanging from a single thread. You can repeat the web in the opposite corner for balance. This design is especially useful for narrow windows beside a front door or for rooms where you still want plenty of daylight. It also combines easily with pumpkins, bats, or small ghost illustrations elsewhere on the glass.
5. Jack-O’-Lantern Parade
Paint a row of pumpkins across the lower portion of the window, giving every face a different expression. One can look happy, another surprised, and another slightly mischievous. Use orange for the pumpkins, black for the facial features, and green for small stems and leaves. Add a few curling vines between them to connect the composition. If your window receives evening light from indoors, paint small yellow sections inside the faces to suggest a warm glow. This classic approach is simple enough for beginners while still making a large window feel festive.
6. Witch Flying Across the Moon
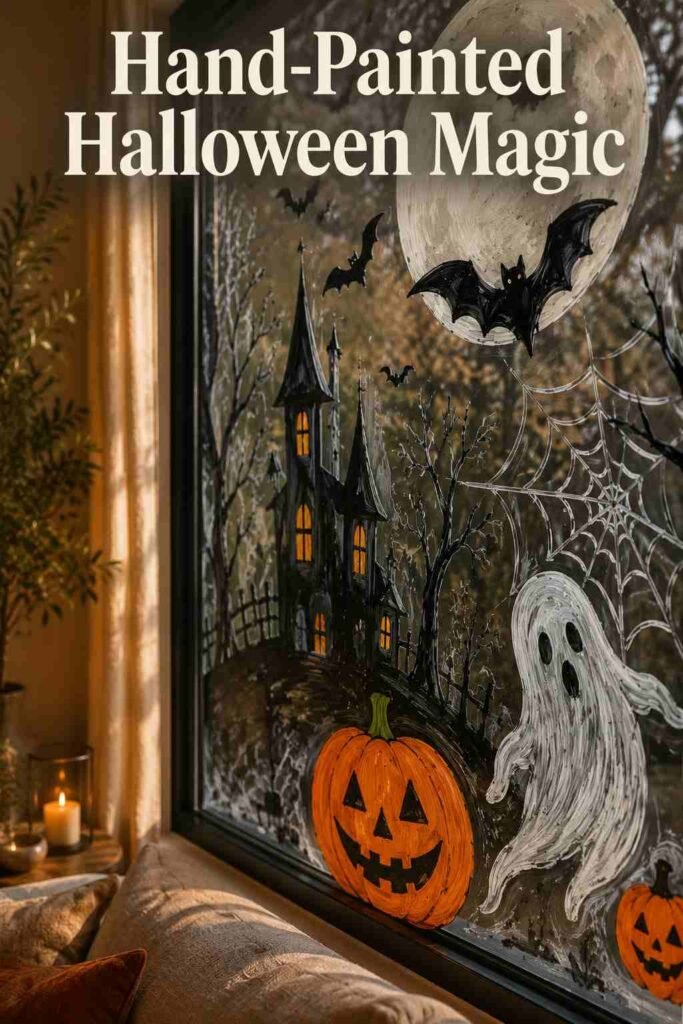
Create a dramatic silhouette of a witch traveling across a large moon on her broomstick. Keep the witch almost entirely black and make the moon a warm yellow or muted orange. Add several small bats around the edges to extend the scene. The key is positioning: place the moon slightly off-center instead of directly in the middle. That gives the composition a more natural, storybook quality. This is particularly effective on a tall window because the broom can travel diagonally upward, making better use of the available space.
7. Black Cat Watching the Night
A sitting black cat with bright eyes can create a spooky scene without becoming too complicated. Paint the cat as a solid silhouette, with its tail curling upward and ears pointed toward the top of the glass. Add a crescent moon behind it and perhaps a few wispy clouds. For a more playful version, paint two cats with different-sized eyes. Keep the background relatively simple so the silhouette remains the strongest feature. This idea works beautifully on a smaller window where a complicated scene would feel cramped.
8. Graveyard at Midnight
Paint a row of uneven gravestones along the bottom of the glass, then add a bare tree and a large moon behind them. You can use different shades of gray to create layers, with the darkest shapes closest to the viewer. Avoid filling the entire window with dark paint; leaving sections transparent lets the interior lighting become part of the artwork. Small details such as crooked grass, tiny bats, and a winding path can make the scene feel complete. It is one of the most atmospheric spooky window painting ideas for a front-facing living room.
9. Eyeballs Peeking Through
For a simple design with plenty of personality, paint a series of oversized eyes peeking from different parts of the window. Some can appear above a painted sill while others hide behind curtains or silhouettes. Use white, black, and a bright accent color for the irises. Vary the sizes and directions so they do not look like a repetitive pattern. This idea is especially effective when the window is dark from the outside. The eyes can appear to emerge from the shadows without requiring a detailed background.
10. Creepy Tree With Bats
A large, twisted tree can become the centerpiece of a Halloween window art. Paint the trunk and branches in dark gray or black, allowing several branches to reach toward the corners. Add bats flying between the branches and a few leaves falling through the scene. A pale moon behind the tree creates strong contrast. You can make the design more elegant by using thin branches rather than exaggerated shapes. This approach works especially well in a bay window because different panes can continue the branches naturally from one section to another.
11. “Boo!” With Decorative Lettering
Sometimes a simple message has more impact than a detailed illustration. Paint BOO! in large hand-lettered characters across the center of the window and surround it with small ghosts, stars, webs, and bats. Use one main color for the letters and a contrasting outline so they remain visible from the street. Keep the surrounding decorations smaller to preserve the visual hierarchy. A bold message also works well when you have limited painting time. If you are unsure about lettering freehand, sketch the design on paper first and use it as a guide behind the glass.
12. Friendly Frankenstein
Paint a stylized Frankenstein-inspired character with a square head, dark hair, expressive eyebrows, and a simple stitched mouth. Keep the expression humorous rather than frightening, especially for a family display. Place the character in the center and surround him with bolts, stars, or small bats. Green, black, gray, and purple provide a traditional Halloween palette without requiring many paint colors. This is a great choice for a child’s bedroom window or a family room where you want the seasonal display to feel playful.
13. Witch’s Potion Window
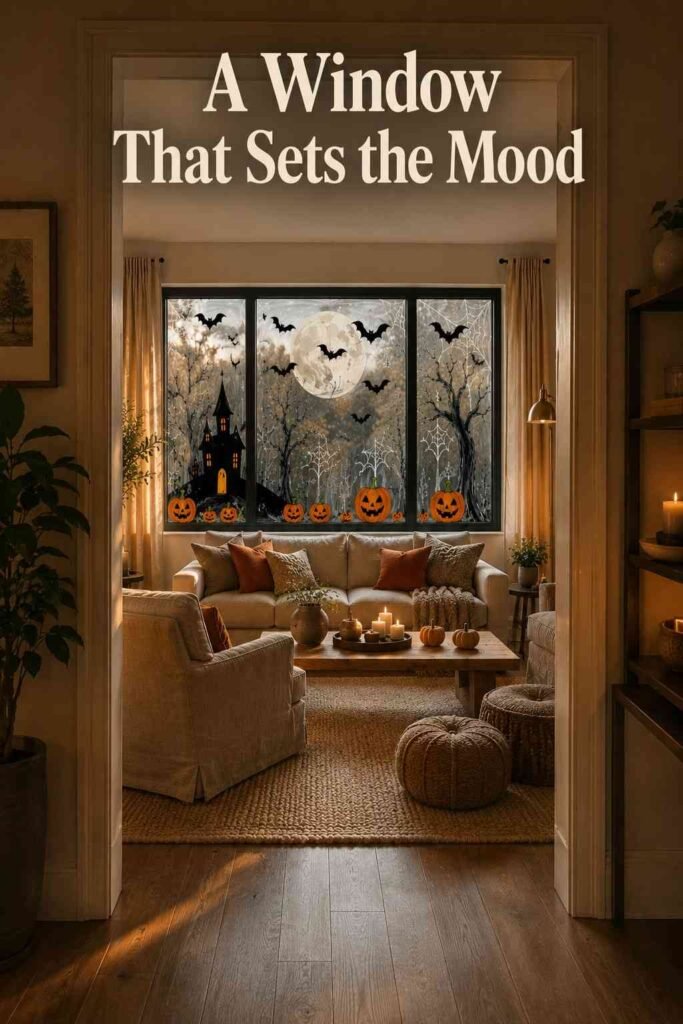
Turn the window into a magical laboratory by painting potion bottles, bubbling cauldrons, crooked shelves, and curling smoke. Use purple, green, orange, and black to create a classic Halloween palette. You can make the bottles different shapes and add simple labels such as “Magic” or “Potion.” A large cauldron at the bottom can anchor the composition while curling steam fills the center. This design is particularly fun for a kitchen window because the idea naturally connects with the room’s surroundings.
14. Haunted Forest
Create the impression of looking into a dark forest by painting layers of tall trees. Use the darkest trees closest to the bottom and lighter, thinner shapes toward the background. Add a small moon between the branches and a few pairs of glowing eyes in the distance. Keep the eyes simple rather than graphic so the display remains appropriate for a family home. The natural vertical structure of trees makes this design especially suitable for tall windows. It is also a good option when you want something atmospheric instead of character-focused.
15. Ghosts Holding Halloween Signs
Paint several ghosts floating across the window, with each one holding a small seasonal sign. Words such as “Boo,” “Eek,” or “Treat” are easy to incorporate without requiring a complicated scene. Give each ghost a slightly different expression and pose. One might wave while another holds a tiny pumpkin. Use a limited color palette so the individual characters look like part of the same display. This design can also stretch across several panes, with each ghost occupying its own section while the overall composition remains connected.
16. Skeleton Silhouette Scene
For a classic Halloween look, paint simplified skeleton silhouettes dancing, waving, or holding pumpkins. Avoid trying to reproduce every anatomical detail. Simple lines and recognizable poses are more effective from a distance. Arrange the figures along the lower half of the window and place a moon or stars above them. You can make the scene humorous by giving the skeletons different poses, almost like tiny Halloween party decorations. White paint against dark surroundings creates excellent contrast once evening arrives.
17. Raven on a Branch
A black raven perched on a crooked branch can create a more sophisticated Halloween display. Paint the bird as a silhouette and use thin lines for the branch. Add a large moon behind it, along with a few falling leaves. Keep the palette restrained with black, cream, muted orange, and gray. This design works particularly well for adults who prefer autumnal décor rather than cartoon-style Halloween characters. It can also transition nicely between Halloween and the broader fall season.
18. Pumpkin Patch at Night
Paint several pumpkins across the bottom of the window, then add leaves, vines, and a few small ghosts floating above them. Instead of making every pumpkin orange, vary the shades with muted yellow, cream, and orange. A dark blue or black sky behind them creates a nighttime effect. You can add tiny stars to fill open areas. The result feels festive without becoming overly scary, making it suitable for homes where young children will be part of the Halloween celebration.
19. Monster Eyes in the Dark
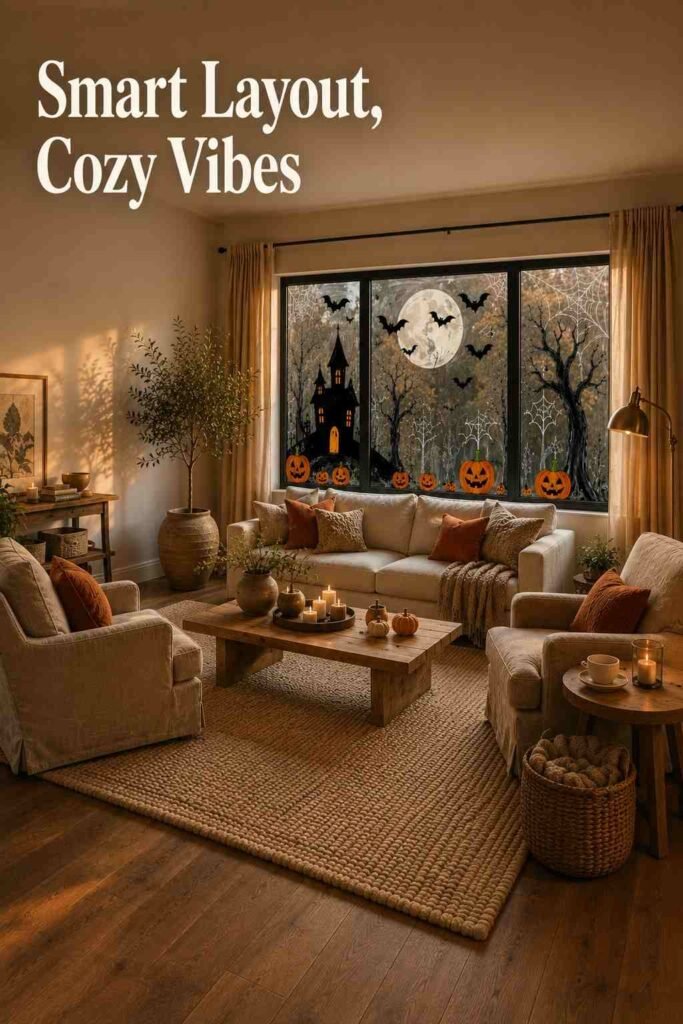
For a minimalist display, paint several pairs of glowing-looking eyes emerging from dark silhouettes. Use different shapes and sizes to suggest several creatures hiding behind the glass. Keep the rest of the window mostly clear. The design becomes especially effective when the room behind the glass is dark because the surrounding darkness reinforces the illusion. You can add tiny claws or ears to identify individual creatures, but resist the temptation to fill every space. Negative space is what makes this concept work.
20. Moonlit Cemetery With Flying Crows
Combine several classic motifs into one cohesive landscape. Start with a large moon, then paint uneven gravestones along the bottom and a few crows crossing the sky. A crooked fence can connect the cemetery elements and create a strong horizontal line. Use different shades of gray and black to separate the foreground from the background. Keep the details largest near the bottom and smaller toward the moon. This layered approach gives a single window much more depth without requiring highly detailed artwork.
21. Haunted Window Within a Window
Create the illusion that another spooky window exists behind your real glass. Paint a rectangular frame, curtains, and a shadowy figure or ghost appearing behind them. Add tiny cracks, moonlight, or a hanging spider for atmosphere. The concept plays with perspective and can look surprisingly convincing from the sidewalk. It is also useful for smaller windows because the design relies on one central illusion rather than a wide landscape. Keep the figure mysterious and simple, so viewers understand the idea immediately.
22. Potion Bottles and Magical Symbols
For something different from the usual pumpkins and ghosts, create a collection of illustrated potion bottles. Give each bottle a distinctive silhouette and fill it with bright colors. Add tiny stars, moons, bubbles, and mysterious symbols around them. You can place the bottles along the bottom third of the window as though they are sitting on a shelf. Purple, green, amber, and black create a magical palette. This is one of the more creative spooky window painting ideas for a craft room, kitchen, or teen-friendly Halloween display.
23. Full Window Halloween Mural
If you have a large picture window, use the entire surface as one connected mural. Sketch a central moon first, then build the surrounding scene with a haunted house, trees, pumpkins, bats, and ghosts. Establish the largest shapes before adding small details. This prevents the artwork from becoming visually cluttered. A full-window mural can take longer than a simple motif, but it offers the biggest opportunity for storytelling. Current decorating examples also show how a scene can span multiple window panes rather than treating every pane as a separate design.
24. Cute Monster Neighborhood
Paint a row of small monster characters as though they live in houses along a Halloween street. Give each character a different color, hairstyle, eye shape, or silly expression. Add tiny houses, pumpkins, stars, and clouds around them. This is a cheerful alternative to traditionally spooky artwork and works especially well for family homes. Use strong outlines so the characters remain recognizable from outside. Because each monster can be painted as an individual shape, this idea is also easy to divide among several people if the whole family wants to participate.
25. Spooky Night Sky Panorama
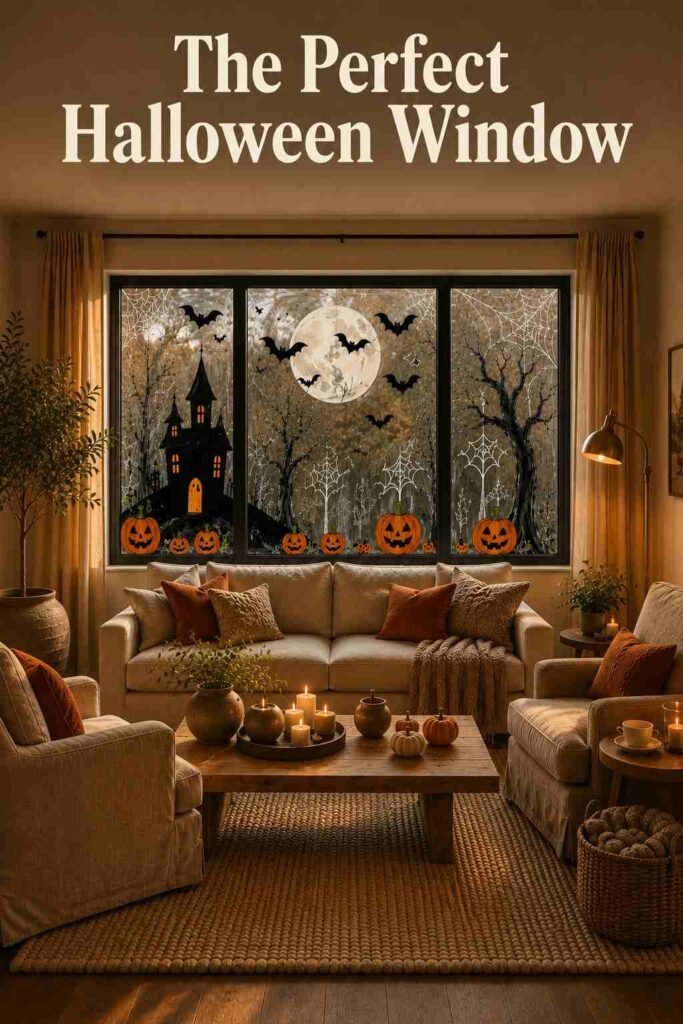
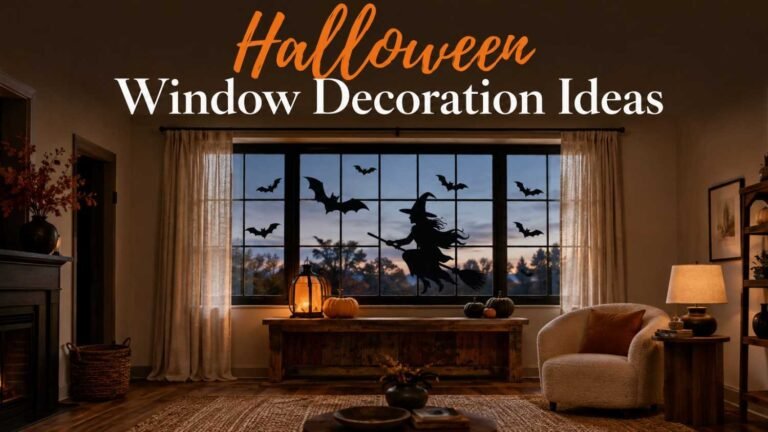
Finish with a simple panorama that focuses on atmosphere rather than individual characters. Paint a deep nighttime sky across the upper portion of the window, leaving some glass transparent for natural contrast. Add a crescent moon, stars, wispy clouds, distant bats, and silhouettes of trees along the bottom. Use just a few colors and let the glass itself become part of the design. This is one of the most versatile spooky window painting ideas because it can be adapted to almost any window size and paired with other Halloween decorations. If you want to decorate beyond painted artwork, these Halloween window decoration ideas can help you combine lighting, silhouettes, seasonal accents, and window art into one cohesive display.
How to Paint Halloween Designs on Glass
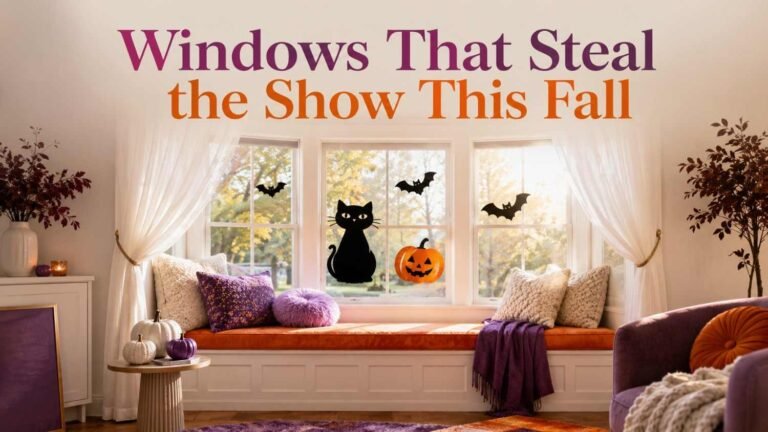
Before starting, clean the window thoroughly so dust and fingerprints do not interfere with the artwork. Plan your composition on paper first, especially if you are covering a large pane or several connected windows. Washable tempera paint and washable window markers are commonly used for temporary seasonal artwork, while the exact removal method depends on the product instructions. Those who prefer mess-free alternatives can explore Halloween window clings and decals for temporary designs that can be applied and removed without painting the glass.
If the design needs to be viewed primarily from outside, consider painting on the interior-facing side of the glass. This can protect the artwork from rain and wind while allowing the room’s lighting to enhance the display at night. For lettering, remember that designs painted from the opposite side can appear reversed, so test a small word before completing a large message.
Tips for Better Results
Start with large shapes. Build the moon, house, tree, pumpkins, or main characters before adding small details. This keeps the design balanced.
Use contrast. Dark silhouettes against lighter areas are easier to see from the street, especially after sunset.
Leave some glass uncovered. Space prevents a busy design from becoming difficult to read.
Think about lighting. A painted window can look completely different during daylight and after dark. Indoor lighting can become an important part of the finished display.
Test your paint first. Different window products have different removal requirements. Always follow the manufacturer’s instructions and test an inconspicuous section when appropriate.
For households that prefer not to paint directly on glass, removable silhouettes and other temporary window treatments can provide a similar effect. One established DIY approach uses tracing paper, cardboard silhouettes, and removable adhesive pads rather than applying artwork directly to the window. For more warm, creative home styling inspiration, visit outinteriors and explore ideas for making seasonal décor work naturally with your existing interior.
Choosing the Right Design for Your Window
The size and shape of your window should influence the artwork you choose. A small window works best with one strong motif, such as a cat, moon, pumpkin, or pair of eyes. A wide picture window can accommodate a full haunted landscape or connected mural. Tall windows are ideal for witches on broomsticks, trees, hanging spiders, or vertically arranged ghosts.
Bay windows offer another opportunity because individual panes can become parts of one larger story. You might place a moon in the center pane, trees on the sides, and bats crossing from one pane to another. Decorating guidance from Real Homes similarly highlights the potential of bay windows and multi-window scenes for painted Halloween displays.
How to Make Your Painted Window Look Spookier at Night
Lighting can completely change the effect of Halloween glass art. Keep the area immediately behind the window relatively uncluttered so the painted shapes remain visible. Warm indoor lighting can create a cozy contrast against black silhouettes, while a darker room can make pale ghosts, eyes, and moon shapes stand out.
For a more dramatic scene, think in layers. Put the largest silhouette near the bottom, medium elements around the center, and smaller bats or stars toward the top. This creates the impression of distance without requiring complicated painting techniques. Backlighting is particularly useful for window artwork because the glass naturally becomes a glowing surface after sunset.
Making Your Halloween Window Art Family-Friendly
Not every Halloween display needs to be frightening. If young children will be involved, choose pumpkins, friendly ghosts, cats, monsters, stars, and playful witches. You can create plenty of Halloween atmosphere without using disturbing imagery.
For a family painting session, divide the window into sections and give each person a small motif. One person can paint pumpkins while another creates bats or stars. The finished display will feel more personal and can become a seasonal family tradition. Washable materials are particularly convenient for temporary projects, but adults should check product labels and supervise children according to the manufacturer’s guidance.
Frequently Asked Questions
What kind of paint is best for Halloween window painting?
Washable tempera paint and washable window markers are popular choices for temporary Halloween artwork. The best option depends on the surface, desired finish, and manufacturer’s removal instructions. Always check the label before applying a product to glass.
Can you paint directly on a window for Halloween?
Yes. Temporary Halloween artwork can be painted directly onto suitable glass surfaces. Clean the glass first and test the product according to its instructions. If you are renting or uncertain about the surface, removable alternatives such as clings or paper silhouettes may be preferable.
How do you make Halloween window art visible at night?
Use strong contrast and keep the largest shapes clearly defined. Interior lighting can illuminate the artwork from behind, while a darker room can make pale elements such as ghosts and moons more noticeable. Test the display after sunset so you can adjust anything that disappears into the darkness.
What are easy Halloween designs for beginners?
Start with pumpkins, ghosts, bats, spider webs, stars, moons, and simple silhouettes. These designs are based on basic shapes and do not require advanced drawing skills. A few large, well-placed elements often look better than many tiny details.
How can I decorate a small window for Halloween?
Choose one focal design rather than trying to create a complete scene. A black cat, crescent moon, hanging spider, pair of eyes, or small ghost family can fill a compact pane without making it look crowded. Keep the surrounding glass clear to give the artwork room to breathe.
Can Halloween window painting be used on several windows?
Absolutely. Several windows can become parts of one larger scene. For example, one pane can contain a moon, another a haunted house, and a third can continue the surrounding trees and bats. Planning the design as one panorama helps the separate windows feel connected.
How do I remove temporary Halloween window paint?
Follow the removal instructions for the specific paint or marker you used. Do not assume every product can be removed in the same way. Testing a small area before decorating the entire window is a practical way to avoid surprises.
Conclusion
A Halloween window does not need elaborate props or a complicated setup to make an impression. A few carefully chosen shapes can turn ordinary glass into a moonlit graveyard, a friendly ghost gathering, a mysterious forest, or a cheerful pumpkin patch. The strongest designs usually have a clear focal point, good contrast, and enough space to keep the artwork easy to see.
From beginner-friendly pumpkins to full-window murals, these 25 spooky window painting ideas offer options for almost every home and decorating style. Choose a design that suits your window, consider how it will look after dark, and let the glass become part of your Halloween story. With a little planning and washable seasonal materials, your windows can become one of the most memorable parts of your autumn décor.
One Comment