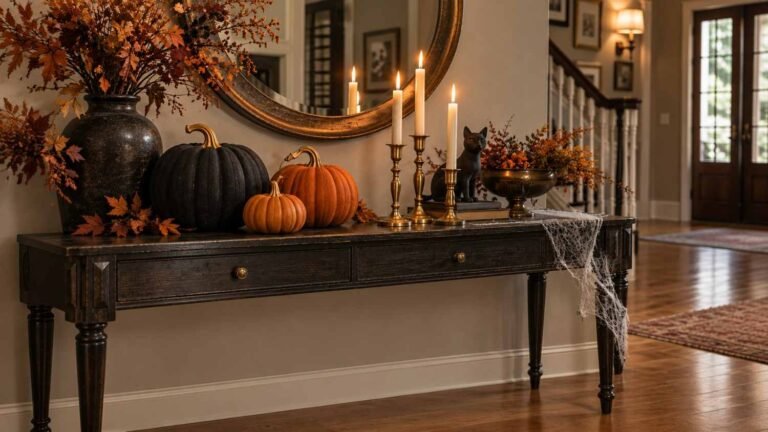
Artful 25 Halloween Window Silhouette Ideas to Turn Your House Into the Spookiest One on the Block
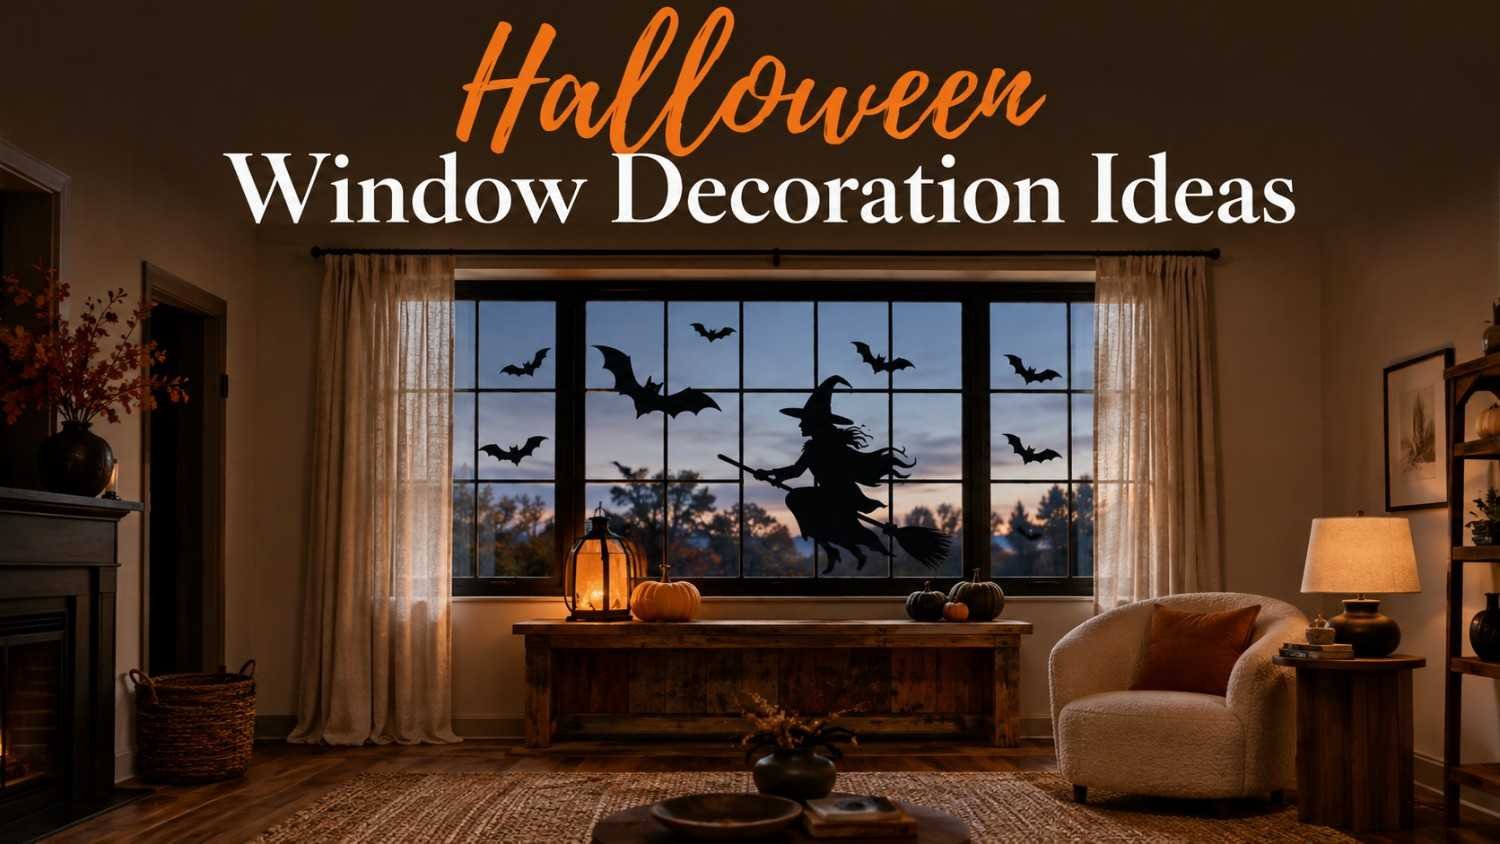
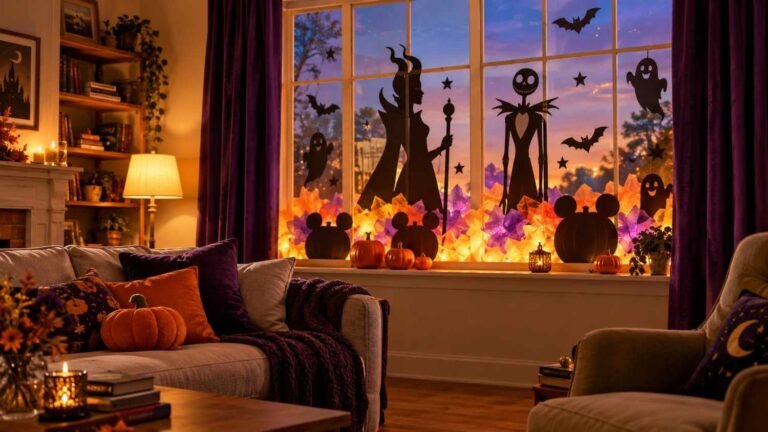
There’s a specific kind of magic that happens the moment string lights click off, and a single black shape appears in a glowing window. No sound, no smoke machine, just a shadow that makes a passerby slow their car down. That’s the entire appeal of Halloween window silhouettes — they cost almost nothing, take an afternoon to make, and outperform inflatable decorations every single year. Below are 25 Halloween window silhouette ideas grouped by style, plus the material comparisons, lighting tricks, and safety notes that most guides skip entirely.
Why Halloween Window Silhouettes Are Worth the Effort
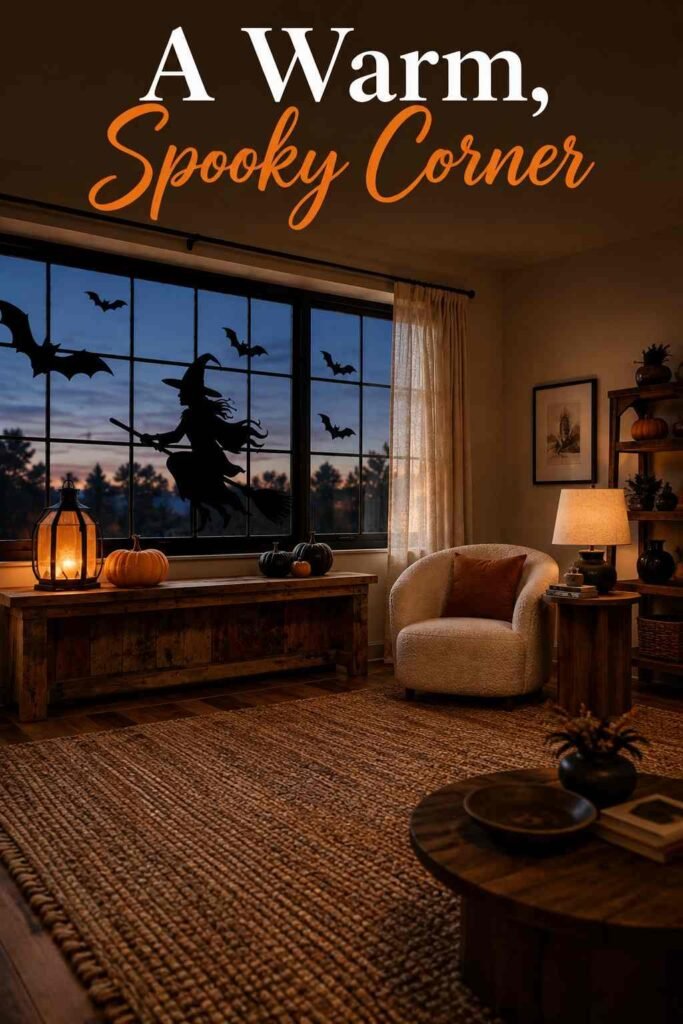
Halloween decoration has become a genuinely large category of holiday spending. According to the National Retail Federation’s 2025 survey, 78% of shoppers planned to buy décor this year, and total spending on decorations reached an estimated $4.2 billion, more than what people spent on candy. Window displays sit at the center of that trend because they’re visible from the street, don’t require a ladder, and can be swapped out in minutes. A well-placed Halloween window silhouette does more visual work per dollar than almost any other decoration on the market.
Unlike inflatables that deflate in wind or lights that wash out in daylight, a silhouette reads clearly at any hour once the sun goes down. It also survives rain, since most versions live safely behind glass rather than out on the lawn. That combination of low cost, low maintenance, and high visual payoff explains why Halloween window silhouette displays keep showing up on neighborhood best-decorated lists year after year.
What You Need Before You Start
Materials Comparison: Poster Board vs. Vinyl vs. Static Clings
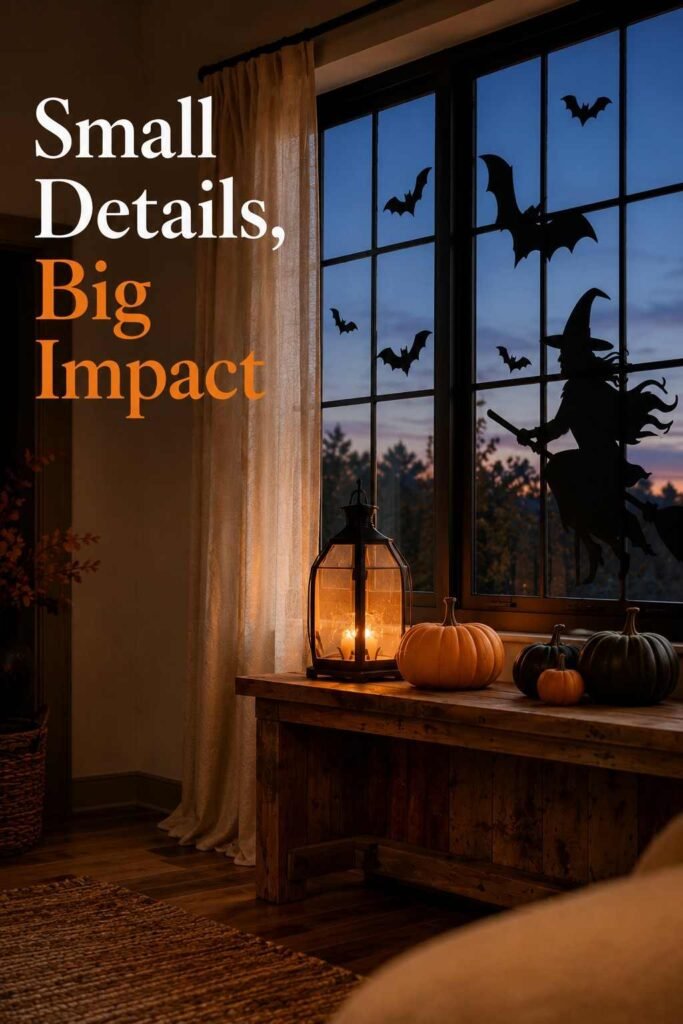
Every tutorial recommends a different material, but the right choice depends on your budget, your windows, and whether you plan to reuse the design.
|
Material |
Cost |
Reusable |
Best For |
|---|---|---|---|
|
Black poster board |
Under $5 |
One season, if stored flat |
First-time DIYers, large custom scenes |
|
Adhesive vinyl (cut with a machine) |
$10–$30 |
Multiple years |
Detailed designs, curved glass, crisp edges |
|
Static window clings |
$7–$15 |
2–3 seasons |
Renters, quick setup, no adhesive residue |
|
Fabric or paper on embroidery hoops |
$5–$10 |
Multiple years |
Small accent windows, whimsical themes |
Tools That Make the Job Easier
A box cutter or X-Acto knife, painter’s tape, and a projector are the three tools that separate a shaky homemade shape from a genuinely impressive one. If you can’t draw freehand, project a printed template onto poster board after dark and trace the outline directly — this single trick is responsible for most of the sharp, professional-looking Halloween window silhouette scenes you see online. Printable templates, available from craft blogs and print shops, save time if you’re short on artistic confidence.
25 Halloween Window Silhouette Ideas for Every Style
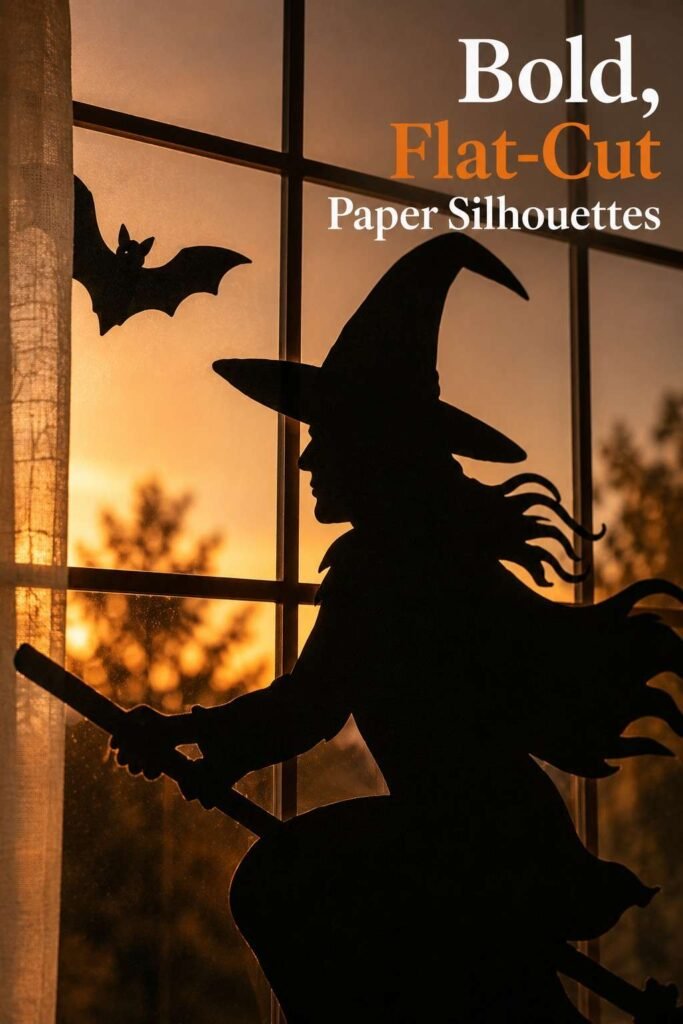
Classic Spooky Silhouettes
- Witch on a broomstick — the single most searched-for shape, instantly recognizable even from across the street.
- Flying witches in a group, staggered at different heights to suggest motion across the glass.
- Arched black cat, back raised, tail curled — a small shape that reads well even in narrow windows.
- Classic ghost figures, simple rounded shapes that work for beginners and still look eerie backlit.
- Skeleton hand reaching upward, positioned low on the pane as though something is climbing in.
Elegant Gothic Silhouettes
- Vampire holding a candelabra, a dramatic single-figure scene that looks striking in a front-facing window.
- Raven perched on a bare branch, ideal for a smaller side window or transom.
- Layered spiderweb with a spider in the corner, easy to cut and effective even at small scale.
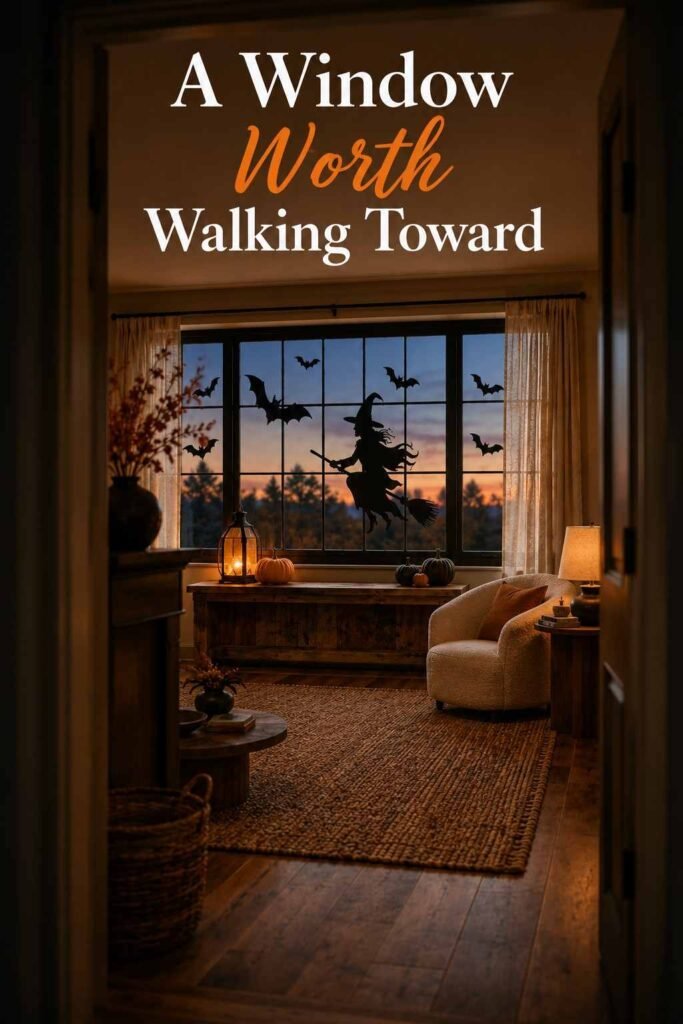
- A swarm of bats in varying sizes, scattered to create depth rather than lined up in a row.
- Owl silhouette on a twisted branch, a quieter, less gory option for a sophisticated porch.
Playful and Kid-Friendly Silhouettes
- Grinning jack-o’-lantern faces cut directly into orange or black paper.
- Candy corn shapes stacked in a cheerful row along a lower window pane.
- A trio of cute, rounded ghosts with simple dot eyes, perfect for a nursery or kids’ room window.
- A black cat family, one large and two small, for a lighthearted twist on the classic shape.
- Friendly cartoon monsters, easy to trace from Dollar Tree-style templates and safe for young kids to help cut out.
Dramatic Statement Silhouettes
- A headless figure standing beside a lantern, one of the most talked-about designs on decorating forums.
- A full haunted-mansion scene, including a fence, gravestones, and a crooked tree layered across one large window.
- Bloody handprints pressed against the glass, best reserved for windows without small children nearby.
- A hooded reaper figure holding a scythe, positioned centrally for maximum street visibility.
- Zombie hands rising from the ground, cut along the bottom edge of a lower-story window.
Budget-Friendly and Last-Minute Silhouettes
- Pre-made static window clings, sold in multi-piece sets and removable without residue.
- A garland of small bat cutouts strung across the top of a window frame.
- Simple black triangle bats, foldable and cuttable in under ten minutes for a last-minute display.
- Free printable templates, traced and taped up the same afternoon you decide to decorate.
- Colored cellophane accents layered behind a black silhouette to add an eerie green or orange glow once lit from inside.
How to Make DIY Halloween Window Silhouettes
Start by measuring your window and choosing a design that fits the proportions of the glass — tall narrow windows suit single standing figures, while wide picture windows handle full scenes better. Tape your poster board or vinyl backing to the window from the inside, then either project your chosen template after dark or trace a printed pattern by hand. Cut carefully with a sharp blade, working on a protected surface. For Halloween window silhouette scenes with multiple layers, cut and position each shape separately so you can adjust spacing before committing to tape.
Once every piece is cut, secure the design with painter’s tape or removable adhesive strips rather than permanent glue, which can damage window frames and glass over time. Step outside after dark to check how the shapes read from the street, and adjust anything that looks flat or too small. Many decorators find that a single large centerpiece paired with two or three smaller accent shapes looks more intentional than filling every inch of glass.
Lighting and Placement Tips for Maximum Effect
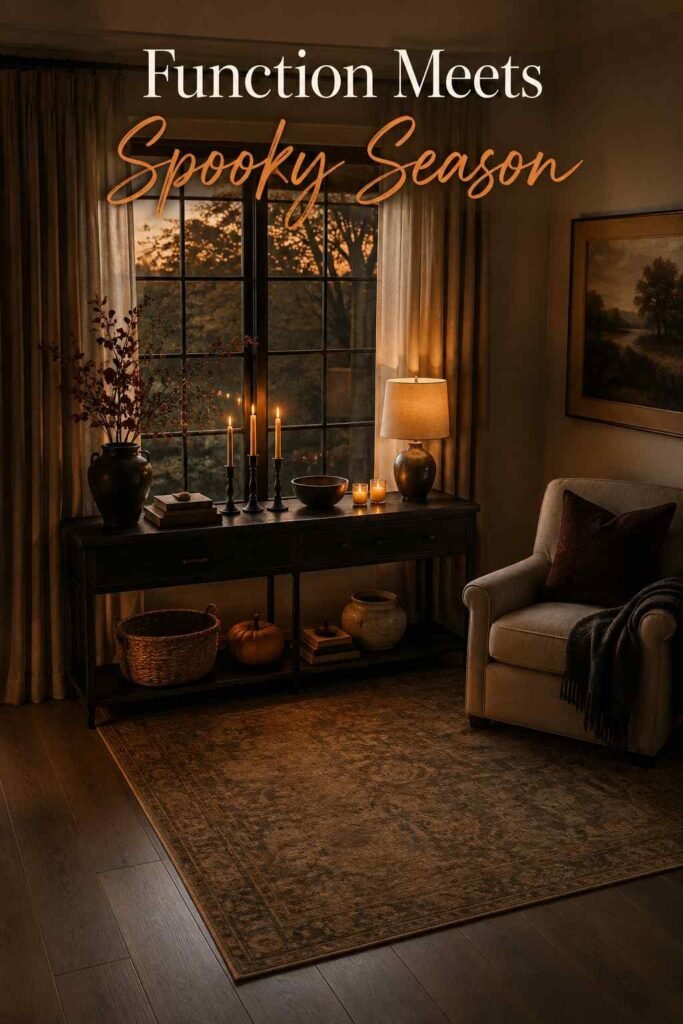
Backlighting is what separates an average display from a genuinely striking one. A single warm white or orange bulb placed a few feet behind the silhouette creates a soft, natural glow, while a colored LED bulb in green or purple adds a more theatrical, haunted-house feel. Avoid placing the light source too close to the glass, since this can wash out the crisp black edge that makes silhouettes effective in the first place.
Positioning also matters more than most guides mention. Windows visible from the sidewalk or driveway earn the most attention, so save your most dramatic scene — like the haunted mansion or headless figure — for the window closest to foot traffic. Smaller, quieter designs work well in side windows or upstairs rooms where subtlety reads better than spectacle.
Safety and Window-Care Tips Most Guides Skip
Renters and homeowners alike should avoid anything labeled “permanent” adhesive on glass or painted frames, since residue and paint damage are the most common complaints after Halloween. Static clings and painter’s tape are the safest options for rented apartments and historic window trim. If you’re decorating upper-story windows, use a stable stepladder and avoid overreaching, and never run string lights or extension cords through a window that won’t fully close and lock at night.
Humidity is another overlooked issue. Poster board silhouettes can warp or peel in damp climates, so consider laminating paper designs or switching to vinyl if you live somewhere with frequent October rain. Taking displays down promptly after Halloween also prevents sun-fading and keeps window seals in good condition heading into colder months.
Common Mistakes to Avoid
Even a simple Halloween window silhouette can fall flat if a few basic details are overlooked. The most frequent mistake is choosing a design that’s too small for the window, which makes the whole display look accidental rather than intentional from the street. A second common issue is overcrowding one pane with too many unrelated shapes — a witch, a spider, a pumpkin, and a bat crammed together often reads as clutter instead of a cohesive scene. Sticking to one theme per window solves this instantly.
Poor adhesive choice is another recurring problem. Packing tape and strong glue can pull paint off wood trim or leave a sticky film on glass that’s difficult to remove weeks later. Skipping the after-dark test is a smaller but easily fixed mistake — a shape that looks great in daylight can appear washed out or oddly proportioned once the interior light actually turns on behind it, so always check the finished display at night before calling it done. For more seasonal and year-round decorating inspiration, the full library at outinteriors covers everything from front porches to full kitchen remodels.
Where to Use These Ideas Beyond the Front Window
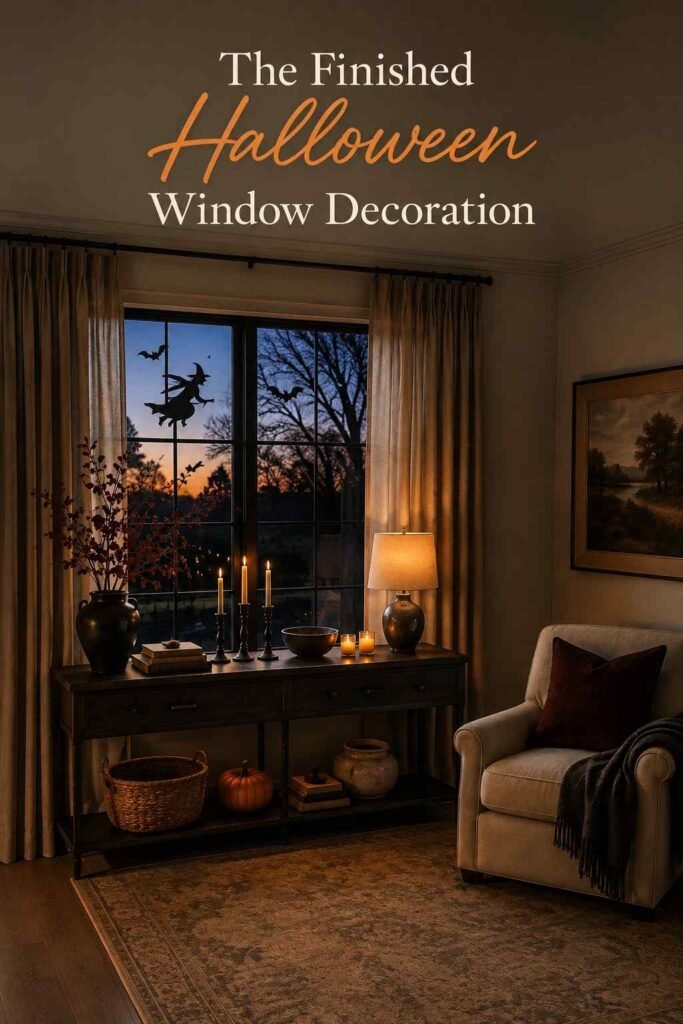
While front-facing windows get the most foot traffic, Halloween window silhouette displays also work well on garage door windows, glass storm doors, and even large mirrors turned toward the street for the season. Apartment dwellers with limited outdoor space often rely entirely on window displays since yard decorating isn’t an option, making static clings and removable vinyl especially popular in city buildings. For homes with a covered porch or side entry, pairing a window silhouette with a single pumpkin or lantern on the step ties the whole entryway together without much extra effort.
More Home and Outdoor Decor Inspiration
Once Halloween decorations come down, many homeowners turn their attention to year-round upgrades. If your porch display spills onto the patio, a Covered Outdoor Kitchen with Fireplace can turn that same space into a cozy spot for cider and s’mores through the rest of fall. Inside, swapping cabinet colors is one of the simplest refreshes available, and browsing sage green kitchen ideas is a good starting point for anyone easing out of spooky season and into a calmer palette.
Conclusion
A great Halloween window silhouette display doesn’t require expensive equipment or professional design skills — it requires a sharp blade, a bit of patience, and a willingness to experiment with light and placement. Whether you go with a single dramatic vampire scene or a playful row of candy corn shapes, these 25 Halloween window silhouette ideas give you a full season’s worth of options without touching a single inflatable or extension cord. Pick two or three that match your home’s personality, test the lighting after dark, and let the shadows do the rest of the work.
Frequently Asked Questions
What is the best material for Halloween window silhouettes?
Black poster board works well for a one-season display and costs almost nothing, while adhesive vinyl cut on a craft machine lasts several years and holds finer detail for repeat use.
Do Halloween window silhouettes damage windows or paint?
Not if you use painter’s tape, static clings, or removable adhesive strips. Permanent glue or double-sided tape left on too long is the main cause of paint and glass damage.
How do I make a silhouette without being able to draw?
Print a template, tape it to your poster board or vinyl backing, and either trace it directly or project it onto the window after dark using a projector, then trace the projected outline.
What size should my silhouette be for a standard window?
Most standard residential windows fit designs cut from one or two sheets of 20×28-inch poster board; for larger picture windows, tile multiple sheets together before cutting.
Can I reuse Halloween window silhouettes next year?
Yes, if you store them flat in a dry container. Vinyl and laminated paper designs hold up especially well across multiple seasons compared to plain poster board.
Is backlighting necessary for the silhouette effect to work?
Backlighting isn’t required during daylight hours, but a warm or colored bulb placed behind the design after dark dramatically improves visibility and mood from the street.
Are Halloween window silhouettes safe for apartments and rentals?
Static window clings are generally the safest choice for rentals since they remove cleanly without leaving adhesive residue on glass or frames.