
30 Disney Halloween Window Decoration Ideas: Villains, Witches, and Mickey Magic
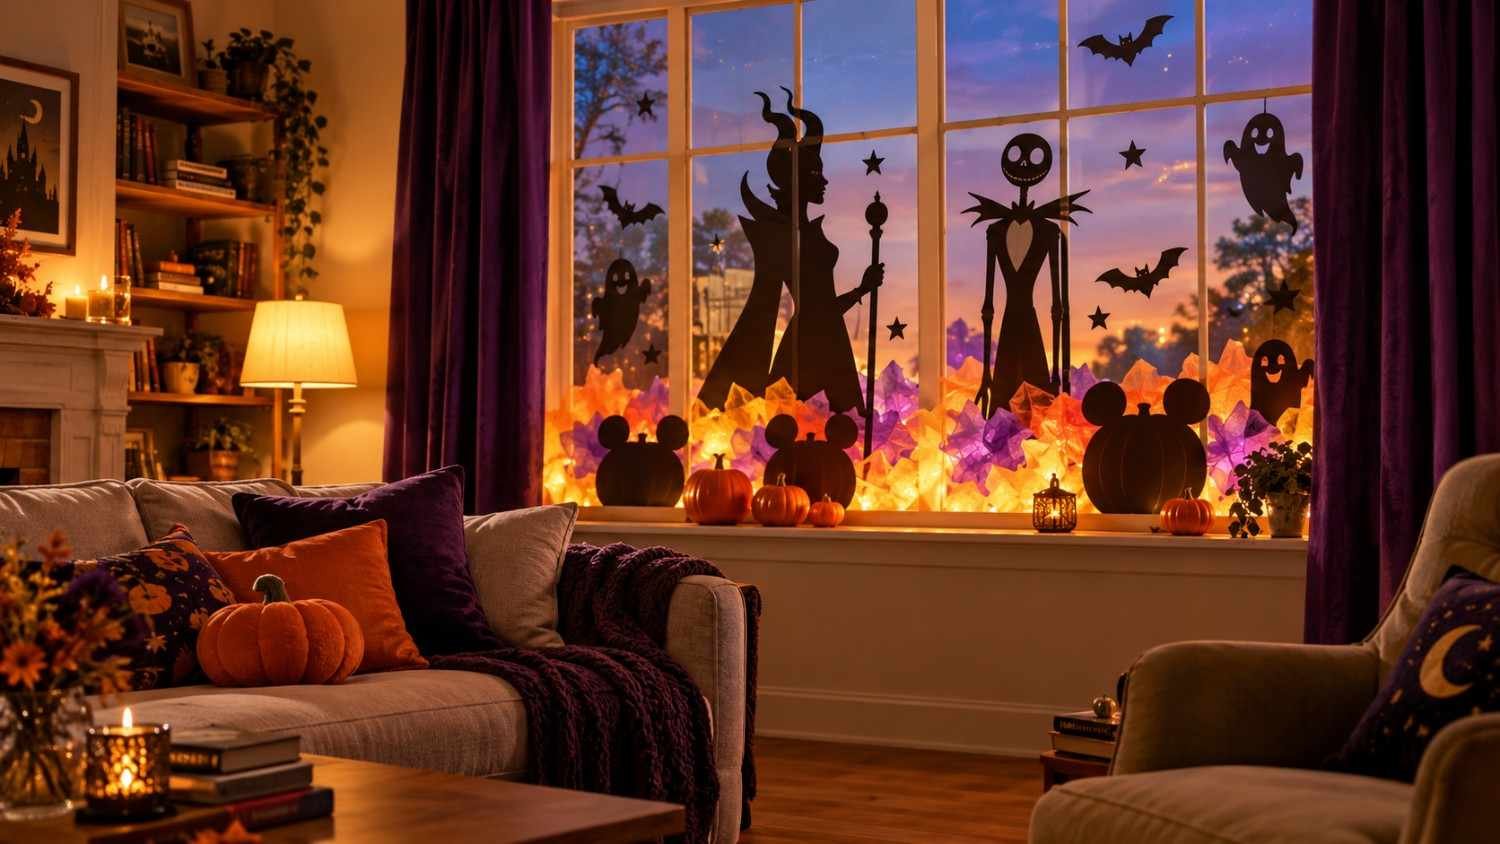
Every October, windows become tiny stages. Neighbors walking past slow down. Kids point and whisper. With a little paper, paint, and light, your glass can turn into a scene from a favorite film. This guide shares 30 Disney Halloween window decoration ideas that work for homes, classrooms, shops, and apartments. Each one is simple to make, easy to remove, and fun for all ages. Pick one or mix several for a full display.
Why Window Displays Work So Well for Halloween
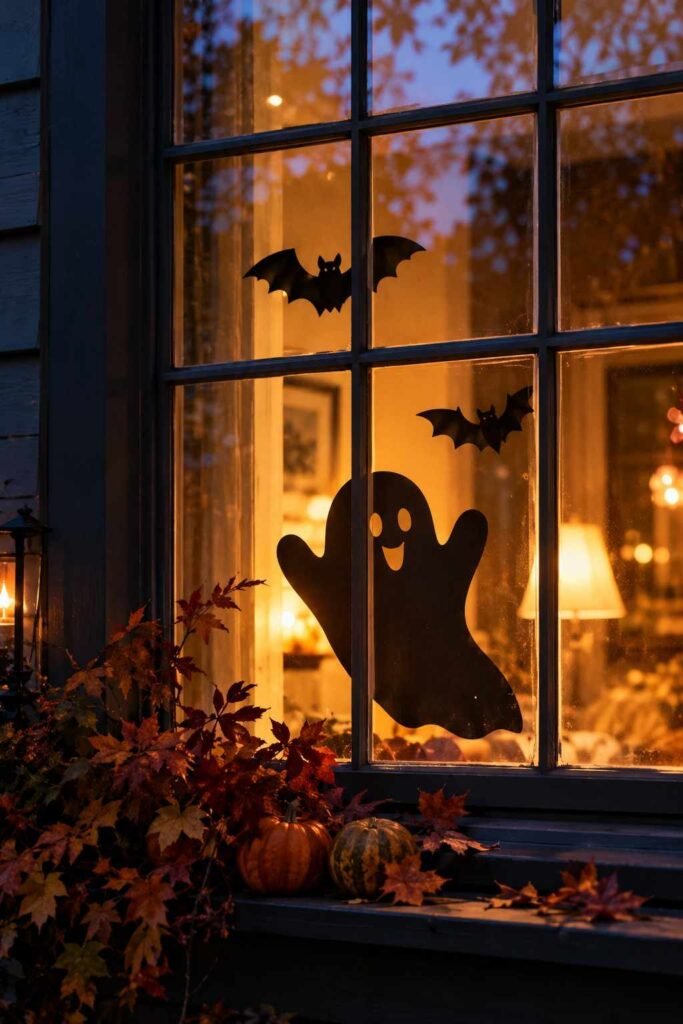
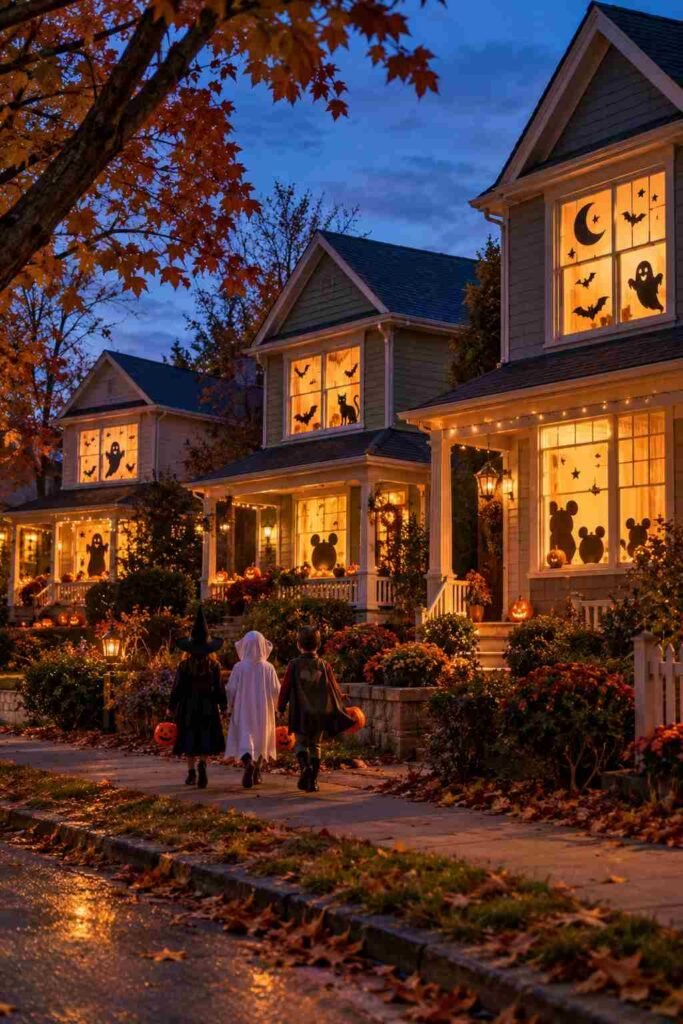
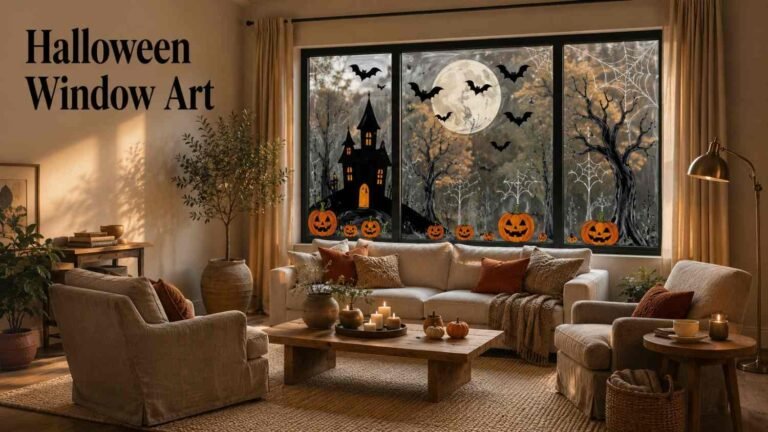
A window is the first thing guests and passersby see. It frames your decor like a picture and works day and night. Silhouettes pop against evening light, and a battery candle makes any scene glow after dark. Windows also keep your display safe from wind, rain, and little hands.
Disney characters suit this space well because their shapes are instantly recognizable. A pointed hat, a pair of round ears, or a curling smoke trail tells the whole story. You do not need advanced art skills. Black cardstock, tissue paper, and removable tape can carry most of these Disney Halloween window decoration projects.
Quick Prep Tips Before You Start
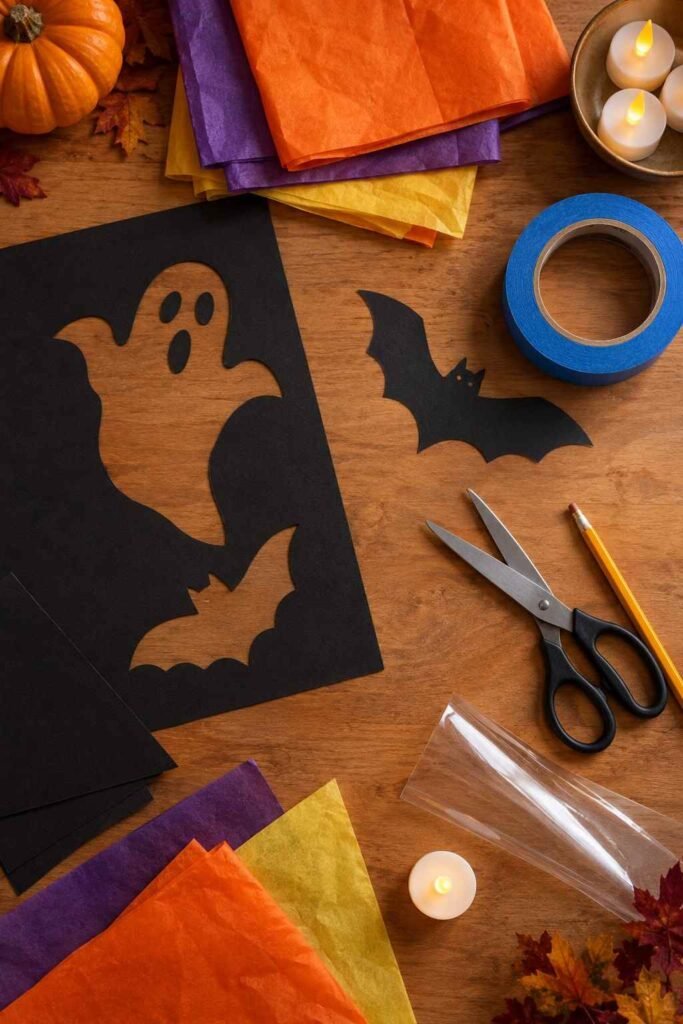
Good prep saves time and protects your glass. Clean the window first so tape and decals stick well. Choose removable painter’s tape or static-cling film instead of strong adhesives. Test a small corner before covering a large area.
Measure your pane, then sketch your design on paper. Black cardstock gives the sharpest silhouette. Tissue paper adds color without blocking all the light. Use battery-operated LED lights rather than plug-in bulbs near paper. Keep cords away from curtains, and never block a window used as an emergency exit. If you are decorating a classroom, browse these Window Decoration Ideas for School Halloween for more kid-friendly designs.
Classic Disney Villain Window Ideas
Villains are the stars of Halloween. Their bold outlines look dramatic from the street, and their colors are easy to recreate. Start with these six ideas if you want a display that feels dark, elegant, and a little wicked. Each design works best in black cardstock with a colored backdrop of tissue paper or a glowing light behind it.
1. Maleficent Horns and Green Flame
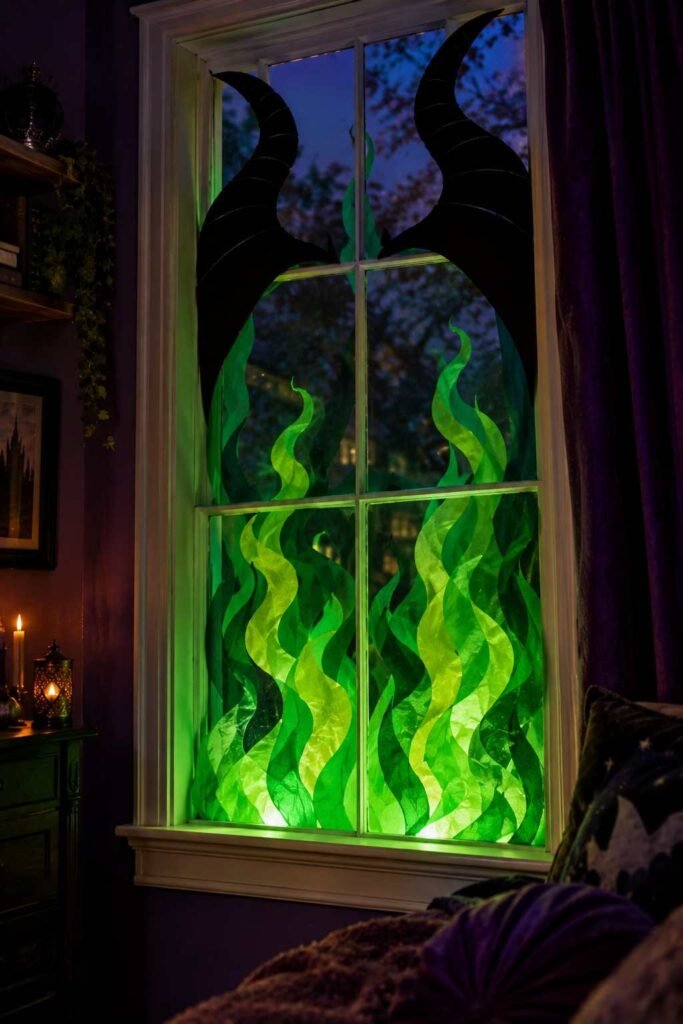
Cut her curved horns from black cardstock and place them at the top of the pane. Add green tissue paper below to mimic swirling fire. A green LED behind it makes the scene glow at night.
2. Evil Queen Mirror Frame
Build an oval frame from gold craft foam and tape it to the glass. Fill the center with silver foil. Add a small black raven silhouette on the edge for extra mystery.
3. Ursula Tentacle Border
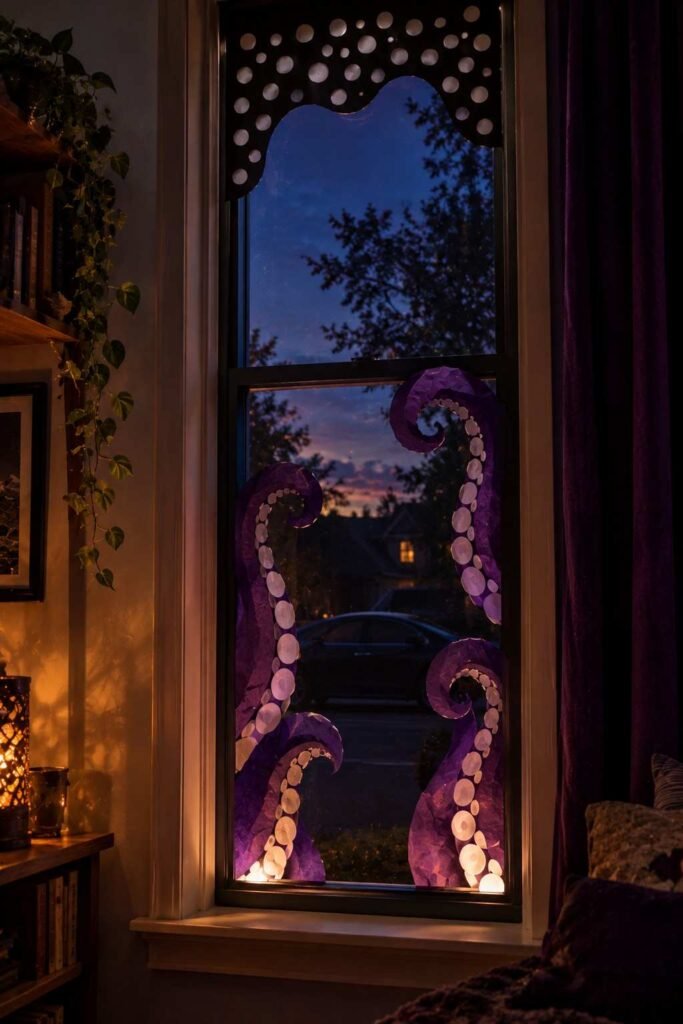
Cut wavy purple tentacles from craft paper and curl them along the bottom corners. Add small white circles for suction cups. This works well on tall, narrow windows.
4. Cruella Spotted Pattern
Use black and white paper circles to create a Dalmatian-style border. Place a sleek car silhouette in the center. Keep the palette strict for a sharp, graphic look.
5. Hades Blue Flame Hair
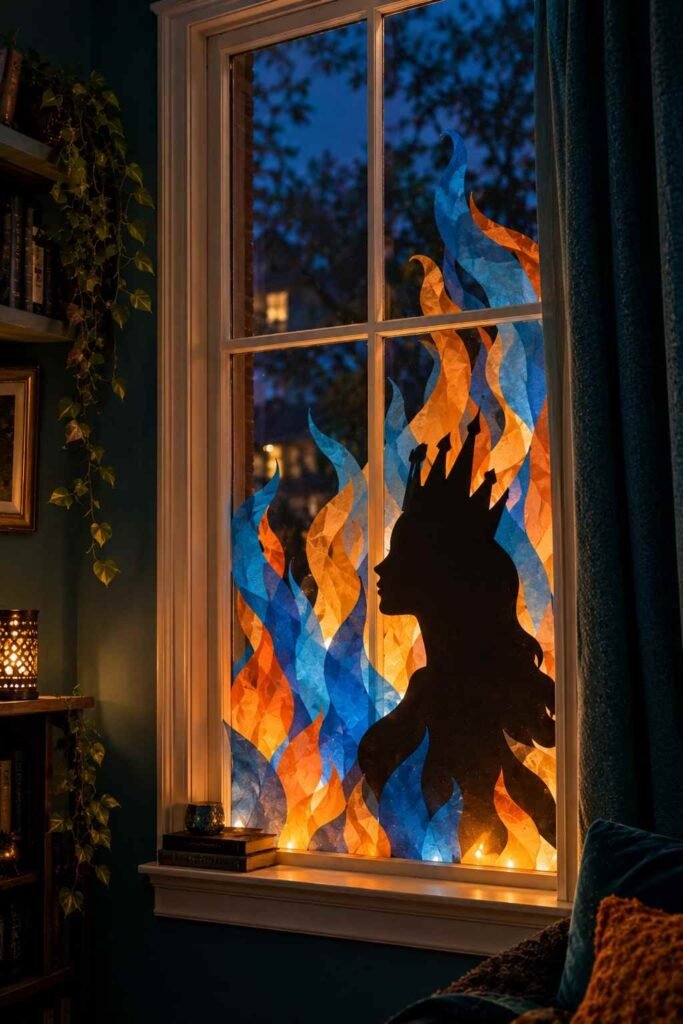
Cut flame shapes in blue and orange tissue paper and layer them upward. Add a simple black outline of his profile. The flickering effect looks great with a small LED light behind it.
6. Jafar Staff and Cobra
Draw a tall cobra-topped staff on black cardstock. Add a red paper gem in the eye. Place it in a corner and let it rise toward the top of the glass.
Nightmare Before Christmas Window Decoration Ideas
This film is a Halloween favorite for good reason. Its stripes, spirals, and crooked shapes are perfect for cutting out. These designs suit both modern and rustic homes. They also work well for classrooms, because the shapes are bold and easy to trace.
7. Jack Skellington Silhouette
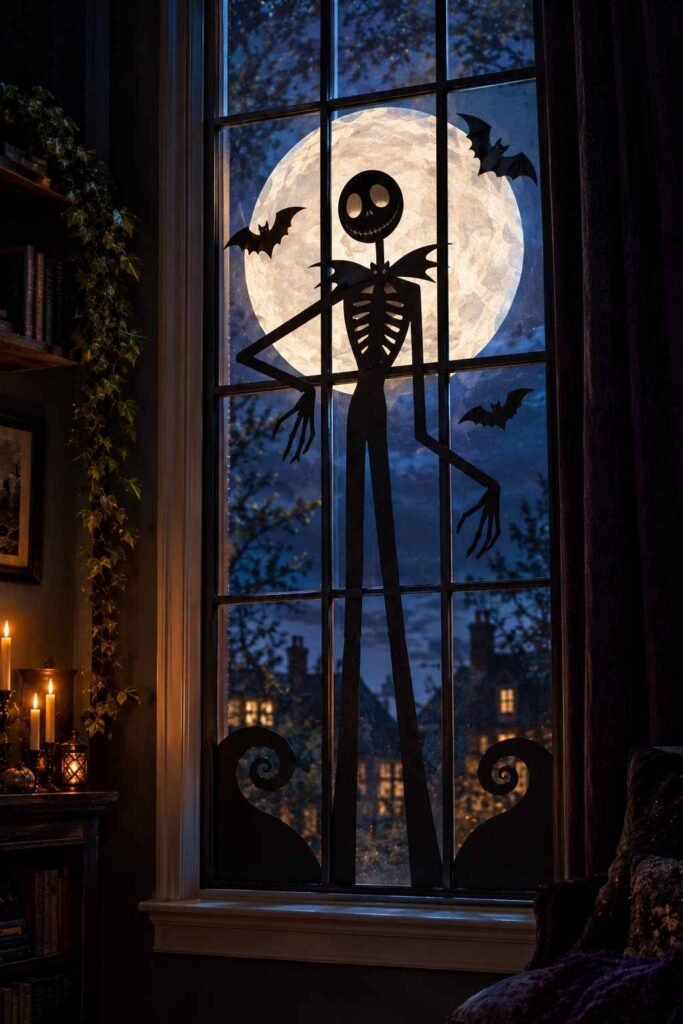
Draw his tall, thin frame on black paper with bent arms and a bat-shaped bow. Place a full moon behind him using white tissue paper. It is a simple and striking centerpiece.
8. Spiral Hill Scene
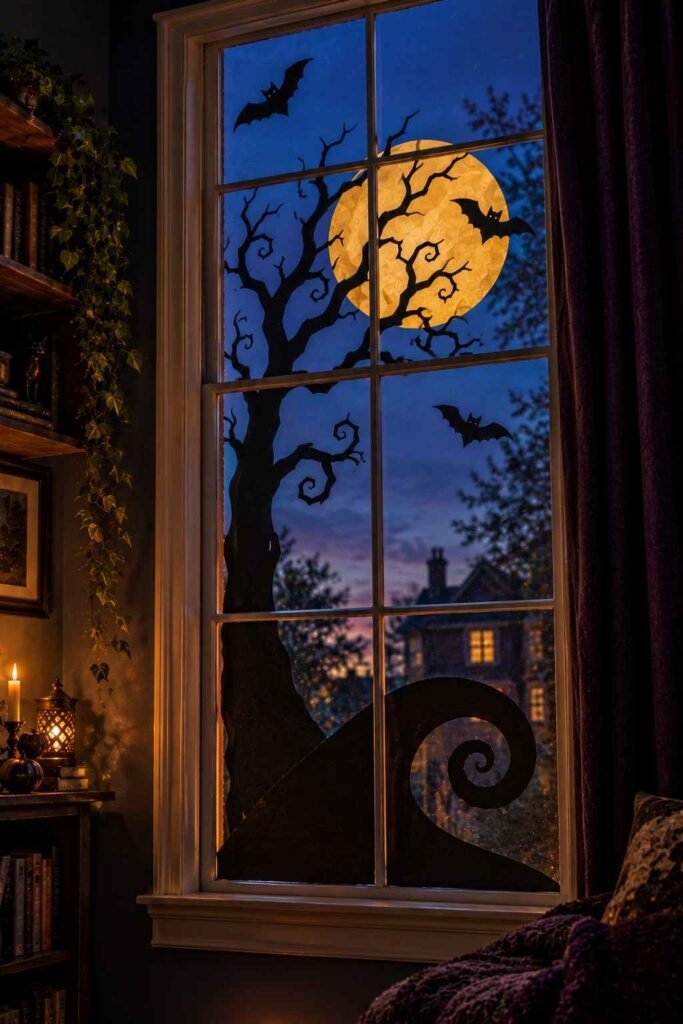
Create a curling hill from black paper and add a bare, twisted tree on top. Use a yellow circle for the moon. Keep the colors minimal to get that gothic storybook feel.
9. Oogie Boogie Shadow
Use a lumpy green burlap-style cutout with a sinister grin. Add small black dice shapes around it. Backlighting gives him a slightly creepy glow.
10. Sally Patchwork Panel
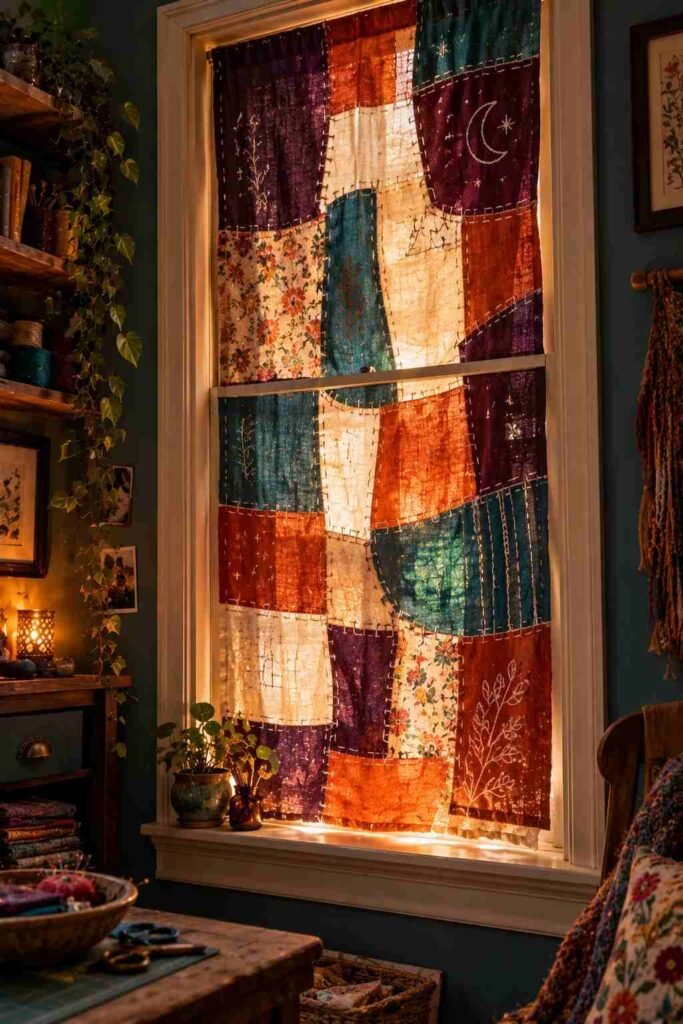
Cut a window-sized patchwork from fabric scraps or colored paper. Stitch lines can be drawn with a white marker. It adds warmth and a handmade charm.
11. Zero the Ghost Dog
Cut a white ghost-dog shape and add a glowing orange nose with a small LED. Float him near a window corner. Kids tend to love spotting him.
12. Halloween Town Sign
Make a crooked wooden-style sign using brown cardstock. Write the name in uneven lettering. Hang it with clear tape so it appears to float.
Hocus Pocus and Witchy Window Decor
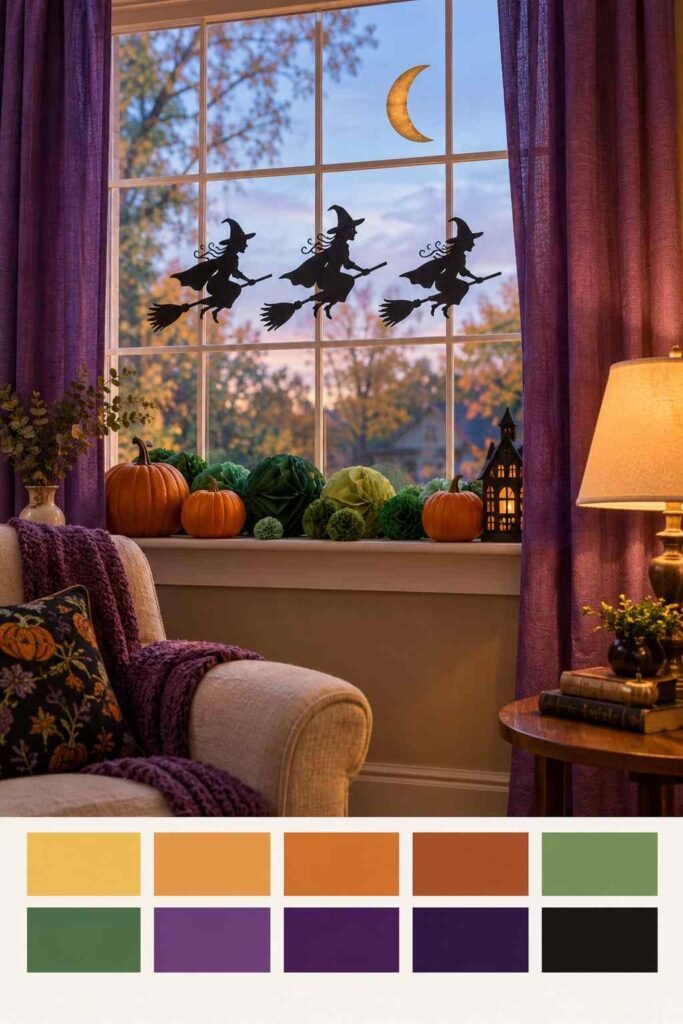
Witches never go out of style in October. Hocus Pocus is a fan favorite, and its purple, green, and orange palette looks great on glass. These ideas lean playful, so they fit family homes and party spaces especially well. Layered paper and colored light create a spellbound effect. Once your glass is done, carry the theme indoors with a warm and spooky Halloween mantel decor display.
13. Sanderson Sisters on Brooms
Cut three witches flying in a line across the window. Use black paper and add tiny curls of hair for personality. Place a crescent moon behind them.
14. Spellbook Window Panel
Cover a cardboard rectangle with brown paper and add a glowing green paper symbol. Prop it in the sill so it looks like an open book of spells.
15. Binx the Black Cat
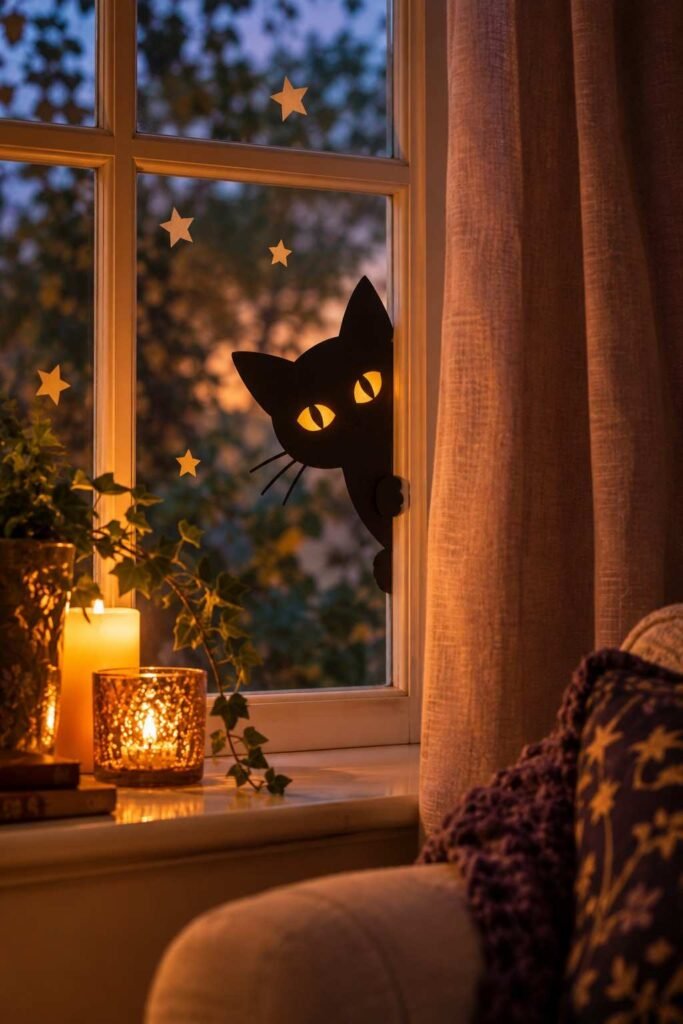
Draw a cat with bright yellow eyes. Cut the eyes from translucent paper so light shines through. It makes a great peeking-from-the-corner effect.
16. Witch Cottage Glow
Build a tiny cottage silhouette with small square windows. Fill the windows with orange tissue. Add a candle behind for a warm, welcoming-yet-spooky look.
17. Potion Bottle Row
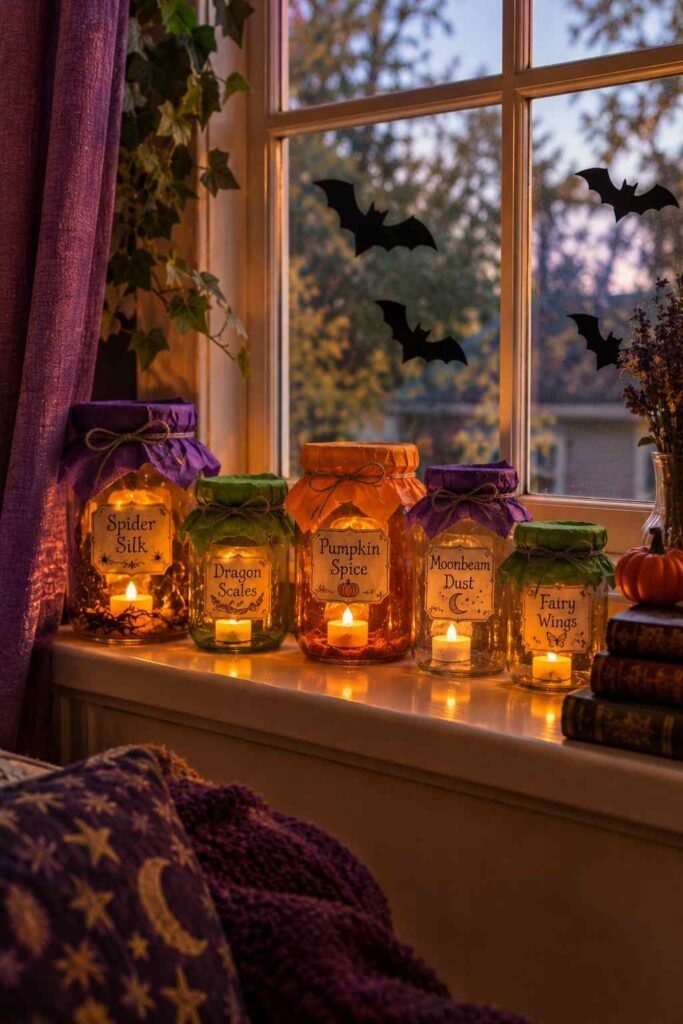
Paint glass jars with colored tissue and decoupage glue. Line them along the sill with battery-powered tea lights. Add handwritten labels for a whimsical apothecary feel.
18. Cauldron Bubble Wall
Cut a black cauldron and fill the top with green bubbles of different sizes. Use clear cling film for a glossy finish. It looks lively from both inside and out.
Mickey and Friends Halloween Window Ideas
Not every Halloween display needs to be scary. Mickey and his friends bring a cheerful, family-safe feel. These designs are ideal for younger children, school entrances, and shop windows aiming for a warm welcome. Round shapes and bright colors keep the mood light. Hosting guests this year? These Halloween party decorations pair nicely with a themed window.
19. Mickey Pumpkin Ears
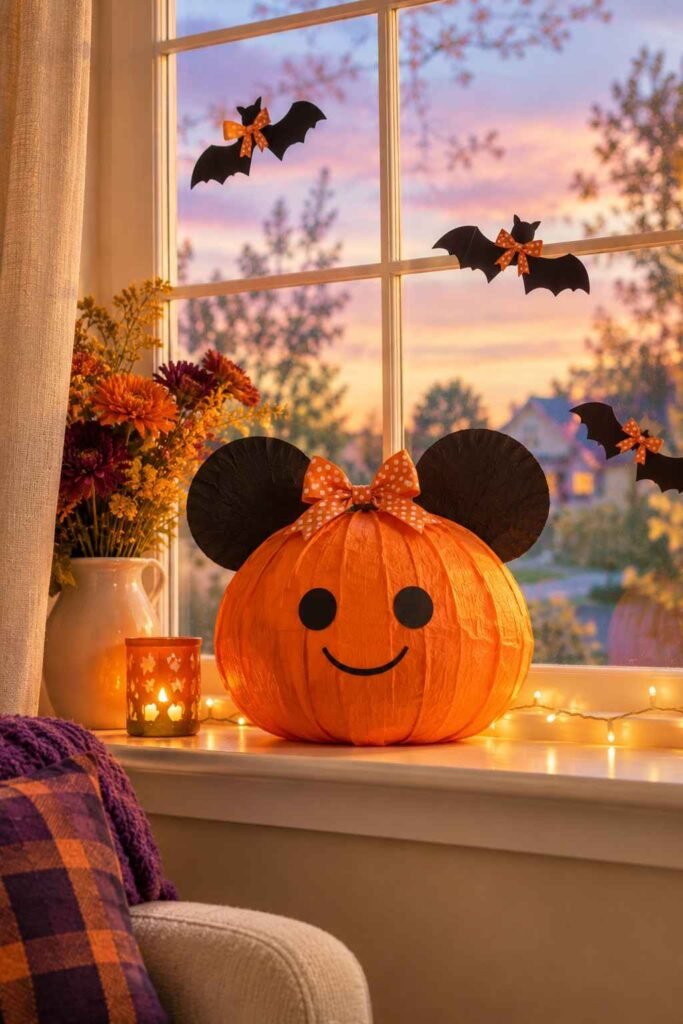
Cut a large orange pumpkin and add two round black ears on top. Draw a simple smile with black paper. It is instantly recognizable and easy for beginners.
20. Minnie Bow Bats
Make tiny bat silhouettes wearing polka-dot bows. Scatter them across the glass in flying formation. They look charming against a dusk-colored backdrop.
21. Friendly Mickey Ghost
Cut a white sheet-style ghost with round ears peeking out. Add two black oval eyes. Use a soft white LED to give a gentle glow.
22. Donald Duck Candy Collector
Draw Donald in a simple costume holding a trick-or-treat bucket. Use bright blue and yellow paper. It adds humor and color to a darker display.
23. Pluto Pumpkin Patch
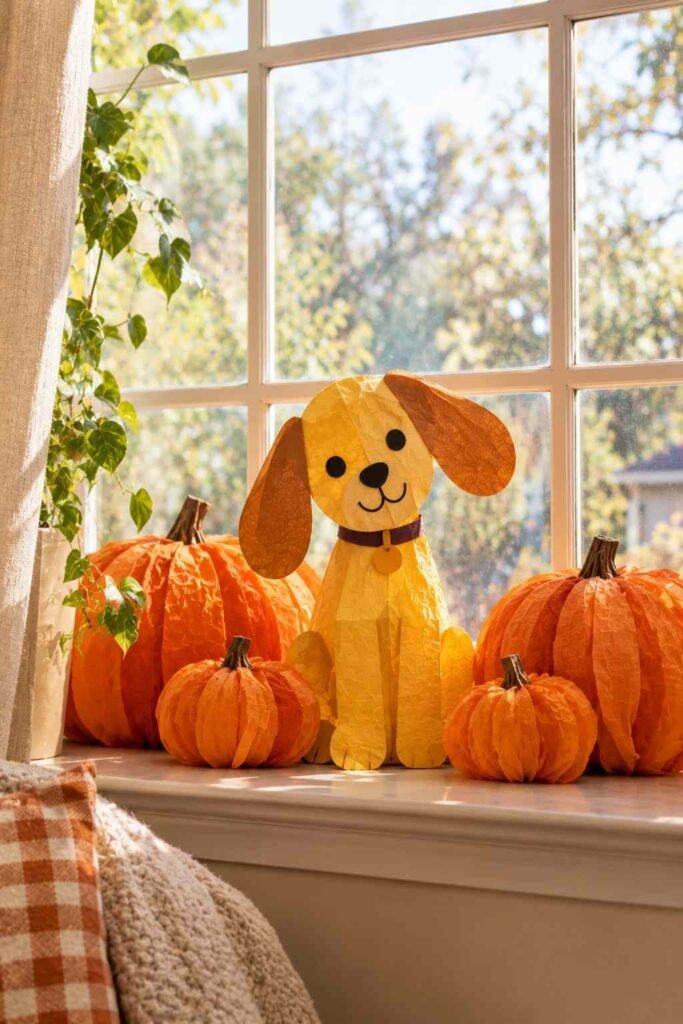
Cut a floppy-eared dog sitting among small pumpkins. Layer orange tissue for a rich color effect. It makes a sweet, low-fear option for toddlers.
24. Candy Corn Mickey Row
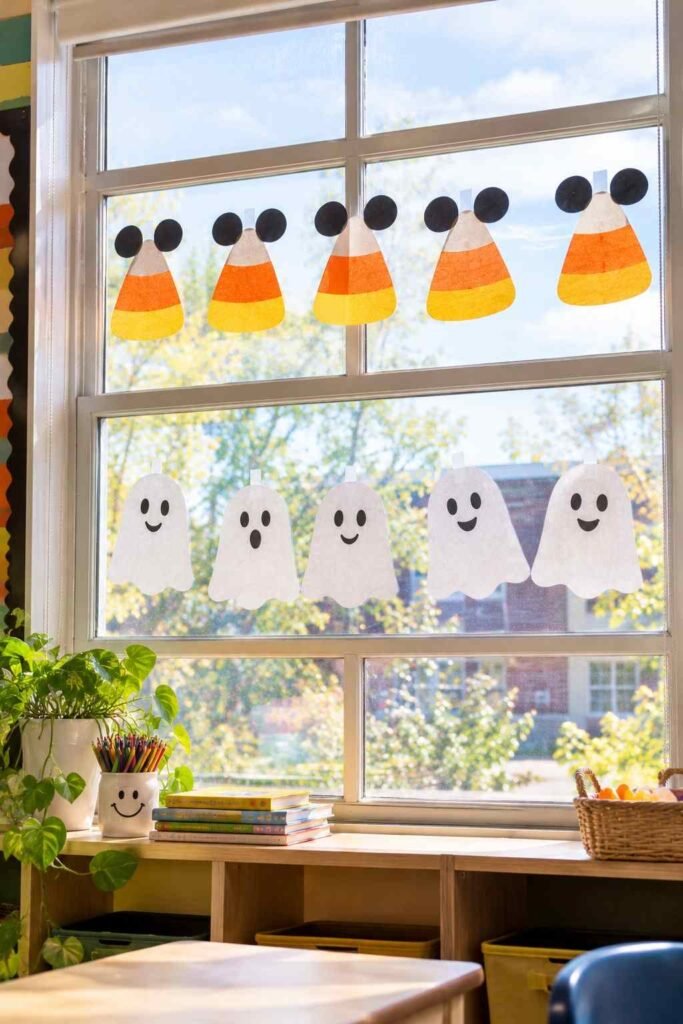
Turn candy corn shapes into rows of Mickey heads using yellow, orange, and white paper. Tape them in a border across the top. It is quick, bright, and festive.
Haunted Mansion and Park-Inspired Window Ideas
The Haunted Mansion style gives you a more atmospheric look. Think of old portraits, floating candles, and foggy graveyards. These ideas suit mantels, porches, and larger windows, and they pair well with an elegant fall palette of deep purple, black, and gold.
25. Hitchhiking Ghost Trio
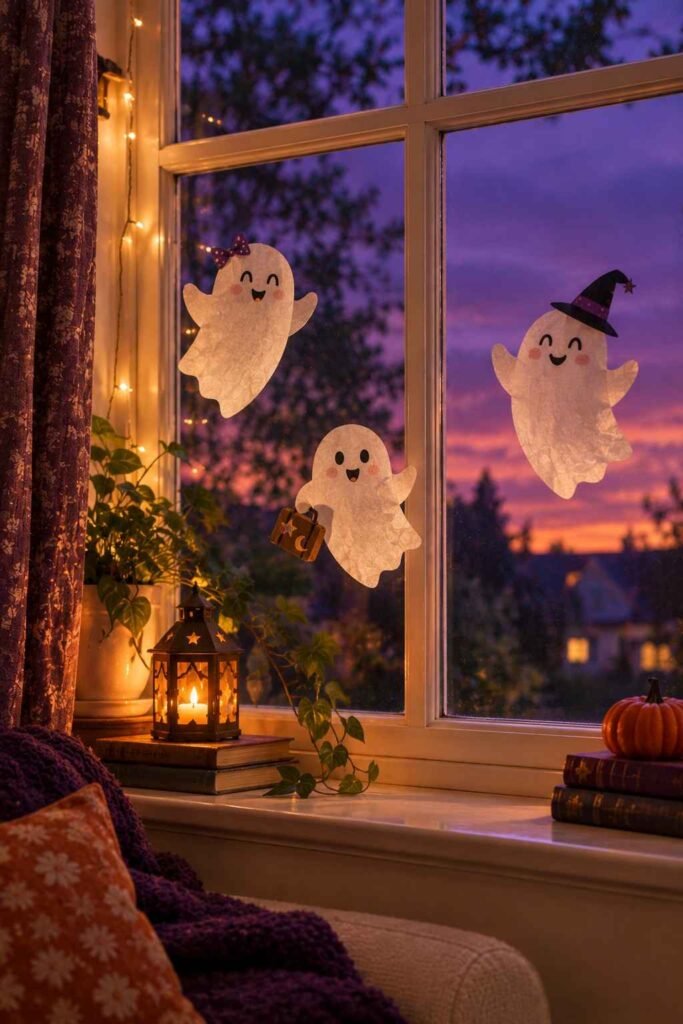
Cut three small white ghosts in a row, each with a slightly different pose. Place them near a corner as if they are hopping along. Add a tiny suitcase for humor.
26. Madame Leota Crystal Ball
Place a clear glass globe on the sill and tuck a small LED light inside. Add floating paper wisps around it. The glow draws the eye straight away.
27. Stretching Portrait Frame
Build a tall ornate frame from gold paper. Fill it with a stretched silhouette of a figure. It adds a gallery feel that guests will notice.
28. Floating Candelabra
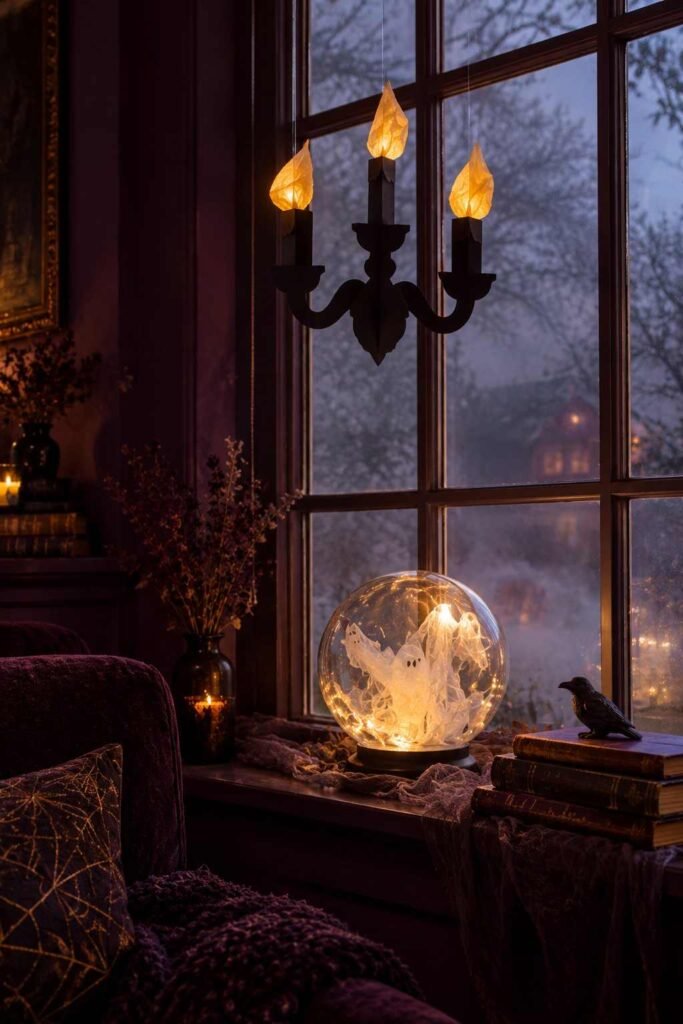
Cut a three-arm candelabra from black paper and add flame shapes in yellow tissue. Hang it by clear thread, so it appears to hover. Battery candles keep it safe.
29. Foggy Graveyard Border
Cut tombstones and bare trees along the bottom edge. Add a strip of white tissue above for a mist effect. It looks great paired with a lit moon.
30. Tower of Terror Elevator Glow
Draw a tall hotel silhouette with a lit elevator shaft. Use yellow tissue behind the shaft. It makes a dramatic, vertical centerpiece for narrow windows.
How to Combine These Ideas for a Full Display
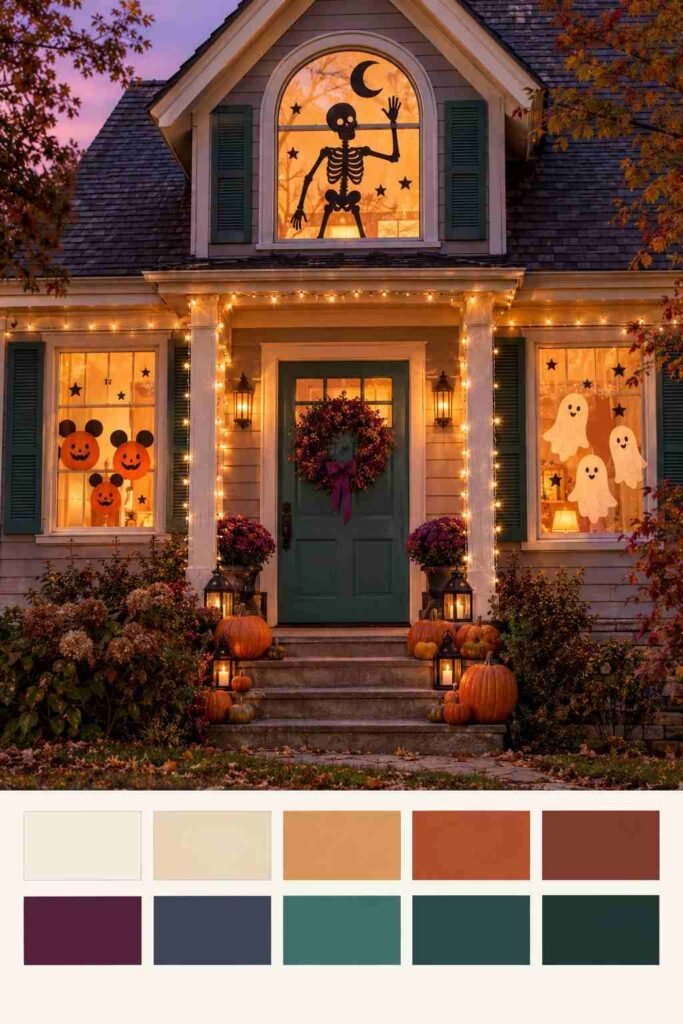
One idea looks nice, but a thoughtful mix looks professional. Choose one main focal piece, such as Jack Skellington or the Sanderson sisters. Then add two or three smaller designs around it. Repeat one color across the whole window so it feels unified.
For homes with several windows, assign a theme to each one. The front window might show villains, while a side window shows Mickey and friends. Keep the brightest designs facing the street. If you want a cohesive look inside, mirror the same theme on shelves or tables.
Safety and Cleanup Tips
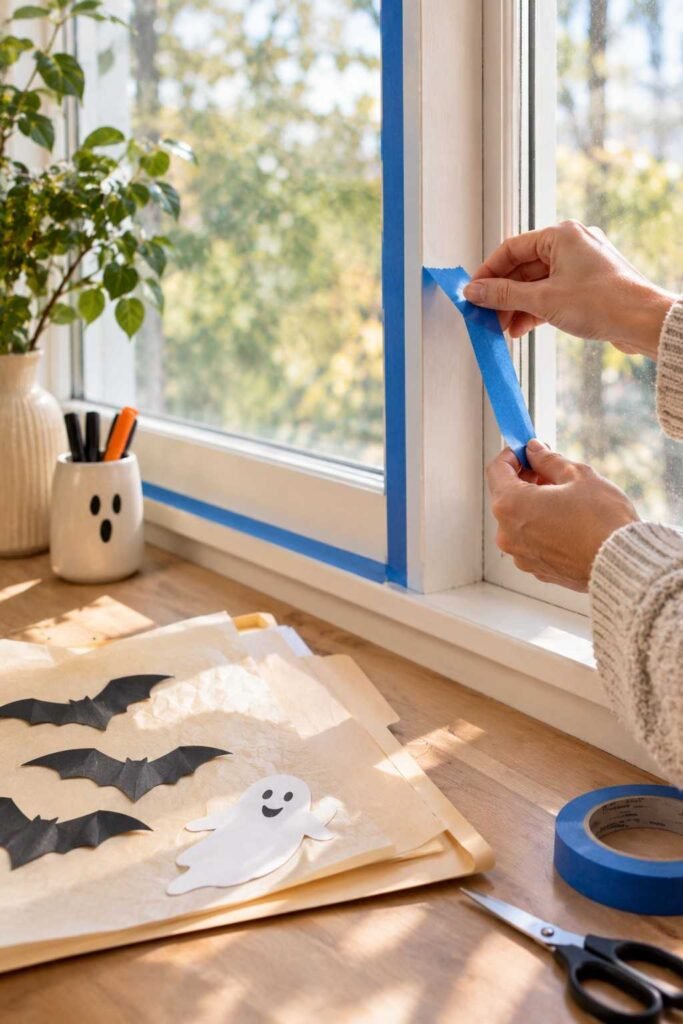
Safe decor lasts longer and stays stress-free. Always choose LED candles over open flames. Check that tape is rated for glass, and peel it slowly after Halloween to avoid residue. Store paper cutouts flat between sheets of parchment for next year. Bring the same character charm to your workspace with these office Halloween decorations.
If you rent your home, static-cling film is the gentlest option. For outdoor-facing windows, avoid anything that can trap heat against the glass. Take down your display by early November so decorations do not fade and become hard to remove.
Conclusion
A window can tell a story in seconds. Whether you love dramatic villains, cheerful mice, or ghostly mansions, these 30 Disney Halloween window decoration ideas give you plenty of ways to start. Begin with one design, learn what works for your glass, and build from there. The best displays are the ones made with care and a little imagination. Gather your paper, switch on a glow, and let your windows welcome October. For more seasonal styling inspiration, visit outinteriors.

One Comment