
30 Window Decoration Ideas for School Halloween (Easy & Classroom-Ready)
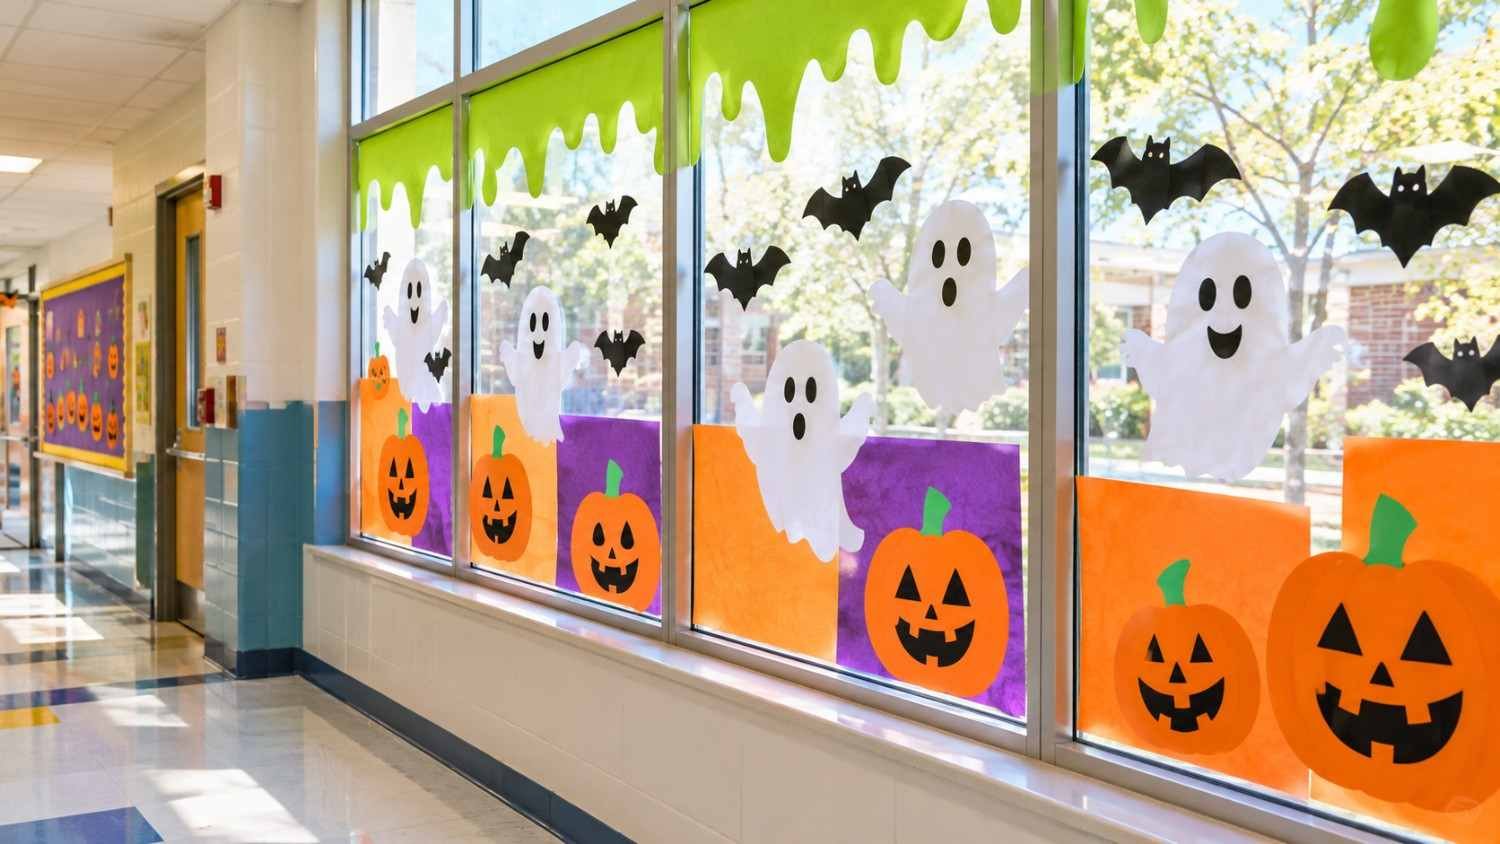
Every October, school windows turn into the best storytelling spaces on campus. Kids press their noses to the glass, point at a purple bat, and whisper about the witch on the moon. A good display costs little, takes a few hours, and gets the whole school talking. This guide shares 30 window decoration ideas for school Halloween that teachers, art leaders, and PTA volunteers can pull off with basic supplies. Each idea is friendly enough for young children, simple enough for busy staff, and bold enough to be spotted from the parking lot.
Plan Your School Halloween Window Display First
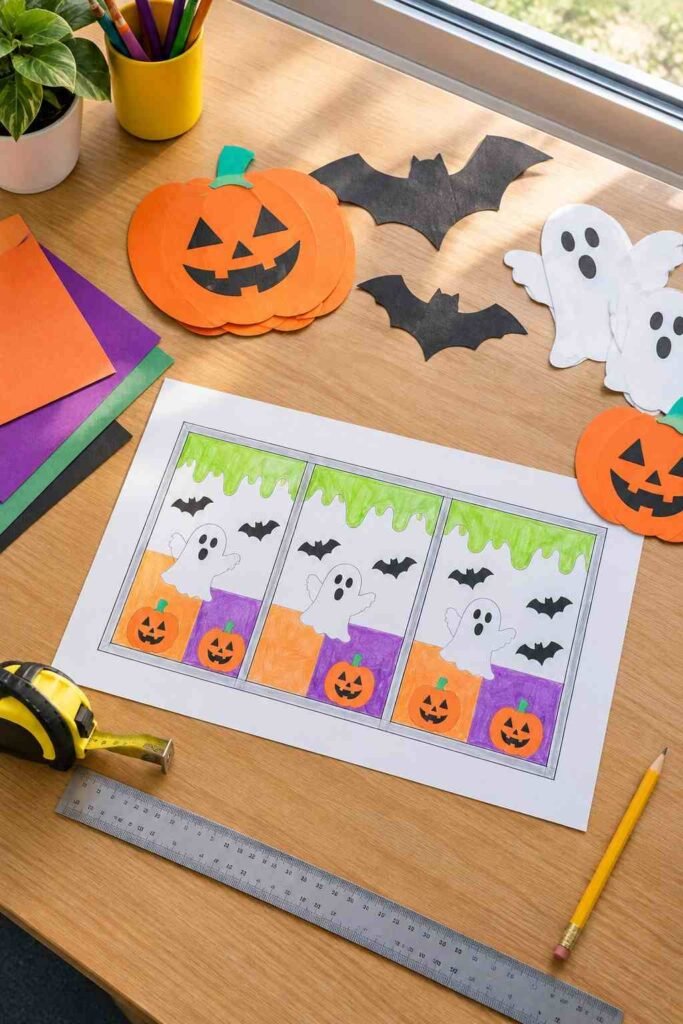
A little planning saves a lot of tape. Start by measuring each window and sketching a rough layout on paper. Decide on a theme, such as friendly monsters, haunted houses, or a spooky science lab, so the displays across the hallway feel connected. Pick three to four main colors. Black, orange, purple, and lime green are classic choices and show up well against daylight.
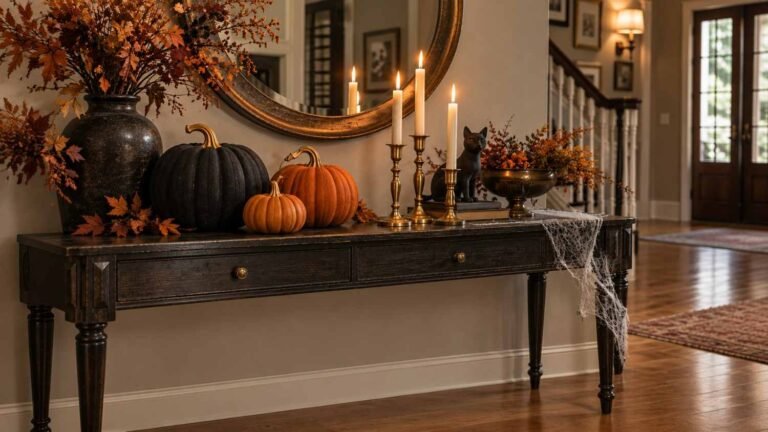
Next, check your school’s decoration rules. Many schools ask staff to keep exits, door glass, and sight lines clear. Ask your office or facilities team before you start. Also, avoid tape that peels paint or leaves residue. Painter’s tape or removable glass-safe adhesive works best. If students will help, prepare shapes in advance so little hands can focus on the fun parts. After finishing the windows, extend the theme to the hallway with a Halloween mantel decor setup near the front office.
Supplies That Make Window Decorating Easy
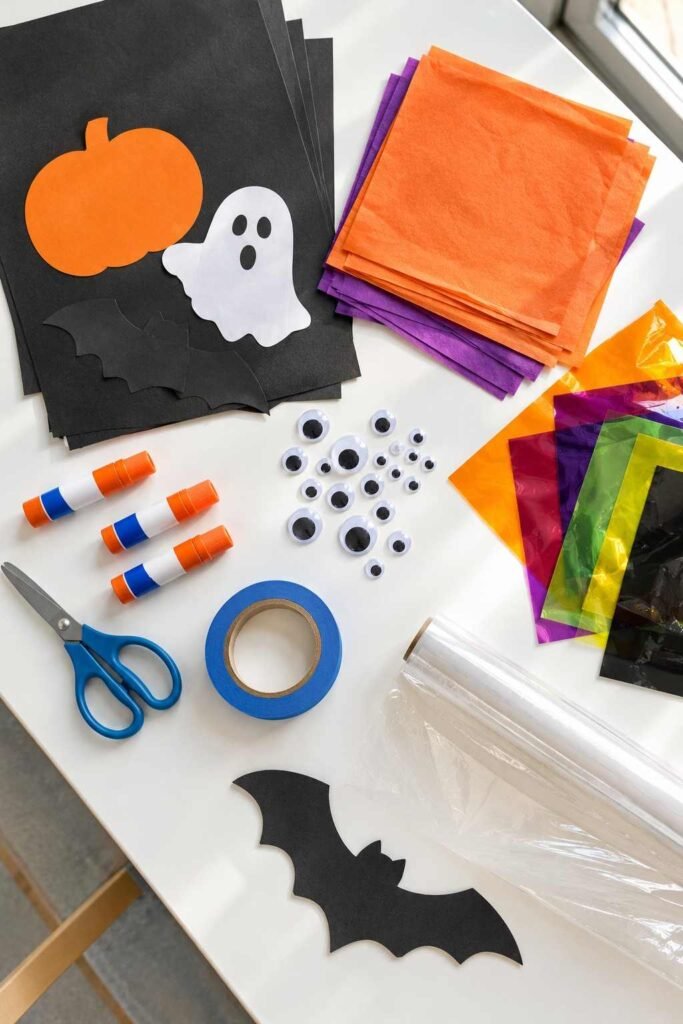
You do not need a craft store haul. Black construction paper, tissue paper, cellophane, white butcher paper, and washable paint cover most of the ideas below. Add scissors, glue sticks, googly eyes, and removable tape. Static-cling window film is a smart upgrade because it peels off cleanly and can be reused next year.
For safety, use only battery-powered LED lights near glass and paper. Skip candles and any heated light sources. Work on a table when you can, then hang the finished pieces. This keeps messy steps off the glass and makes cleanup faster. Finally, label each class project with a small tag so students can find their work.
Classic Silhouette Window Decoration Ideas
Silhouettes are the fastest way to get a dramatic look. Black paper against bright glass reads clearly from far away.
1. Black Cat Row
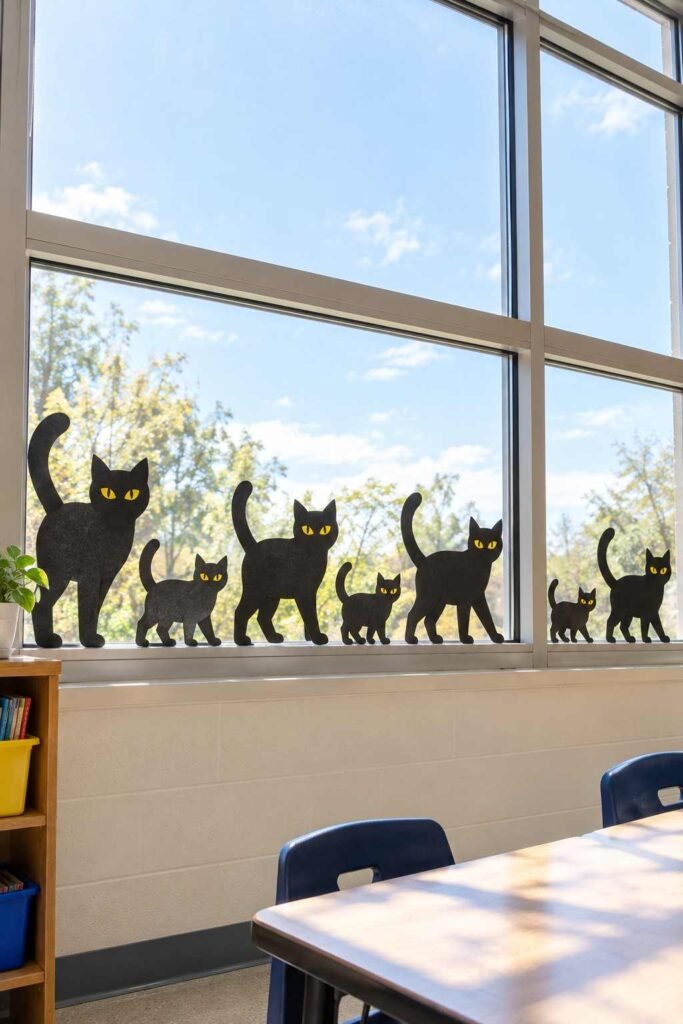
Cut cats of different sizes with arched backs and curled tails. Line them along the bottom edge like they are walking the window ledge. Add yellow paper eyes for extra charm.
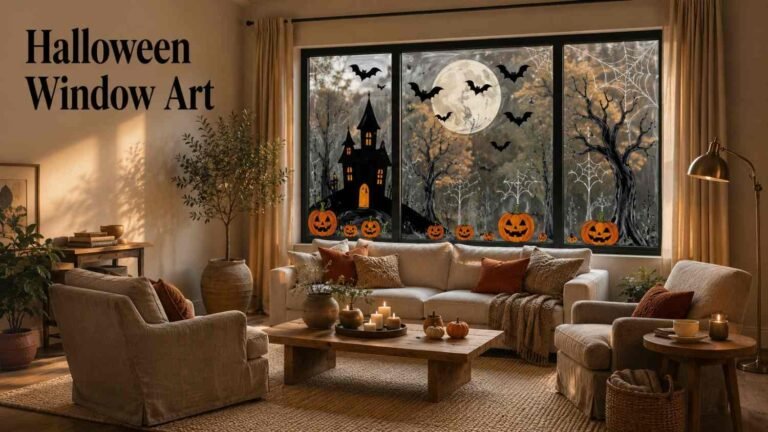
2. Haunted House Skyline
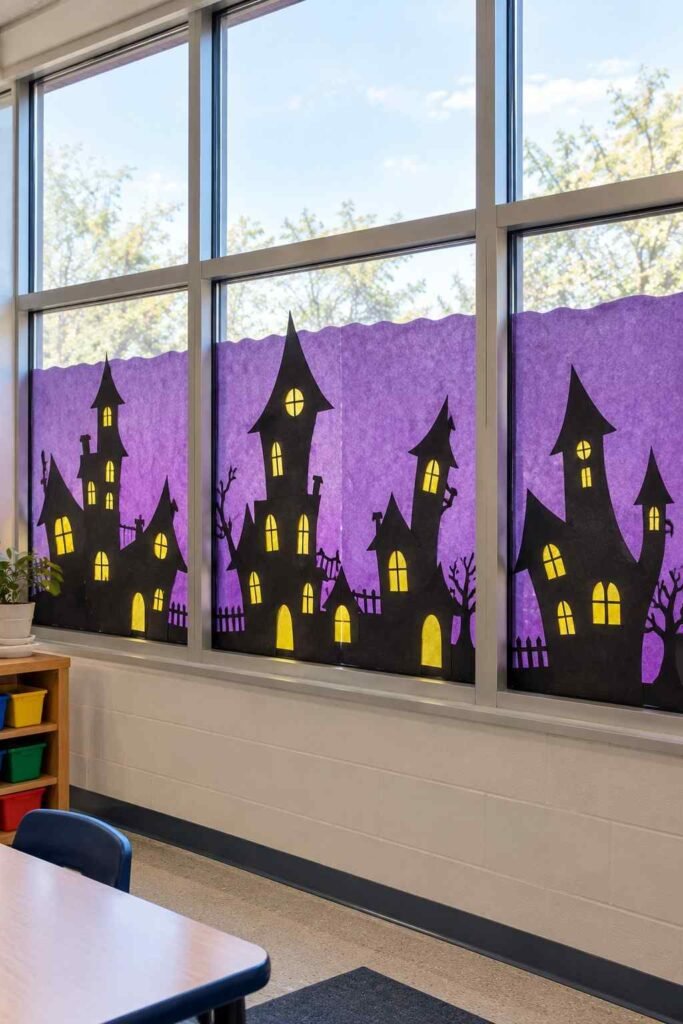
Build a creepy street using tall houses, crooked towers, and tiny arched windows. Glue yellow tissue squares behind the cut-out windows so they seem to glow at dusk.
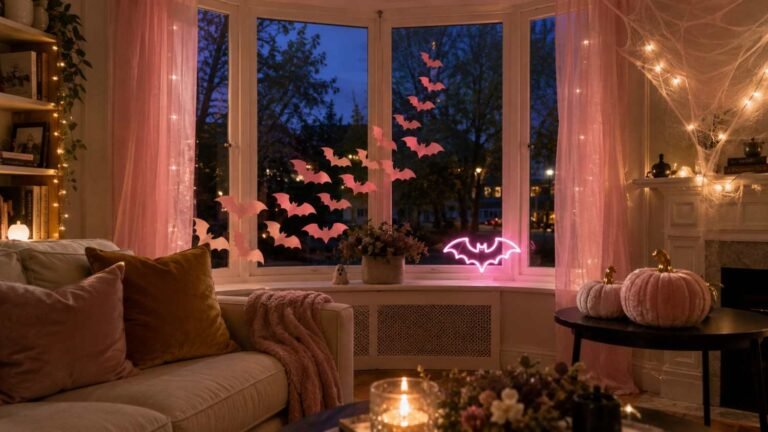
3. Bat Swarm Spiral
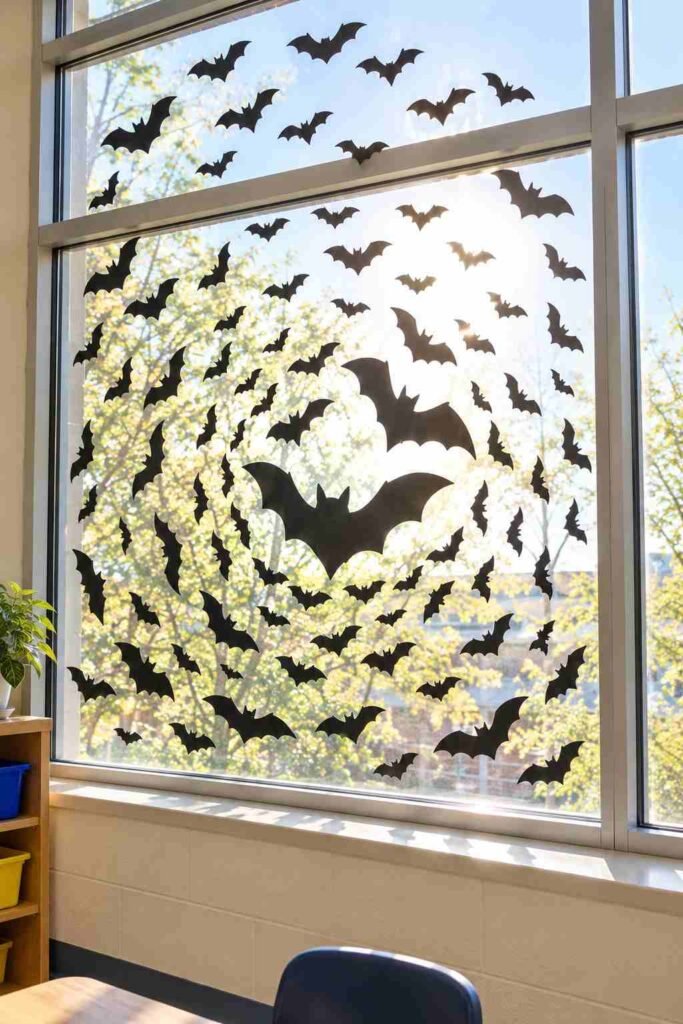
Cut dozens of bats in three sizes. Arrange them in a swirling spiral, as if they are flying out of a cave. Hang the largest bats at the center for depth.
4. Witch Across the Moon
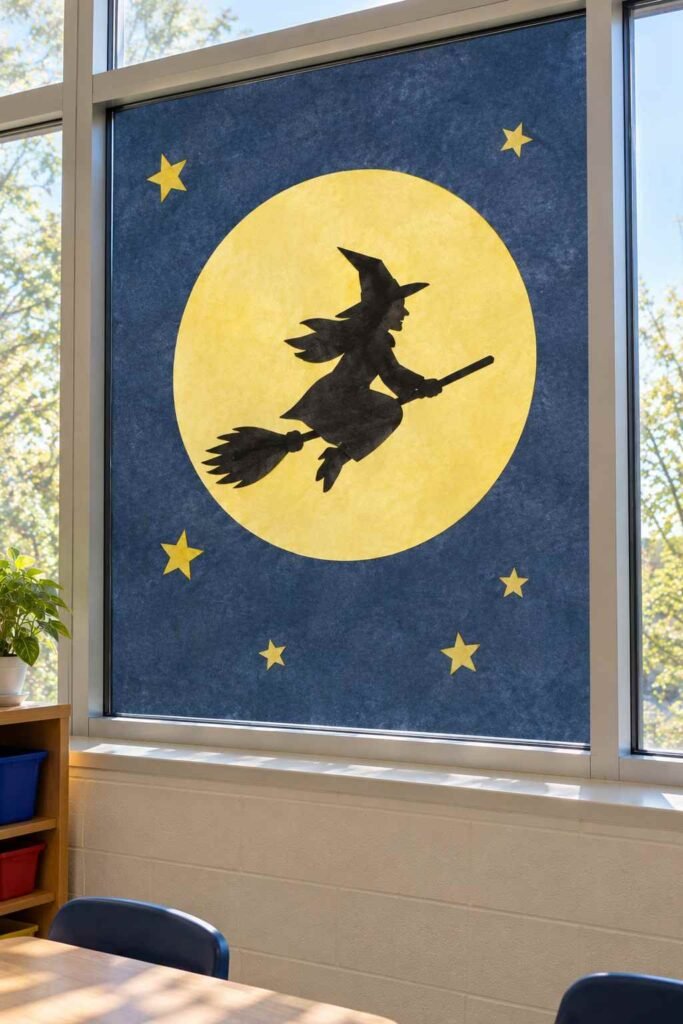
Place a big pale yellow circle in the middle. Then add a black witch on a broom crossing its face. It is simple, iconic, and works in any grade.
5. Spiderweb Corner
Use white yarn or paper strips to form a web in one top corner. Dangle black paper spiders on thin thread so they move when the door opens.
6. Graveyard Gate
Cut an iron gate, a few leaning tombstones, and a bare tree. Add a small ghost peeking from behind a grave for a playful twist.
Glowing Translucent Halloween Window Ideas
Light passing through color creates a stained-glass effect. Morning and late afternoon sun make these displays shine.
7. Stained-Glass Pumpkins
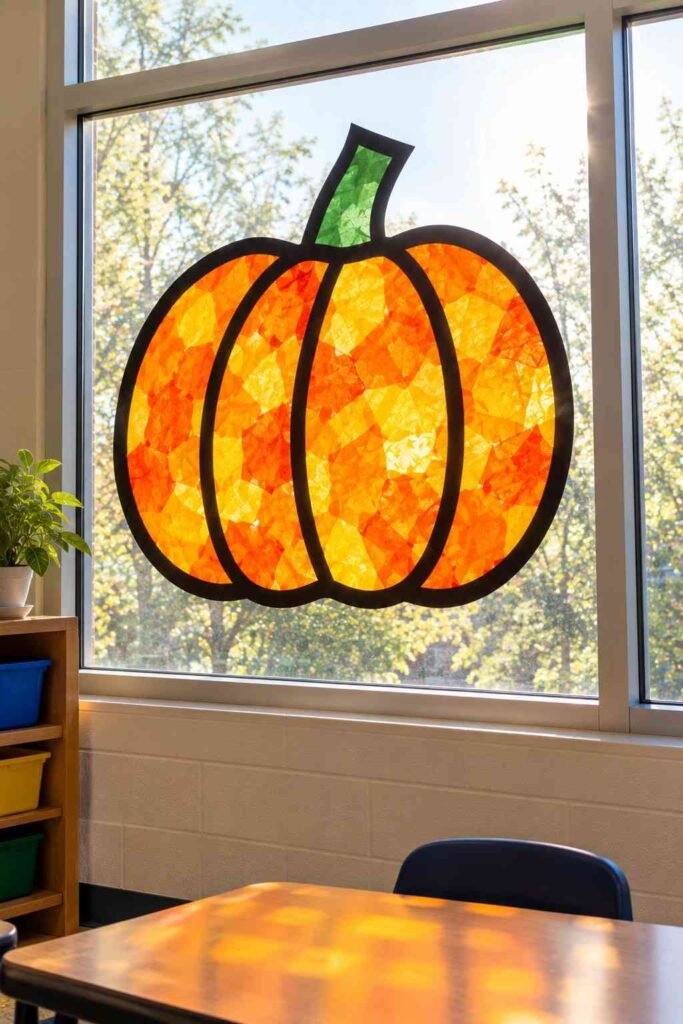
Outline a pumpkin shape with black paper. Fill the gaps with orange and yellow tissue paper. Finish with a green stem. The glass becomes the glowing pumpkin skin.
8. Tissue Paper Ghosts
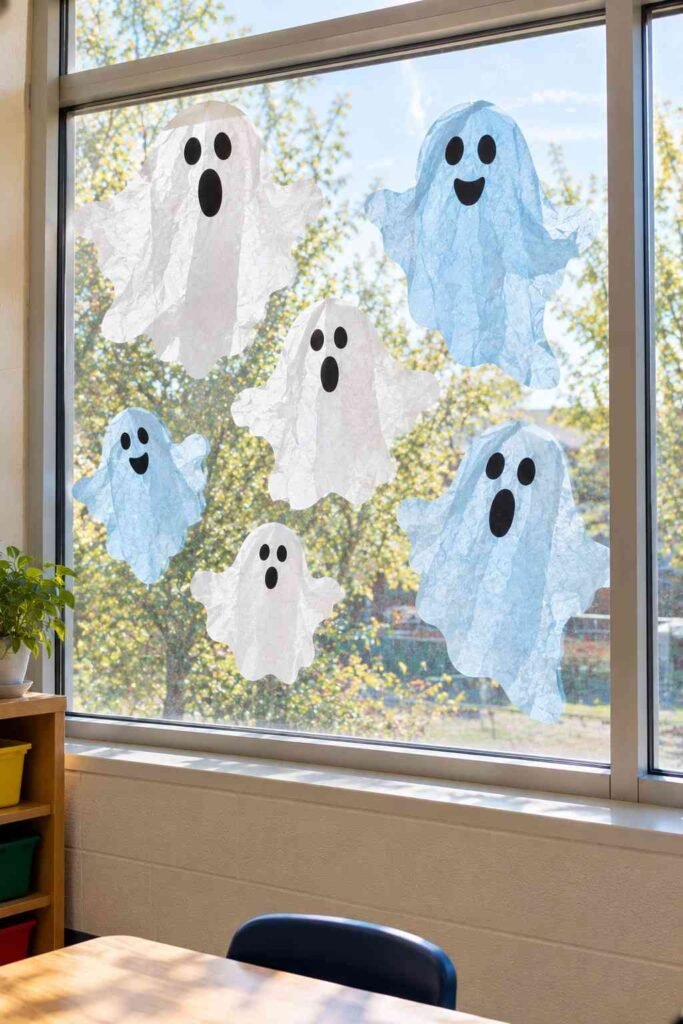
Layer white and pale blue tissue on a clear window. Trim into wavy ghost shapes. Add black paper eyes and mouths for gentle, giggly faces.
9. Jack-o’-Lantern Faces
Cover a black paper pumpkin with cut-out eyes, noses, and grins. Back each opening with yellow cellophane. Students can design their own expressions.
10. Monster Eyes in the Dark
Tape black paper over most of a pane. Cut small holes and place colored cellophane behind them. Each hole becomes a glowing pair of eyes watching the hallway.
11. Potion Bottle Gallery
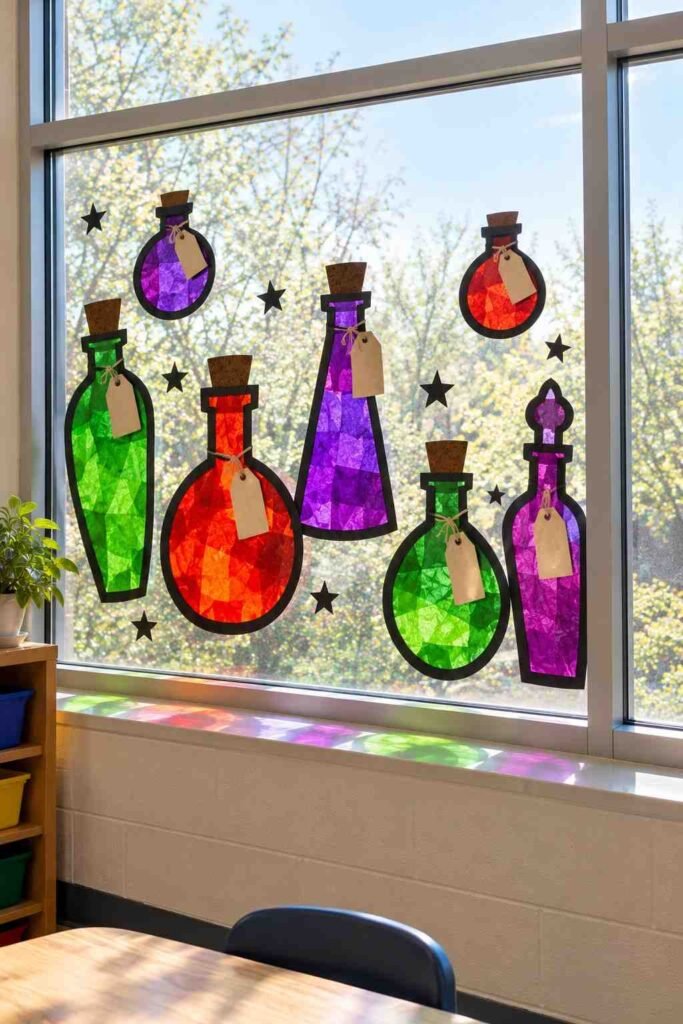
Draw bottles of various shapes on cellophane in green, purple, and red. Add handwritten labels like “Bat Wing Juice” and “Giggle Dust.” Students enjoy naming their own brews.
12. Layered Haunted Forest
Stack three layers of black trees at different sizes. The back layer can be gray paper. The front layer stays solid black. The depth makes a small window feel like a deep woods.
Student-Made Halloween Window Crafts
Student artwork gives a display personality. It also builds pride, since every child sees their own piece on show. If students finish early, hand them a few Halloween Crafts Ideas to make bats, ghosts, or paper pumpkins.
13. Handprint Ghosts
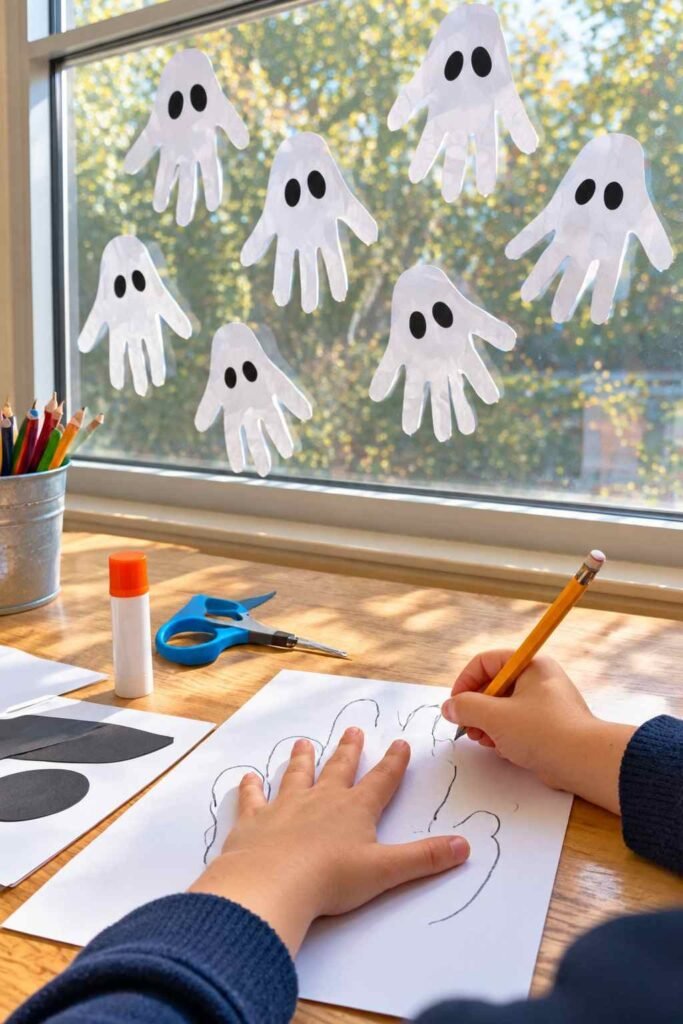
Trace a hand on white paper, flip it upside down, and add two eyes. The fingers become the ghost’s wavy bottom edge. Younger students love this one.
14. Paper Plate Monsters
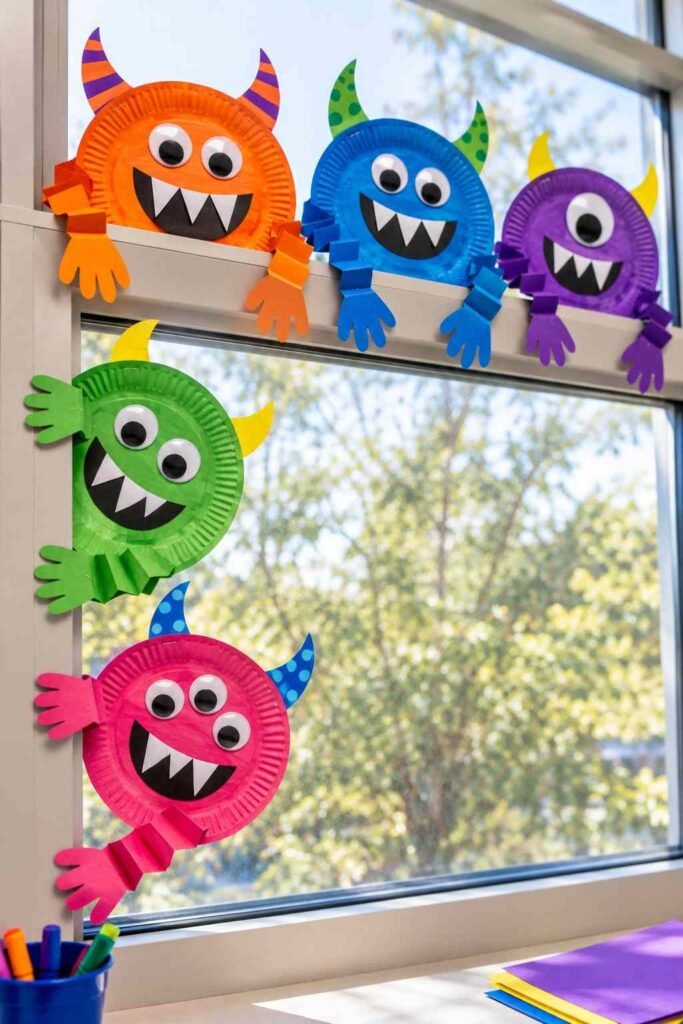
Cut plates in half, paint them in bright colors, and add googly eyes, teeth, and horns. Staple them so the monsters appear to climb over the window frame.
15. Coffee Filter Bats
Color coffee filters with markers, spritz with a little water, and let the colors blend. Once dry, fold into bat wings and attach to a black paper body.
16. Fingerprint Pumpkin Patch
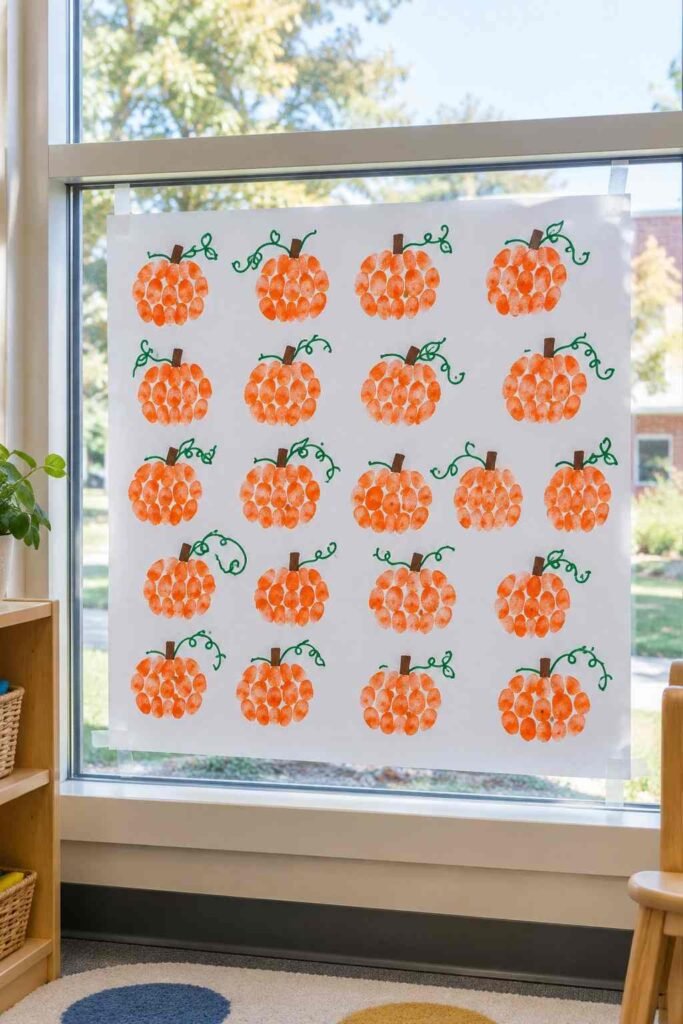
Dip fingertips in orange paint and press into rows. Draw stems and vines with markers. This works beautifully for preschool and kindergarten classes.
17. Name Tombstones
Each child cuts a gray tombstone and writes a funny, kind epitaph, such as “Here lies the homework I forgot.” Keep the tone light and avoid real names of loved ones.
18. Paper Chain Garland
Loop strips of black, orange, and purple paper into long chains. Drape them across the top of the window in gentle curves. Everyone can help with this one.
19. Mummy Windows
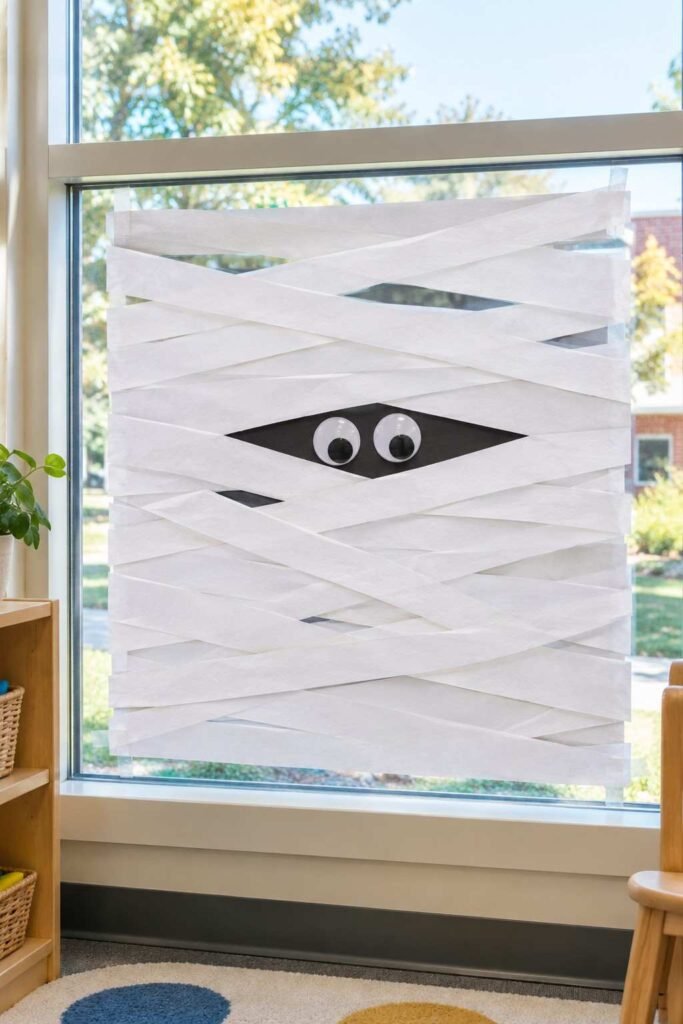
Cover a pane with strips of white paper in a criss-cross pattern. Leave a gap in the middle and add googly eyes. It looks like a mummy is peering out.
Story, Science, and Learning Window Displays
Halloween windows can teach too. These ideas mix spooky fun with classroom goals.
20. Spooky Story Window
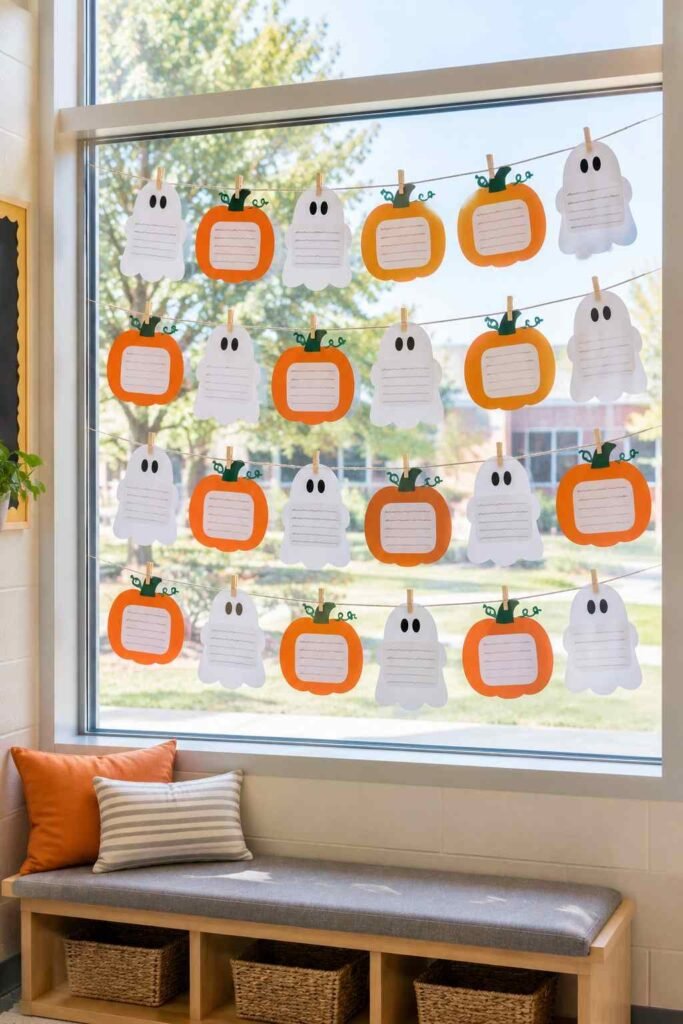
Hang short student stories shaped like pumpkins or ghosts. Passing students can read them one by one. It turns the hallway into a mini library.
21. Book Character Parade
Cut out simple costume figures to represent favorite book characters. Add speech bubbles with a quote or a book title. It encourages reading without feeling like homework.
22. Count the Bats Math Window
Place bats in groups and add number cards beside each group. Younger students count, older students add or multiply. Change the numbers weekly to keep it fresh.
23. Potion Lab Science Window
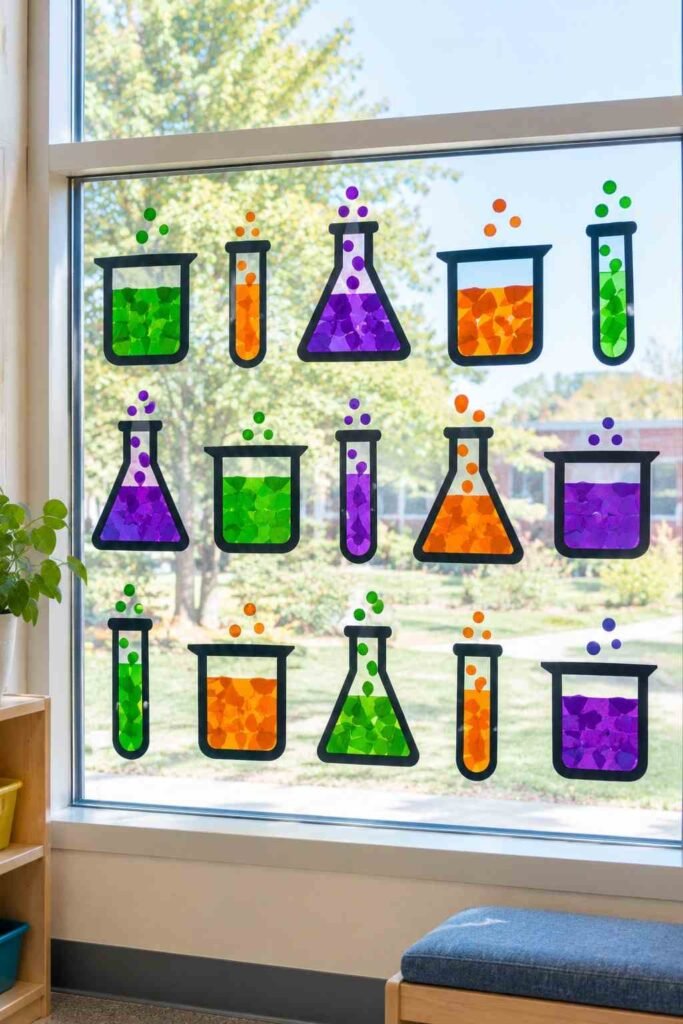
Draw beakers and test tubes with labels such as “pH,” “solid,” and “gas.” Use colored cellophane for the liquids. It invites questions about states of matter.
24. Skeleton Anatomy Window
Cut a paper skeleton from white card stock and label the bones. Students learn real names like skull, ribs, and femur while enjoying a classic spooky figure.
25. Halloween Word Search Window
Write a large word search on butcher paper and tape it to the glass. Place a crayon basket nearby. Students hunt words like “cauldron” and “lantern.”
Funny and Friendly Halloween Window Ideas
Not every child enjoys scary images. These softer ideas keep the mood playful for everyone. For a playful display in the library, a cheerful Witch Halloween Decor corner pairs well with the flying witch silhouette.
26. Friendly Monster Parade
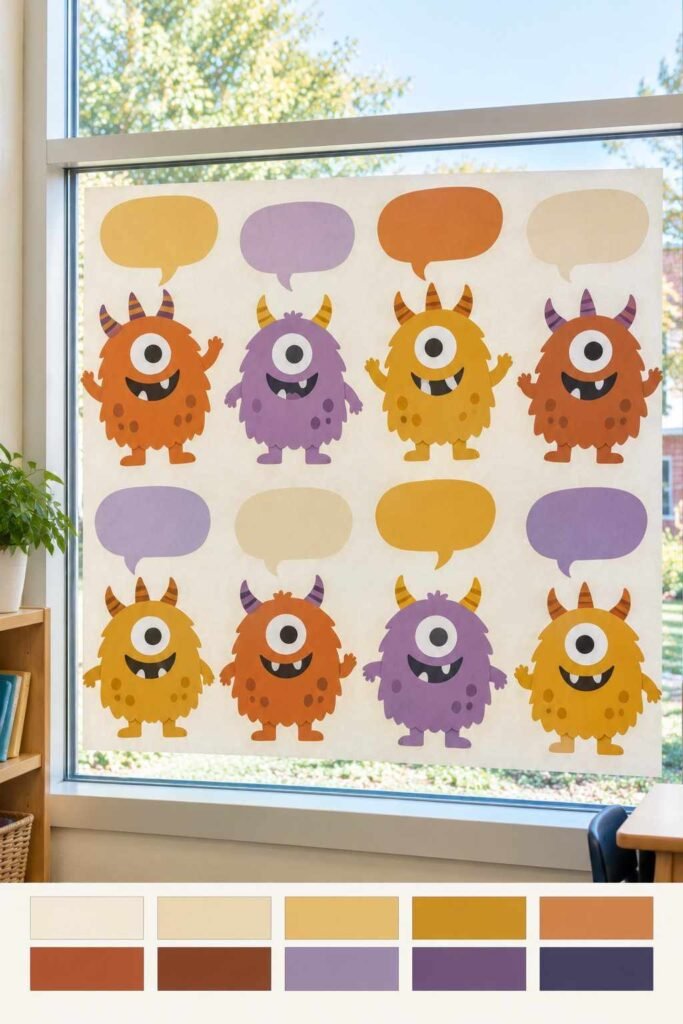
Use bright colors and silly shapes: a one-eyed blue monster, a fuzzy green one, a purple one with three horns. Add speech bubbles with kind messages like “Boo-tiful day!”
27. Skeleton Hands Peeking Up
Cut white hands in a variety of poses and place them along the bottom edge. They look like skeletons are waving from below the glass.
28. Dripping Slime Border
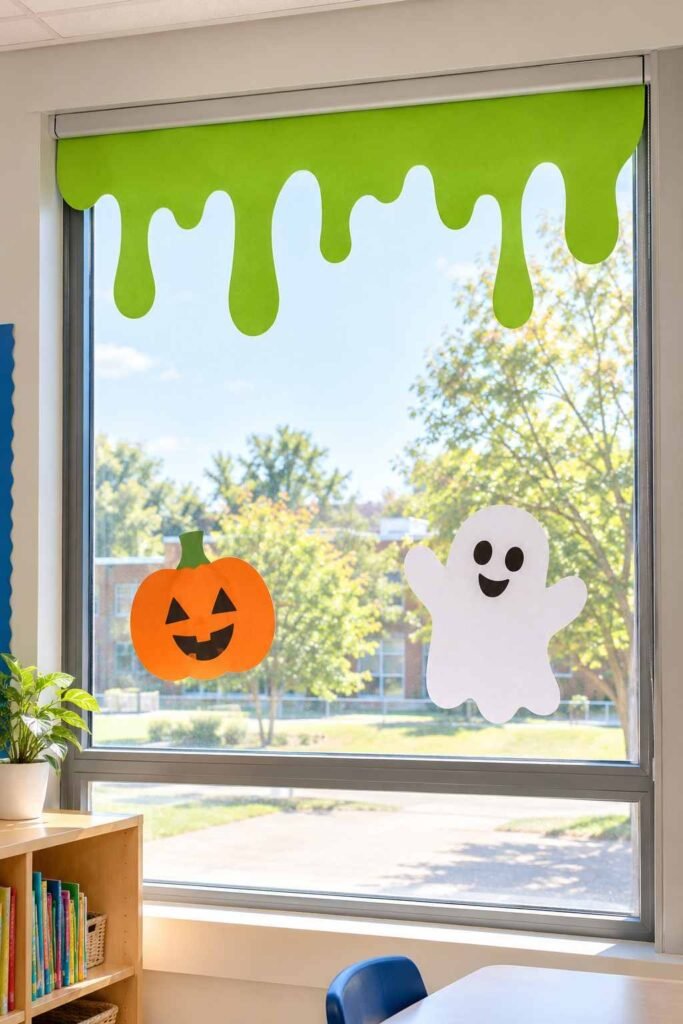
Cut wavy green shapes and tape them along the top of the window. Add a few round drips at different lengths. It frames any theme with a gooey touch.
29. Floating Candy Corn Garland
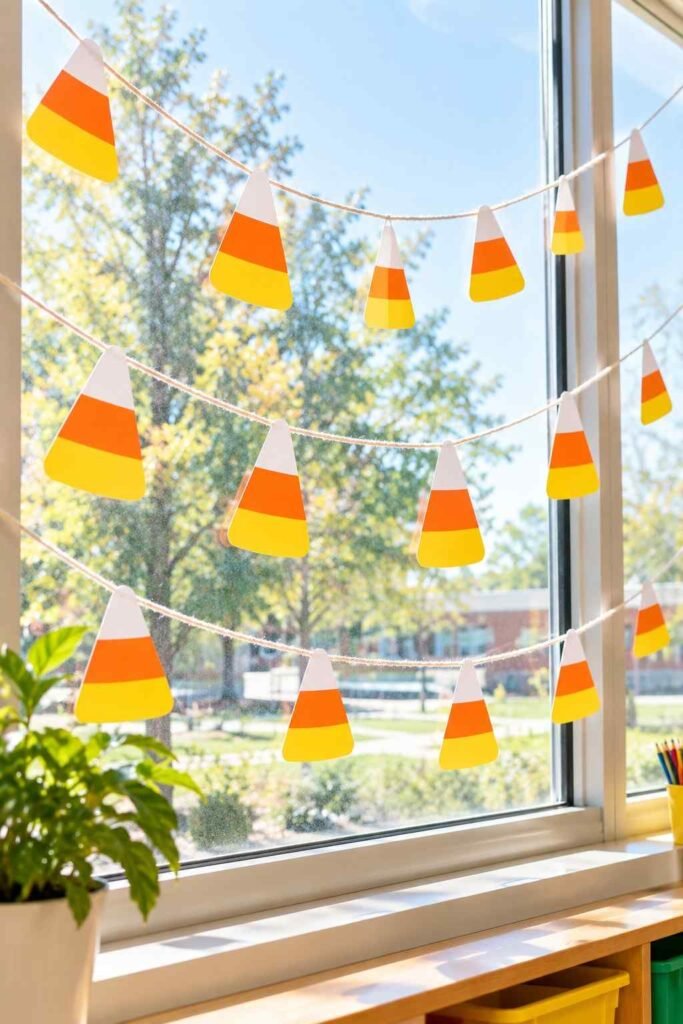
Cut triangles in yellow, orange, and white. String them on yarn at varied heights. They bob gently when air moves through the hallway.
30. Welcome Trick-or-Treaters Window
Combine a cheerful pumpkin, a banner that says “Welcome, Little Monsters,” and paper candy. It is perfect for front-office or library windows.
Tips to Make Your Halloween Window Decorations Last
Put up displays one to two weeks before October 31. This gives students time to enjoy them without the paper curling and fading. Use a ruler to keep borders straight, and press tape edges firmly. If a window gets direct sun, avoid tissue paper that bleeds; test a small piece first. Teachers who love an old-fashioned look can try Spooky Vintage Halloween Decorations for display cases and bulletin boards.
When the holiday ends, take everything down gently. Static-cling film and sturdy cardboard silhouettes can be stored flat in a folder for next year. Photograph each display before you remove it. These pictures make great newsletter content and inspire future class projects. Finally, thank the students who helped. A simple note or sticker goes a long way.
Conclusion
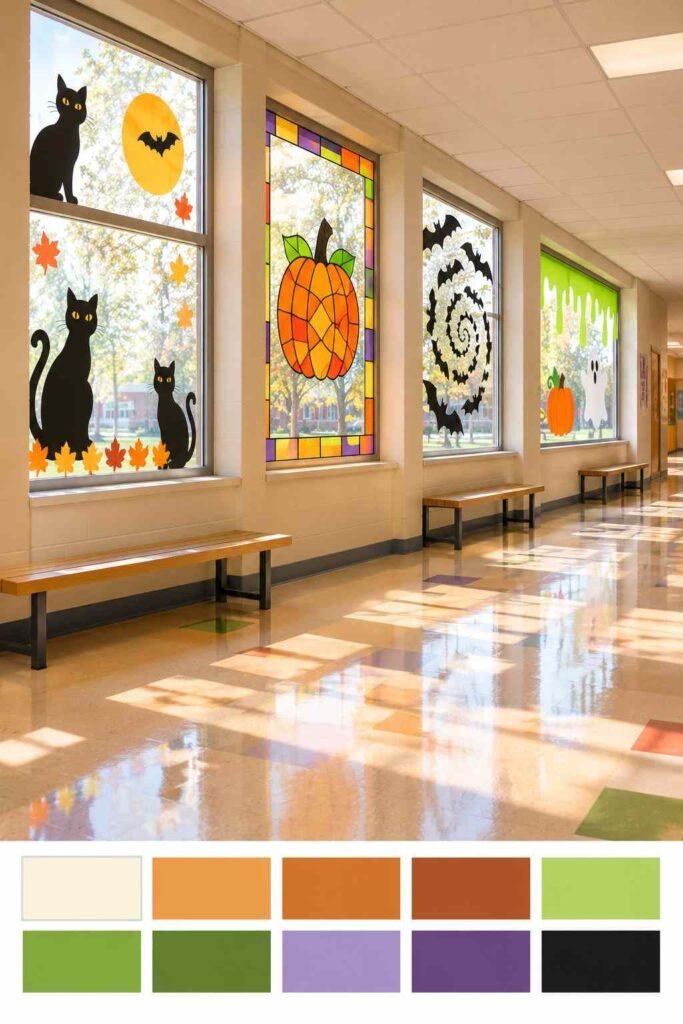
A great school Halloween window does not need expensive supplies. It needs a clear theme, a few bright colors, and a group of kids ready to create. Start with one idea from this list, such as the black cat row or the stained-glass pumpkin, and build from there. With these 30 window decoration ideas for school Halloween, every classroom, hallway, and office can feel festive, welcoming, and full of imagination. For more seasonal inspiration, browse the home and holiday guides at outinteriors.

One Comment