Kitchen Storage Ideas: Appliances: 30 Ways to Hide, Stack and Organize Them
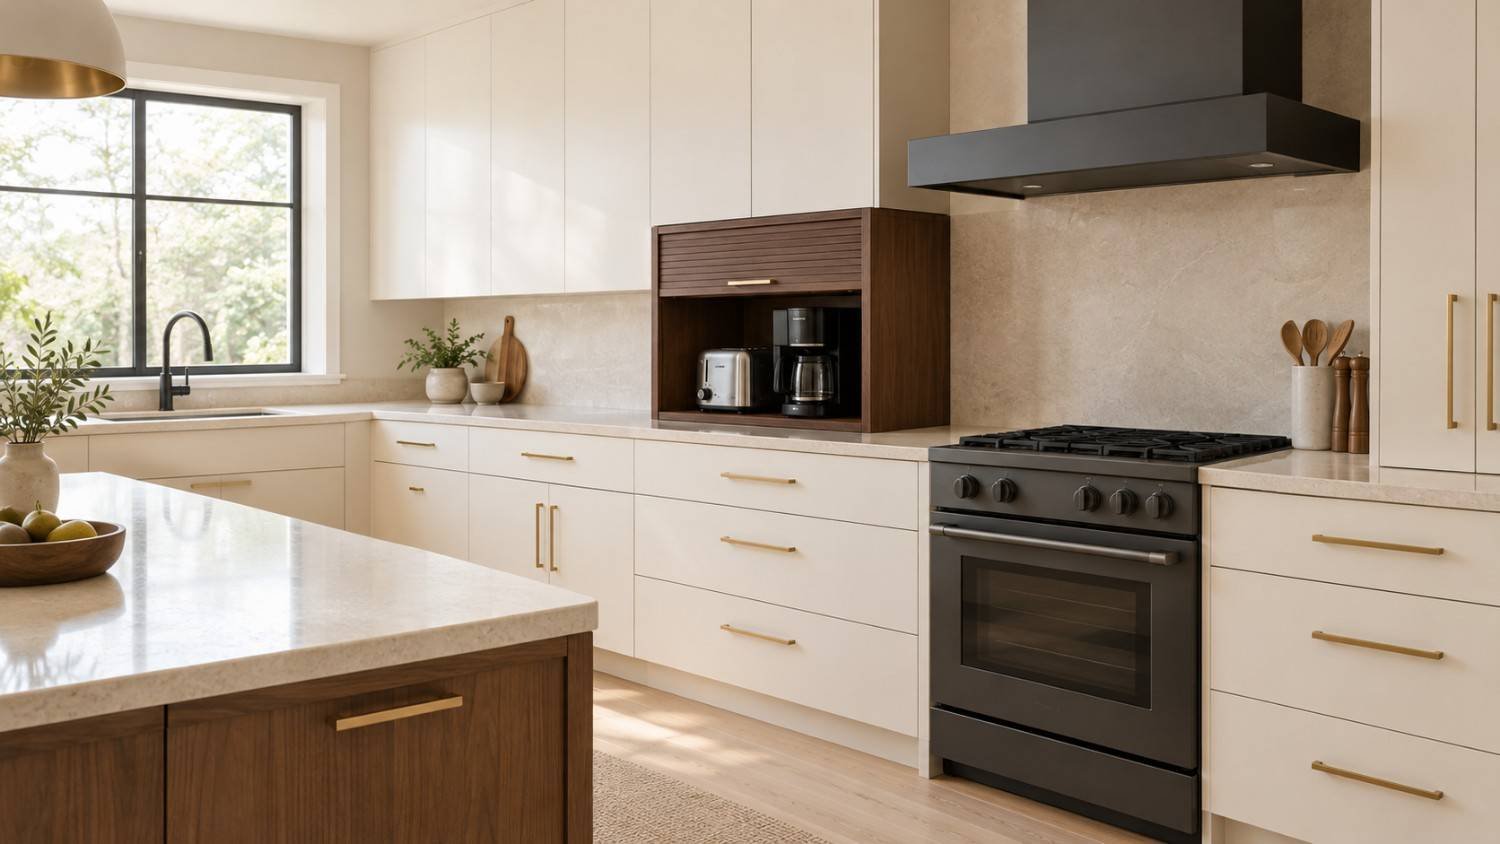
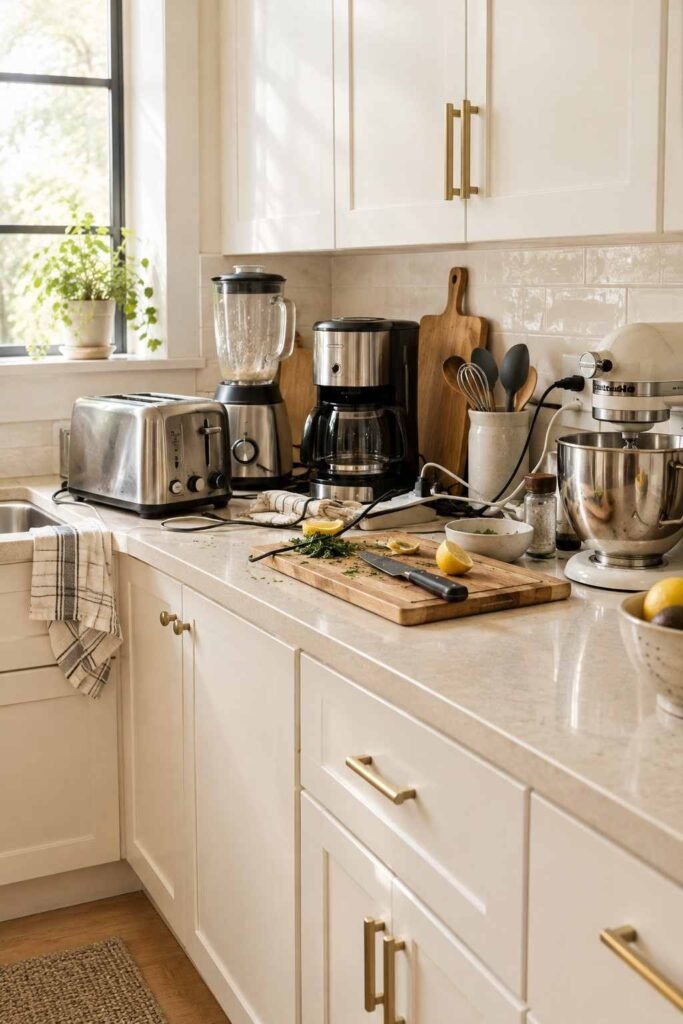
Think of the last time you cooked something simple. You probably moved a toaster, slid a blender aside, and unplugged a coffee maker just to find space for a cutting board. Most home kitchens suffer from the same problem. Appliances multiply, but cabinets and counters do not.
The good news is that you do not need a full renovation to fix it. These 30 kitchen storage ideas for appliances range from quick, renter-friendly tricks to built-in upgrades. Each one is practical, tested by real kitchen habits, and easy to adapt. Read on and pick the ones that fit your space. If you like a blend of old and new, browse these antique home decor ideas kitchen modern to give your clean counters a warm, collected look.
Cabinet and Garage Solutions
1. Install an Appliance Garage
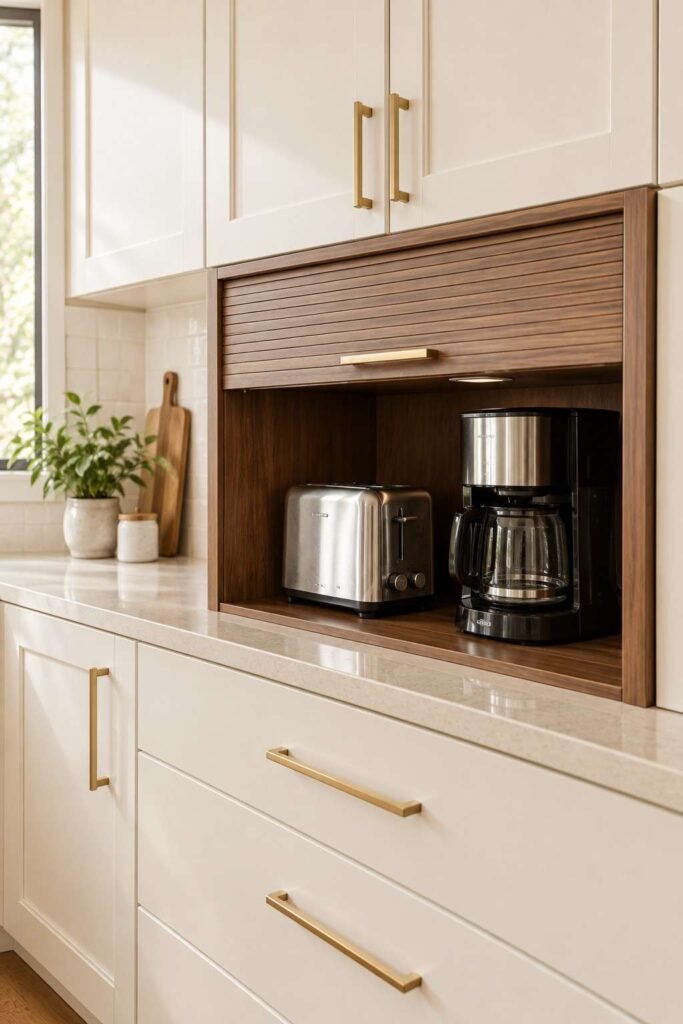
An appliance garage is a small cabinet section with a tambour (roll-up) door that sits on the counter. It hides a toaster or coffee maker while keeping it plugged in and ready. Closing the door gives you a clean, uncluttered backsplash in seconds.
2. Add a Mixer Lift Shelf
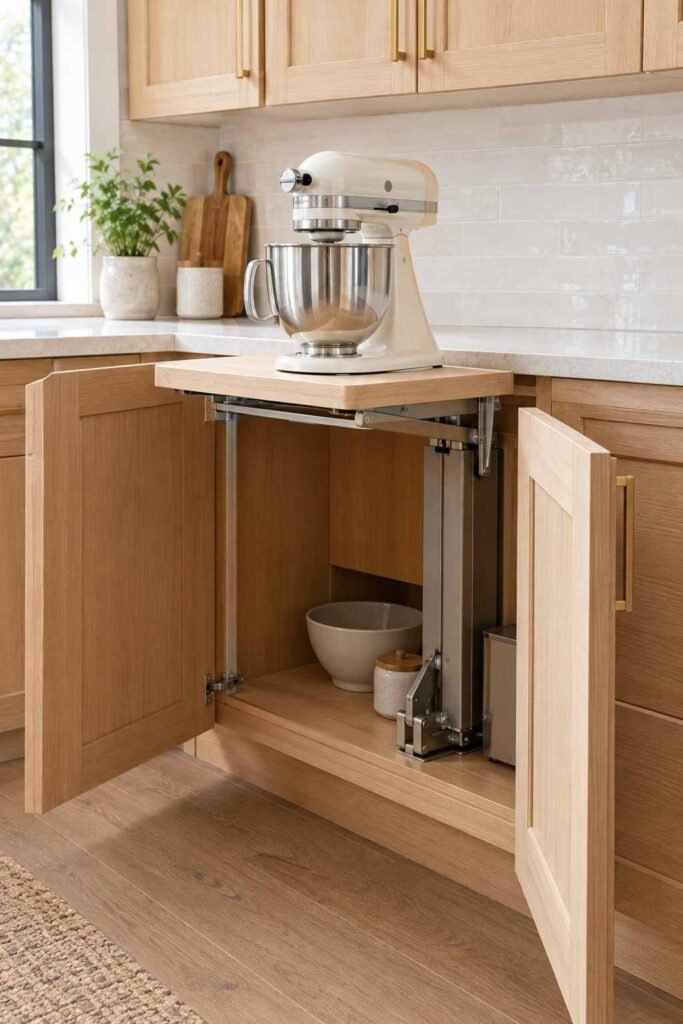
Stand mixers are heavy, and lifting one from a low shelf strains your back. A mixer lift raises the mixer to counter height when you open the cabinet door and tucks it away afterward.
3. Use a Corner Lazy Susan
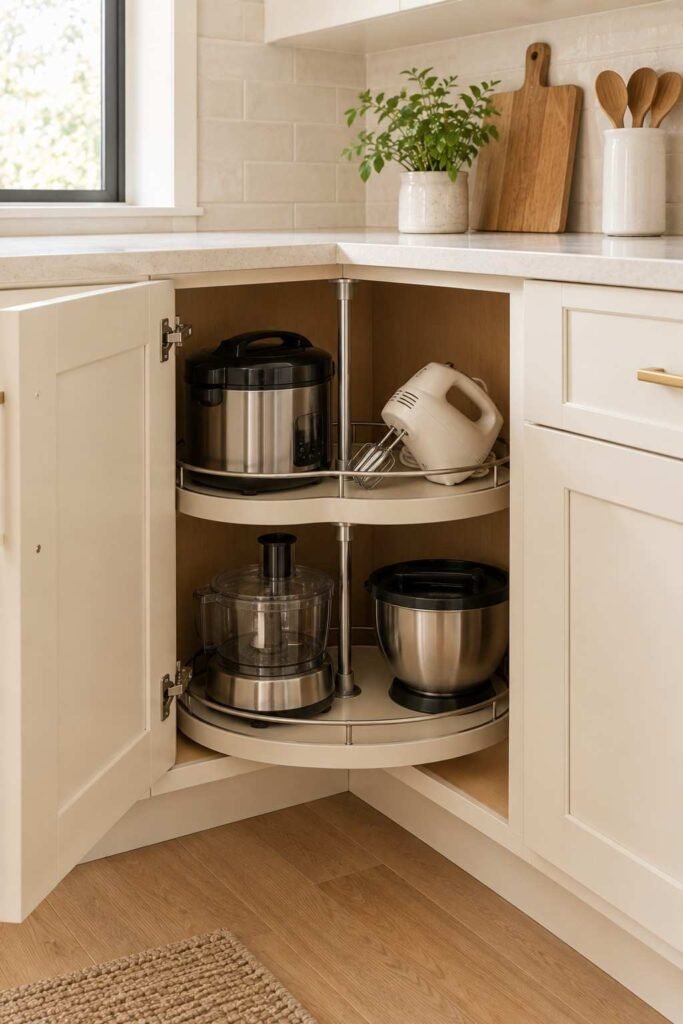
Corner cabinets swallow small appliances. A rotating lazy susan brings items from the dark back corner to the front with a gentle spin. It works well for rice cookers, hand mixers, and food processors.
4. Convert Base Cabinets to Pull-Out Shelves
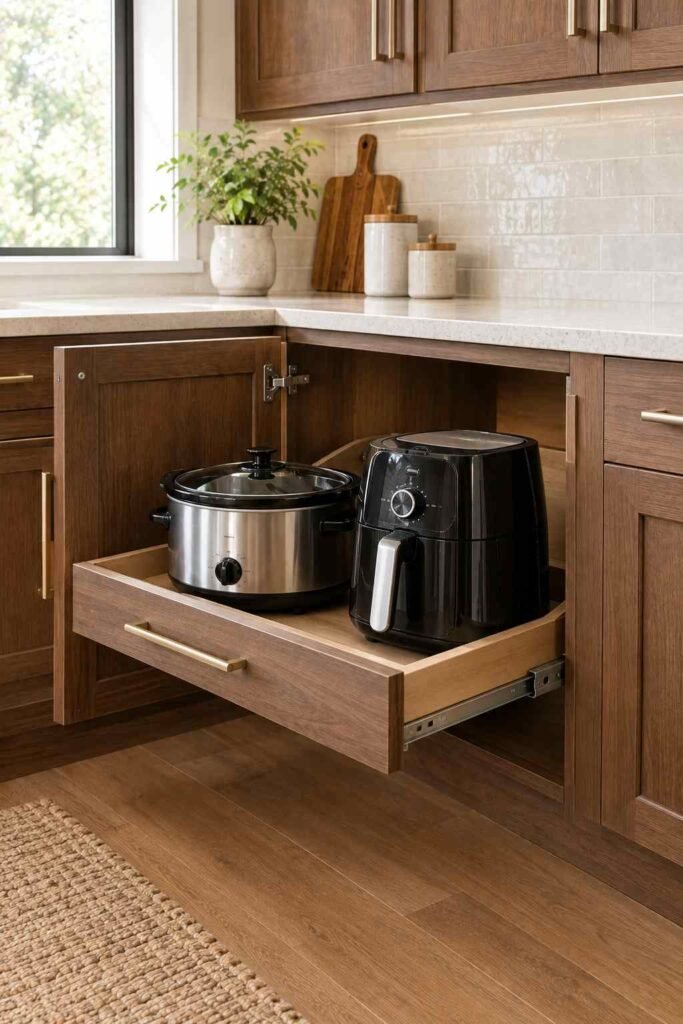
Standard base cabinets are about 24 inches deep, so items stored in the back are hard to reach. Full-extension pull-out shelves let you see and grab every appliance without kneeling or digging.
5. Build In an Outlet Inside the Cabinet
An electrician can add an outlet inside a cabinet or garage. Then you can run a blender or coffee grinder without dragging it out, and the cords stay out of sight. Choosing the right kitchen cabinet ideas wood can make built-in features like appliance garages and pull-out shelves feel like part of the design.
6. Dedicate a Tall Cabinet to Appliances
Choose one tall cabinet near your prep area and assign it only to appliances. Adjustable shelves let you fit a slow cooker on one level and a waffle maker on another. One home for everything means nothing gets lost.
Countertop Organization Ideas
7. Create a Coffee Station
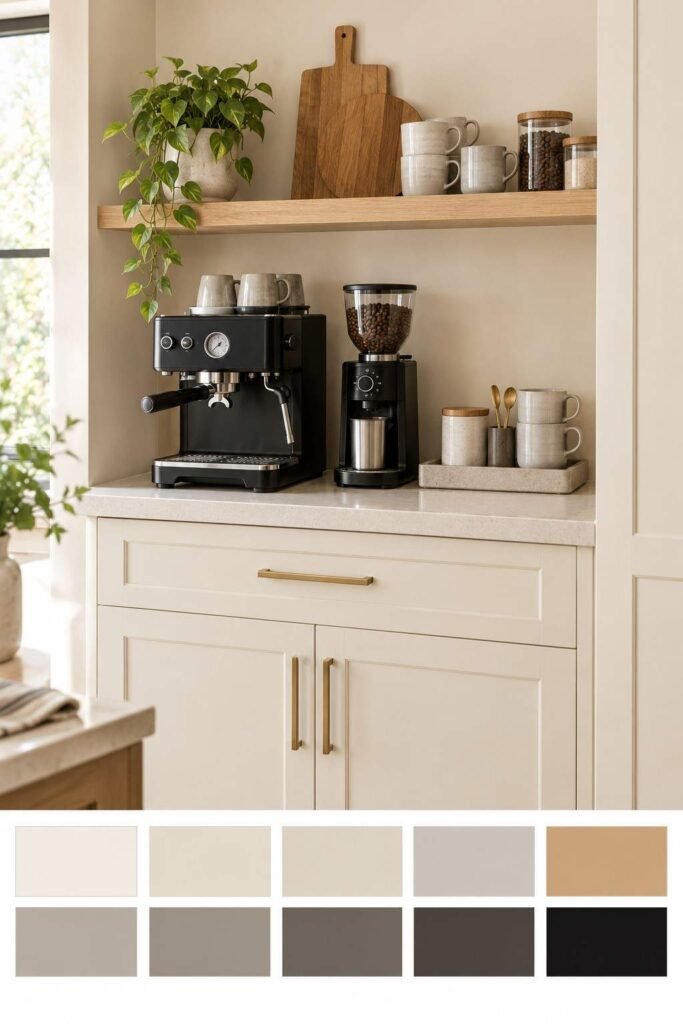
Group your coffee maker, grinder, mugs, and filters in one corner. A shallow tray under the machine catches drips. This keeps the morning rush in one tidy zone.
8. Roll In a Kitchen Cart
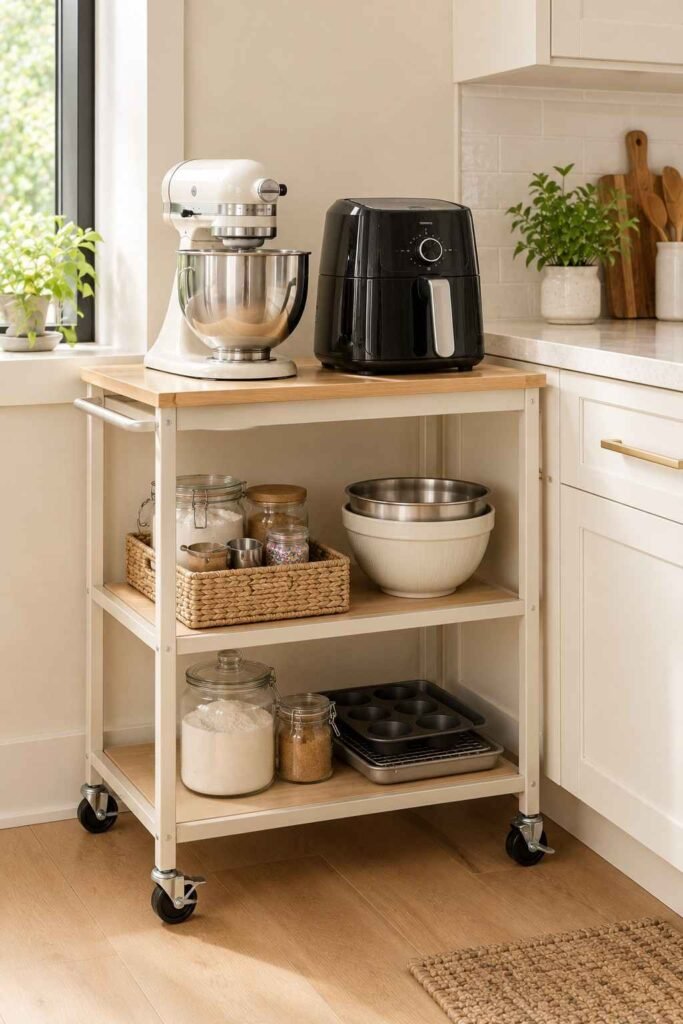
A cart adds flexible storage where you need it. Keep a stand mixer and air fryer on top and roll the cart to the counter when baking. Choose one with locking wheels and a lower shelf. Pots and pans need a home too, so check out our guide to kitchen storage ideas for pots and pans, including racks, drawers, and hanging solutions.
9. Use Tiered Counter Risers
A two-level riser doubles your surface area. Place a toaster oven on the lower tier and keep small items, such as spice jars, above or beside it. Measure your appliance height first so the top shelf clears it.
10. Mount a Wall Rail with Hooks
Rails with S-hooks suit lightweight tools like a milk frother, hand whisk, and measuring cups. Heavy appliances should stay off the wall unless you use proper anchors.
11. Add a Floating Shelf Above the Counter
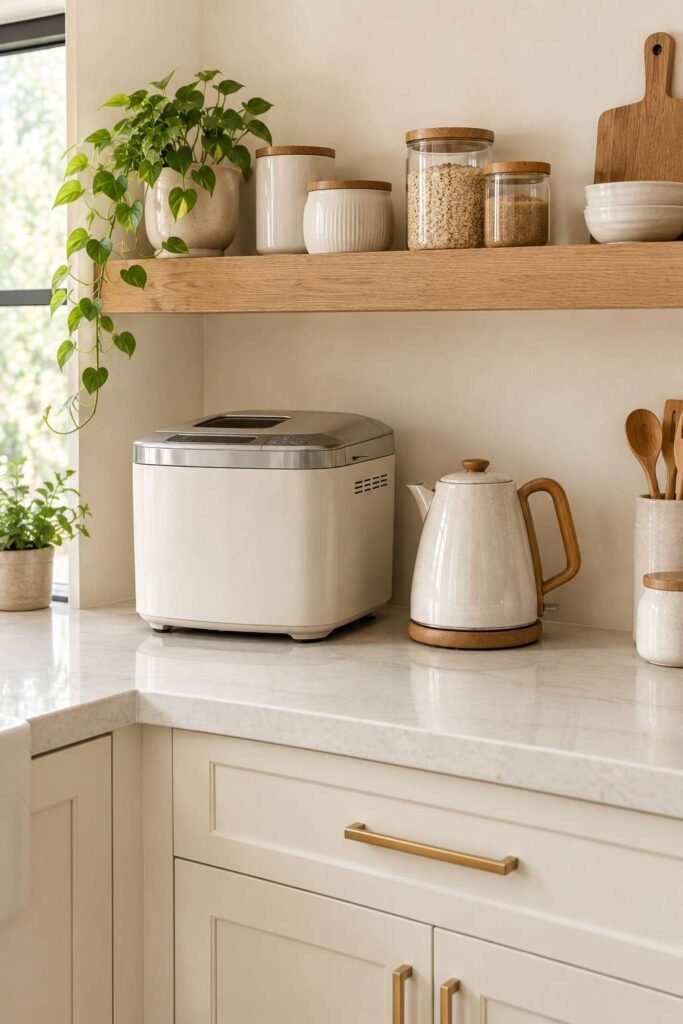
A sturdy floating shelf can hold a bread maker or a pretty kettle at eye level. Anchor it into wall studs, and check the weight rating before loading it.
12. Set Up a Baking Zone
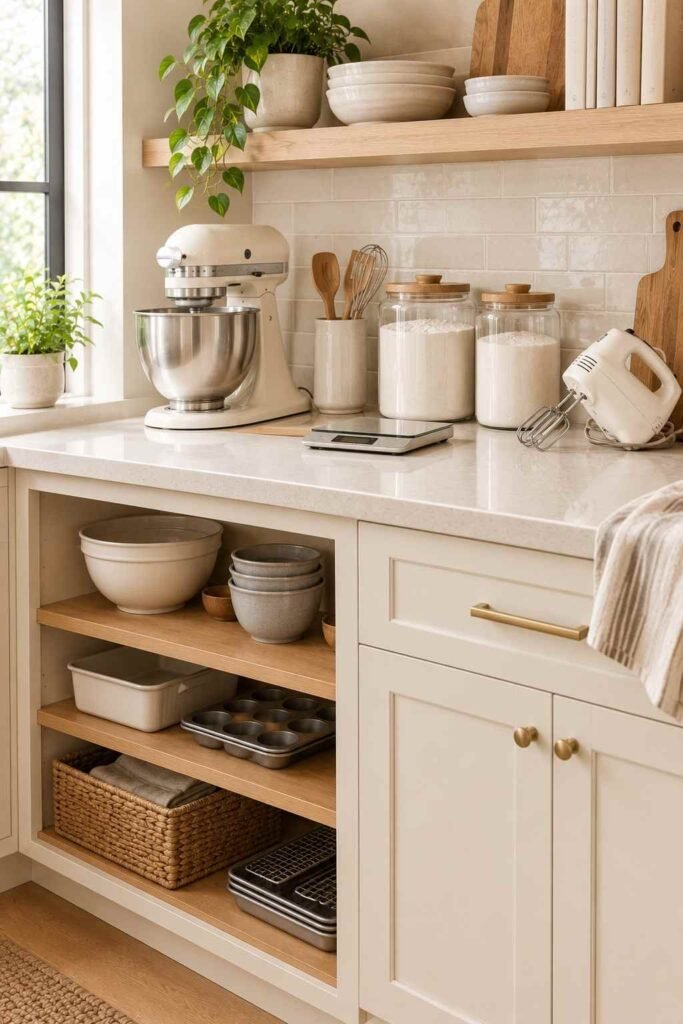
Store the stand mixer, hand mixer, and scale near flour and sugar. When appliances live next to the ingredients they pair with, you save steps and avoid clutter elsewhere.
Pantry Ideas for Bulky Appliances
13. Use Deep Pantry Shelves for Heavy Items
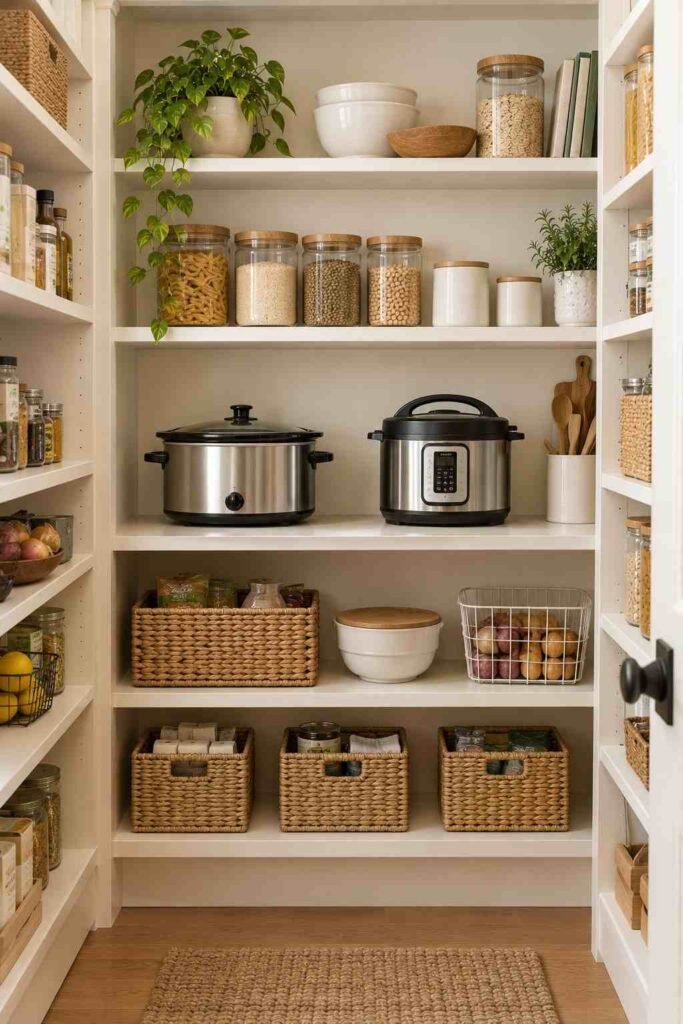
A walk-in or reach-in pantry gives you shelf depth that cabinets lack. Place the heaviest appliances, like a slow cooker or pressure cooker, on waist-high shelves to protect your back. For a deeper look at how professionals plan functional storage and kitchen equipment, see the NKBA Kitchen & Bath Planning Guidelines.
14. Hang a Pantry Door Rack
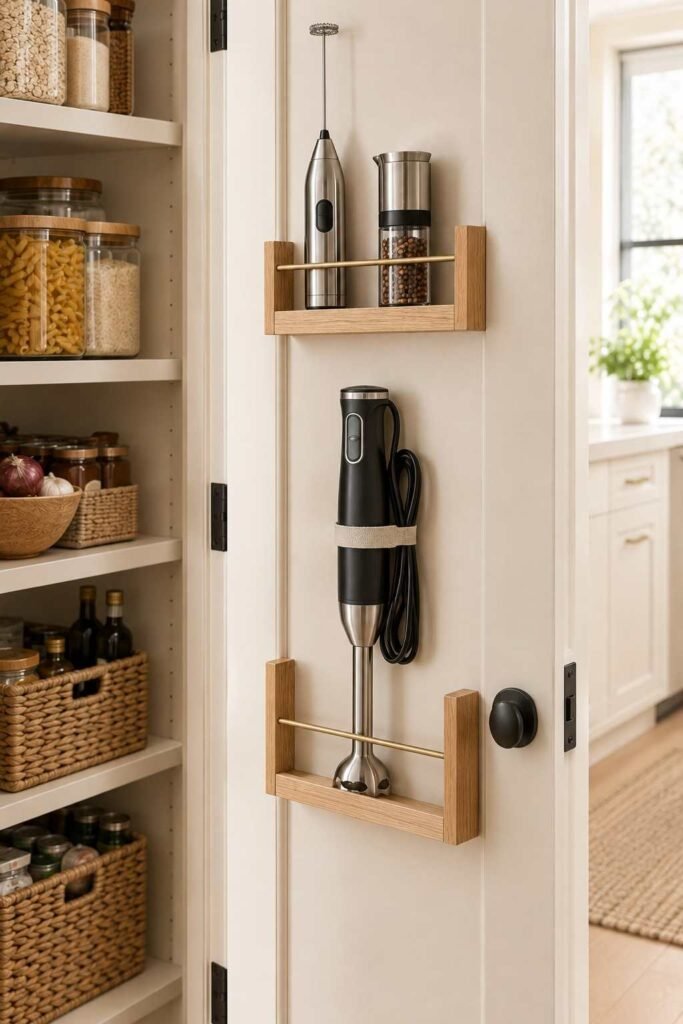
The back of a pantry door is wasted space in most kitchens. Narrow racks suit small items like a milk frother, spice grinder, or cord-wrapped immersion blender.
15. Try a Pull-Out Tall Pantry
Slim pull-out pantries slide between cabinets or appliances. They hold small appliances on front-facing shelves, so nothing hides behind something else.
16. Add a Pocket Door Appliance Nook
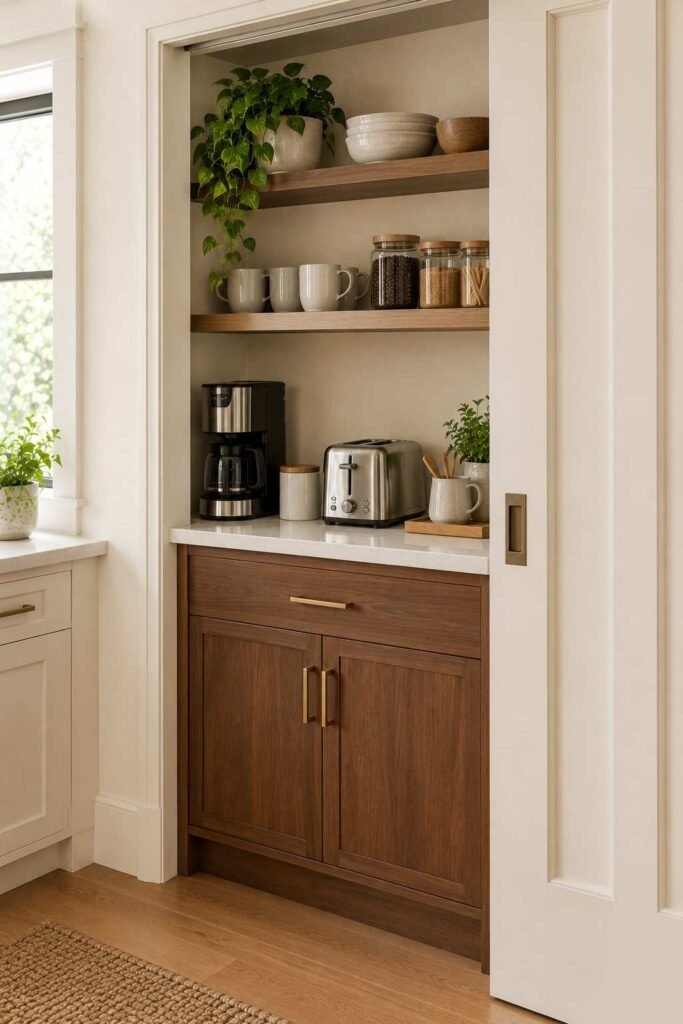
A pocket door slides into the wall instead of swinging open. Behind it, a recessed nook can hide a coffee maker, toaster, and mugs, so you can open it in the morning and close it when guests arrive.
17. Convert a Closet into a Butler’s Pantry
If you have a nearby closet, add shelves and an outlet. A mini pantry lets you keep seasonal and specialty appliances close to the kitchen without crowding it.
18. Reserve the Bottom Shelf for Rarely Used Gear
Your ice cream maker and fondue set earn their place only a few times a year. Park them on the lowest or highest shelf and keep daily appliances within easy reach.
Drawer and Island Storage
19. Install Deep Drawers for Blenders
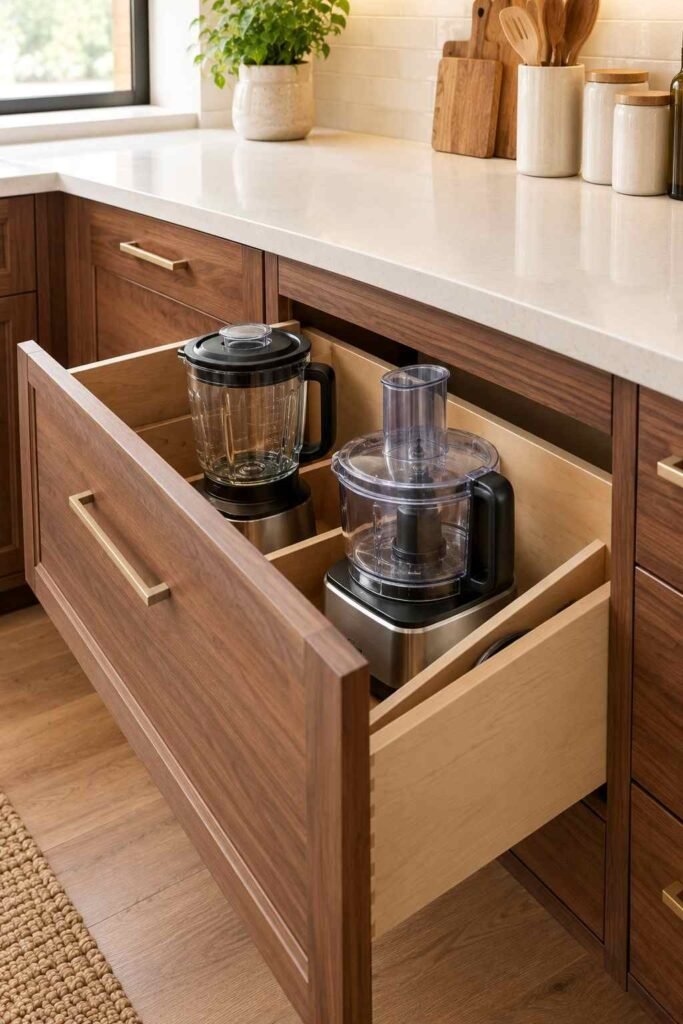
Deep drawers hold tall blenders and food processors better than shelves. You can see everything from above, and nothing gets stuck behind a cabinet door.
20. Organize Cords with Velcro Ties
Tangled cords turn a neat drawer into a mess. Wrap each cord and secure it with a reusable Velcro strap. Label the strap with the appliance name if you have many.
21. Add Dividers for Blades and Attachments
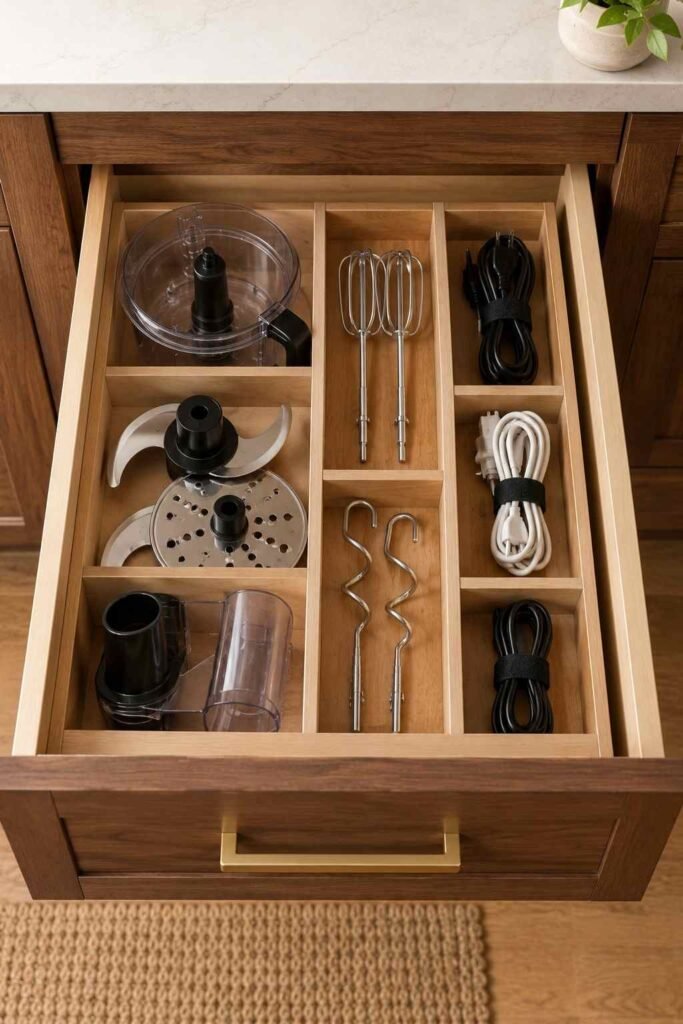
Food processor discs, mixer beaters, and dough hooks get lost easily. A divided tray or small bins keep them with their base appliance.
22. Use a Lift-Up Cabinet Shelf
Similar to a mixer lift, a lift-up shelf rises on a spring hinge. It suits heavy items such as a bread machine you use only on weekends.
23. Make Use of Island Cabinets
Kitchen islands often have unused cabinets on the open side. Add pull-outs or deep drawers, and store appliances you use at the island, like a hand mixer or blender.
24. Add a Roll-Out Tray Inside the Island
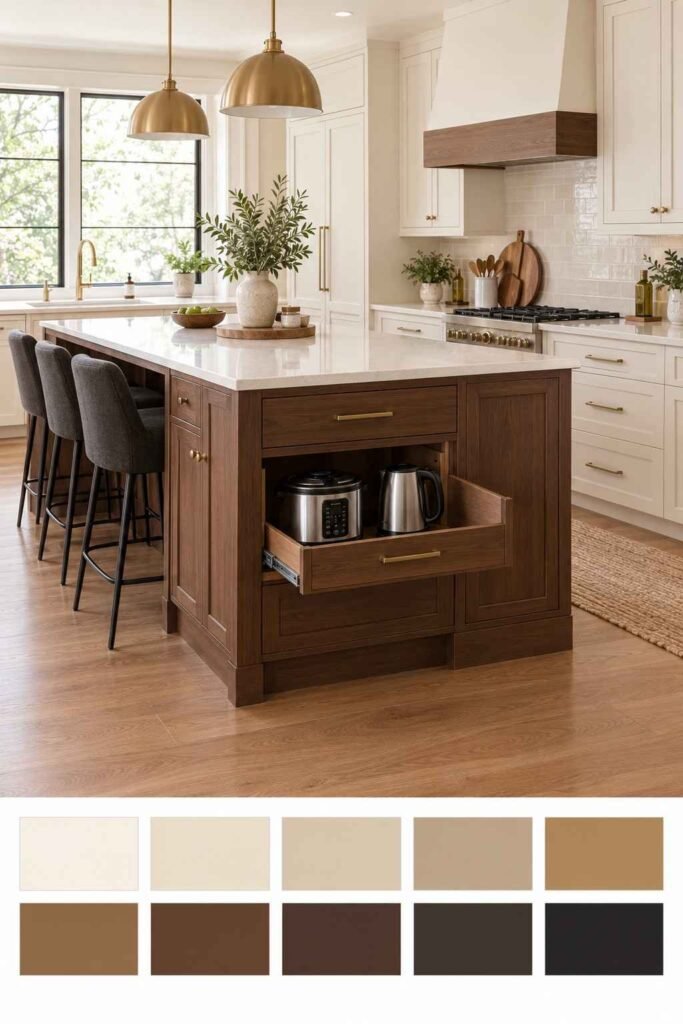
A shallow rolling tray slides out like a drawer. Keep a rice cooker or electric kettle on it for quick access during meal prep.
Small Kitchen and Creative Ideas
25. Use the Space Above the Fridge
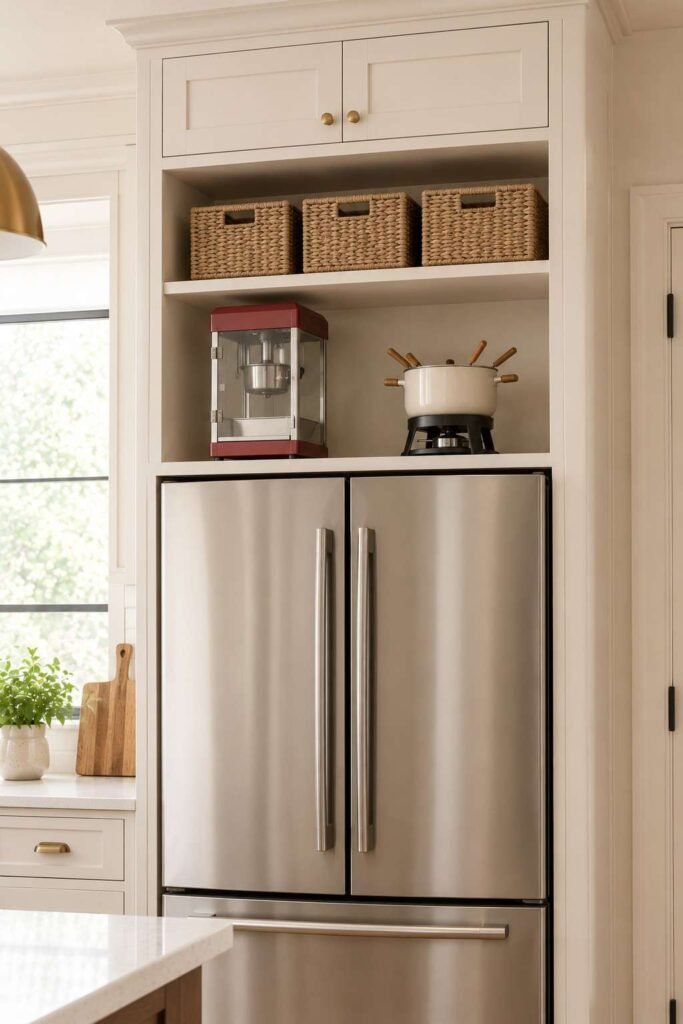
The area above the refrigerator is often empty. A cabinet or sturdy bins can hold lightly used appliances like a popcorn maker or fondue pot. Leave ventilation space as the fridge manual recommends.
26. Hang a Rack Under the Cabinets
Under-cabinet racks can hold mugs, utensils, and small tools. They free up drawers so appliances have more room.
27. Try an Over-the-Door Organizer
Hang an organizer on a pantry or utility door. It’s ideal for light items like a handheld mixer, spice grinder, or cord bundle, and it needs no drilling.
28. Mount a Pegboard Wall
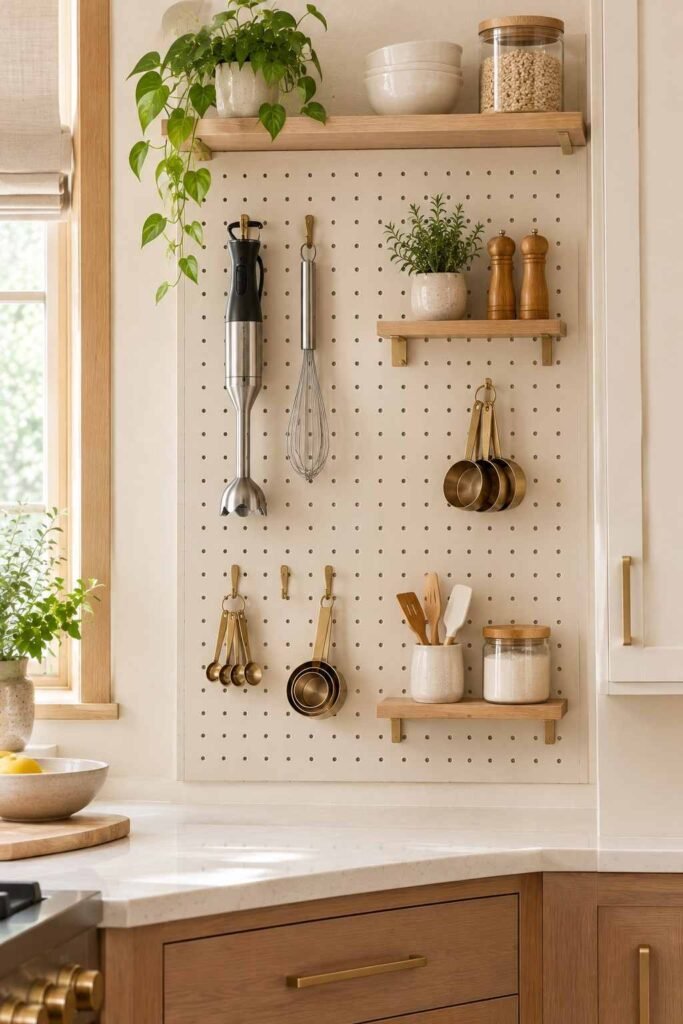
A pegboard lets you customize hooks and shelves as your needs change. It suits small appliances like a hand blender, and it gives the kitchen a handmade, workshop feel.
29. Rotate Appliances Seasonally
Keep summer gear, like an ice cream maker, in a garage or basement shelf during winter. Swap in the slow cooker and soup maker when the weather turns cold.
30. Declutter Before You Organize
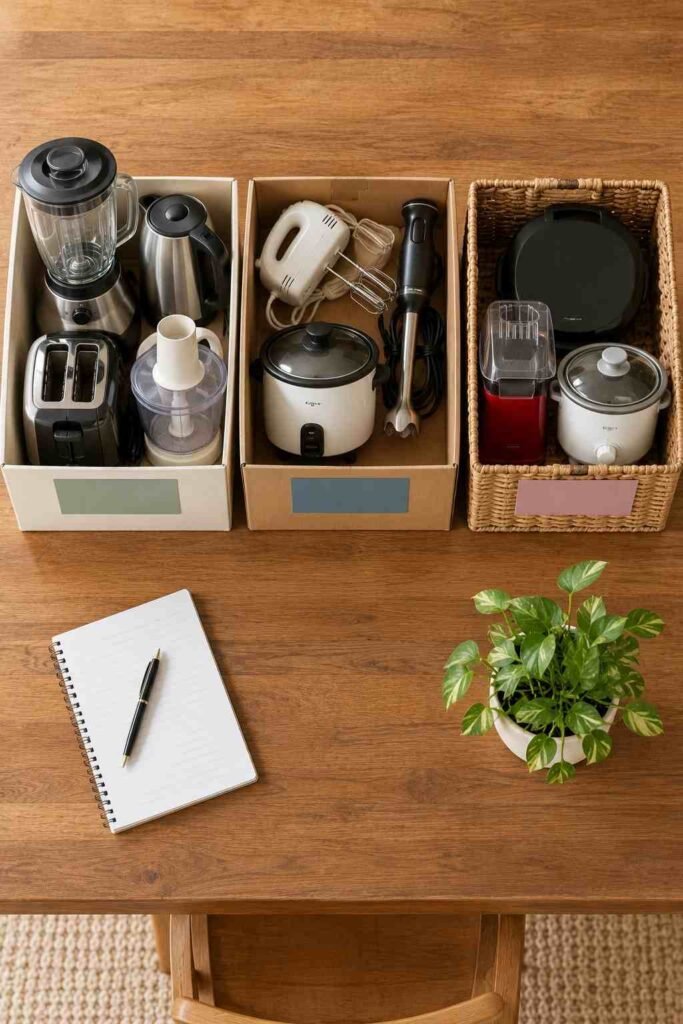
Be honest about what you actually use. If a gadget has not left the shelf in a year, donate it. Fewer items mean easier storage and a calmer kitchen.
How to Choose the Right Appliance Storage for Your Kitchen
Start by listing every appliance you own and how often you use it. Daily items, like the coffee maker and toaster, deserve counter-level access. Weekly items belong in drawers or lower cabinets. Seasonal items go in the pantry, a high shelf, or a utility closet. Once your appliances are tucked away, add some personality with trending and cute kitchen decor that matches your color palette.
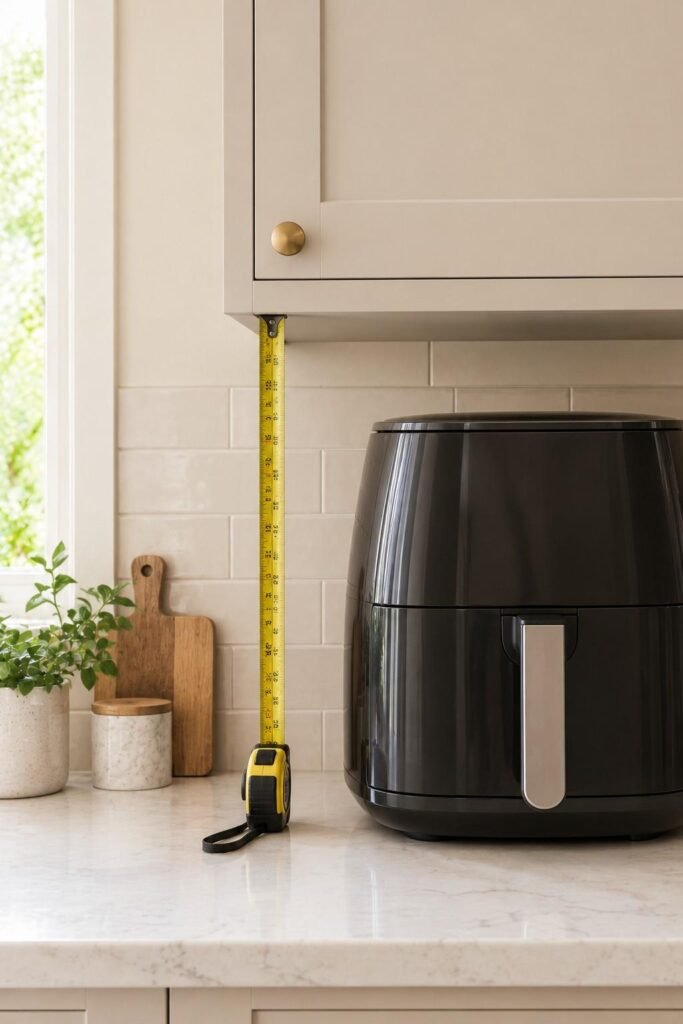
Next, measure. Check the height under your upper cabinets, which is often 15 to 18 inches from the counter, and compare it with your tallest appliance. Measure depth too, so a garage or shelf does not block the door.
Safety matters as well. Heat-producing appliances, such as air fryers and toaster ovens, need airflow. Check the user manual for clearance rules and let appliances cool before you store them.
Final Thoughts
A well-organized kitchen saves time, protects your appliances, and makes cooking feel less stressful. You do not need to try all 30 kitchen storage ideas for appliances at once. Start with the one problem that bothers you most, such as a crowded counter or a heavy mixer that is hard to lift. Then add upgrades as your budget and space allow. Small changes add up quickly, and soon your kitchen will feel open, practical, and ready for any recipe. For more room-by-room guides and practical design tips, visit outinteriors.